


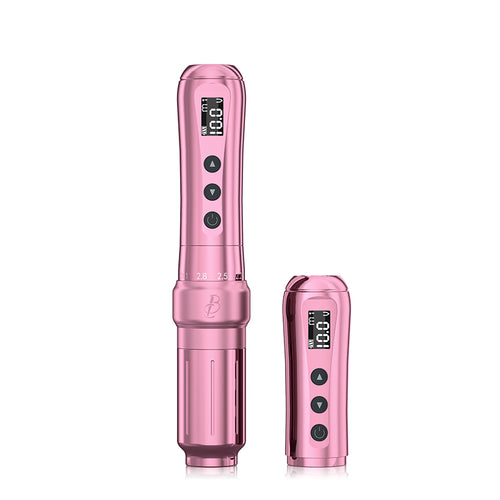

How to Clean and Disinfect Your Wireless Tattoo Machine?

The buzz of a tattoo machine means creativity is happening. But dirty equipment can also spread illness. Each time a needle goes into the skin, it can pick up and pass on viruses, bacteria, and more. This can happen if machines are not cleaned fully between clients. Diseases like hepatitis and HIV can spread through dirty tattoo guns. Keeping your wireless tattoo machine scrubbed, disinfected, and contamination-free after every use is very important. Don't let poor hygiene harm you, your shop, or your clients. With the right steps and supplies, cleaning your machine completely is easy.
Step 1: Unplug and Remove Needles
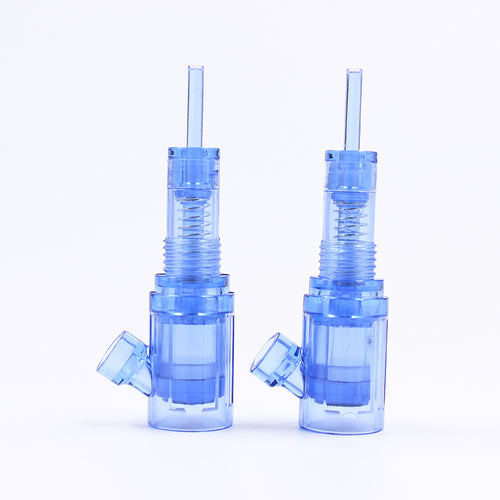
Unplugging the machine and removing needles beforehand is recommended. This prevents accidental electric shocks that could damage the machine or injure the user. It also allows for removing the needle cartridge or cartridges so no fluids can enter the interior components during cleaning. Needles should be single-use only, disposed of after each tattoo for sterility.
Step 2: Disassemble Components

Fully disassembling the machine provides full access for thorough cleaning. The instruction manual can be consulted to learn how to detach the handpiece, grip, grip cover, and any other removable parts specific to the model. Keeping all components in order on a clean towel prevents loss or contamination.
Step 3: Wash Away Surface Grime
Using an anti-bacterial spray or solution made for cleaning tattoo machines on a soft cloth can help wipe away residual dirt, dried fluids, and surface-level grime on the exterior. It's good to pay extra attention to fully clean grooves, crevices, the needle cartridge area, and any other areas where grime tends to collect.
Step 4: Scrub the Inside
Gently scrub the interior of the handpiece, around the motor, and all nooks and crannies of each disassembled component with a soft-bristle brush dipped in a specialty tattoo machine cleaning solution will lift away stubborn built-up ink and residue for a deeper clean. Care should be taken to avoid getting moisture into any electronics.
Step 5: Rinse Thoroughly
Once scrubbed, thoroughly rinse every component under warm running water until the water runs completely clear; wash away all loosened contaminants and cleaning solution residue. It's best to avoid fully immersing electronics in water. Instead, use a heavily dampened cloth to rinse electronic parts.
Step 6: Dry Completely
After rinsing, using clean, lint-free cloths or paper towels to fully dry every component is recommended. Leaving parts disassembled and allowing extra drying time if needed prevents any lingering moisture from potentially damaging electronics when reassembled or harboring microbes. Carefully wiping any hidden crevices at angles helps soak up moisture.
Step 7: Disinfect All Parts

Using hospital-grade disinfectant wipes, sprays, or solutions made specifically for tattoo equipment to thoroughly wipe down each part, allowing the proper contact time according to the product's instructions, helps fully disinfect the machine. This kills dangerous pathogens like HIV, hepatitis B, hepatitis C, and Staph that could otherwise lead to serious infections.
Step 8: Inspect and Replace O-rings
Closely inspecting all o-rings, which provide the airtight seals between components, is suggested. Any that are worn, cracked, damaged, misshapen, or show other defects should be replaced. Using o-rings specifically made for tattoo machines ensures proper fit and function.
Step 9: Reassemble the Machine
Once completely dry, reattaching all components according to the model's instructions is recommended, being careful not to overtighten any screws which could crack components. Referring to diagrams in the manual can help ensure correct reassembly order and technique.
Step 10: Lubricate Moving Parts
Applying tattoo machine oil to any moving internal parts, including the needle cartridge area, joints where components meet and turn, and motors, helps prevent friction, overheating, and wear. Using oil made specifically for tattoo machines is best. Avoiding getting oil on exterior surfaces prevents dirt buildup over time.
Conclusion
With all parts of your wireless tattoo machine thoroughly cleaned, disinfected, and ready for the next use, you can be confident it is safe. By carefully following these steps, your machine will work smoothly long-term. More importantly, you protect everyone from illness. Don't rush cleaning. Even a tiny speck of blood or dirt left behind can pass on serious diseases. Your reputation with customers depends on you always cleaning hygienically. Prepare your work area to very clean standards, wearing gloves while scrubbing. Dispose of used disinfectant wipes and needles properly. Record your cleaning procedures. With clean tools and safe practices, you can focus on creating great tattoos, not worrying about preventable health hazards.