


How to Set the Correct Needle Hang (Not Depth!) on Your PMU Machine for Perfect Results

Blotchy ink splatters and blurry lines usually happen because people confuse needle hang with needle depth. Although the terms sound similar, they serve very different purposes. Keeping a needle hang of about 1.5 to 2 mm while the machine is running helps you maintain a clear view and smooth ink flow. It also lets you see exactly where the tip makes contact with the skin.
What Is Needle Hang? (And Why It's NOT Needle Depth)
First of all, using the correct terminology will help you better understand and master your permanent makeup machine. It will clarify the difference between what you see and what you feel on the skin, and it will change the way you perform every procedure.
Needle Hang
Needle hang is the length of the needle that sticks out from the cartridge tip when your pmu machine is turned on. When the motor is running, the needle moves back and forth rapidly. The "hang" is the maximum distance it reaches outside the plastic housing. You adjust this by twisting the grip of your pmu pen to extend or retract the cartridge.
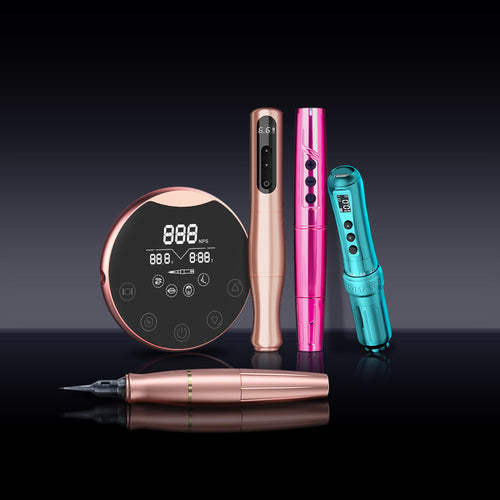
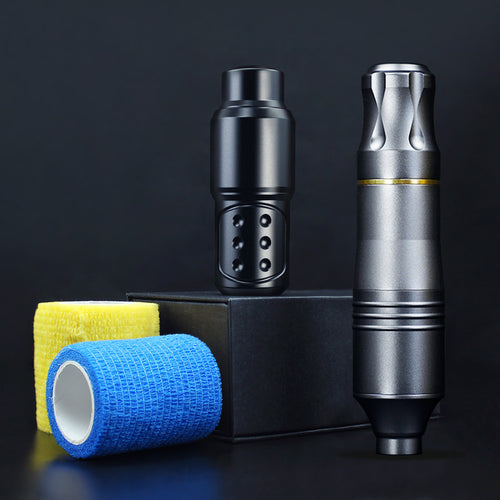
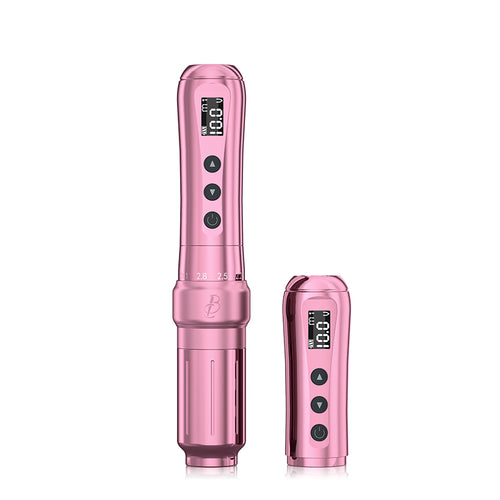
Biomaser Sparkle TP006 Permanent Makeup Machine
Needle Depth
Needle depth refers to how far the metal tip actually goes into the person's skin. Even if you have 2mm of needle showing, you are usually only placing the pigment 0.2mm to 1.0mm deep. This is controlled by your hand pressure and the angle of your machine, rather than a mechanical setting on the device itself.
Needle Hang vs. Needle Depth: Key Distinction Table
| Feature | Needle Hang | Needle Depth |
|---|---|---|
| Adjustment | Rotating the machine grip | Changing hand pressure |
| Typical Size | 1.5mm – 2mm visible | 0.2mm – 1.0mm in skin |
| Purpose | Visibility and ink flow | Pigment placement |
| Visible? | Yes, while running | No, it is inside the skin |
Why Correct Needle Hang Matters for Perfect Results
Having the proper settings on your permanent makeup machine will ensure the tattooing process works with you. Otherwise, even perfect technique will never be able to salvage the outcome.
Get a Clear View of Your Work
A longer needle hang (around 2mm) creates space between the plastic cartridge tip and the skin. This gap allows you to see the exact point where the needle touches the skin. If the hang is too short, the bulky plastic tip hides your work, making it nearly impossible to follow a precise outline or create fine hair strokes.
Keep Your Ink Flowing Smoothly
The needle needs to retract back into the cartridge to "pick up" pigment from the reservoir. If you set the hang too long (over 2.5mm), the needle might never reach back far enough to grab more ink. This results in a "dry needle" that scratches the skin without leaving any color. Correct hang keeps the needle saturated so every pass counts.
Stop Messy Ink Splatters
When the needle hang is too short, the plastic tip of the cartridge rides too close to the skin. This often causes a vacuum effect or physical contact that dumps a large puddle of ink onto the work area. This "ink spitting" covers your surgical map and makes it difficult to see your progress, often leading to uneven saturation.
The Golden Rule for Perfect Needle Hang Distance Adjustment: 1.5mm to 2mm
While every artist eventually finds a personal preference, staying within a specific range provides the most reliable results across different skin types. This standard range balances visibility with the physics of ink movement.
Standard Recommendations
For the vast majority of brow, lip, and eyeliner work, a hang of 1.5mm to 2mm is the sweet spot. If you are using a pmu machine wireless model, ensure your battery is sufficiently charged so the motor maintains the consistent speed needed to keep this hang steady.
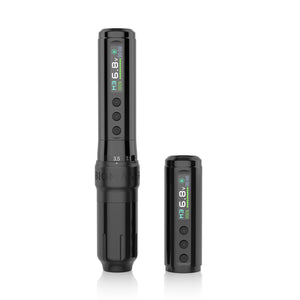
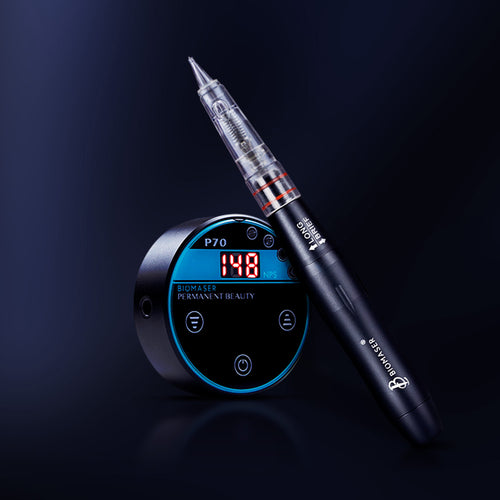
Biomaser Plenilune U1 Pro Wireless Tattoo & PMU Machine With Adjustable Stroke
Adjusting for Different Styles
- Hair Strokes and Lining: Use a hang closer to 2mm. Precision requires the best possible view of the needle tip to ensure lines stay crisp and do not overlap unintentionally.
- Shading and Ombré: A slightly shorter hang of 1.5mm can work well here. Since shading involves faster hand movements and a "flicking" motion, a shorter hang helps keep the pigment flow heavy and consistent.
- Stroke Length Considerations: If your machine has a long stroke (the distance the needle travels up and down) of 3.5mm or more, you generally need the longer end of the hang range. This prevents the needle from splashing ink when it hits the top of its cycle.
Recommended Working Depths for Different PMU Procedures
Knowing how to set your machine is only half the battle; you also need to know how much of that needle to actually use. Needle depth is a matter of touch, vibration, and visual cues from the skin tissue.
Eyebrows (Powder and Ombré)
- Target Depth: 0.5mm – 0.8mm (Upper Dermis).
- The Reason: Placing pigment in this layer ensures it stays true to color. Going too deep makes the brows look grey or ashy once they healed. Going too shallow means the color will flake off during the scabbing process.
Eyebrows (Nano Strokes)
- Target Depth: 0.3mm – 0.5mm.
- The Reason: Nano Strokes must be shallow to stay sharp. If you press too hard, the pigment spreads out under the skin over time, turning a thin line into a blurry smudge.
Lips (Blush and Neutralization)
- Target Depth: 0.2mm – 0.5mm.
- The Reason: Lip skin is very thin and contains many blood vessels. Using a heavy hand here causes immediate swelling and bruising. Keep your pressure light and let the Lip Blush process work efficiently.
Eyeliner
- Target Depth: 0.2mm – 0.5mm.
- The Reason: The eyelid is the thinnest skin on the human body. High pressure can cause "migration," where the ink spreads into the surrounding tissue like a bruise that never goes away. Explore different Eyeliner styles for better application.
Pro Tip: Your needle hang should stay at 2mm for all of these jobs. You are simply changing how deep you sink that 2mm needle into the skin. You don't need to change your machine settings—just change your hand pressure using a permanent makeup machine kit built for precision.
Procedure vs. Depth Comparison Table
| Procedure | Target Depth | Why It Matters |
|---|---|---|
| Powder Brows | 0.5mm – 0.8mm | Prevents ashy healing and ensures color lasts. |
| Nano Strokes | 0.3mm – 0.5mm | Keeps hair strokes crisp and prevents blurring. |
| Lip Blush | 0.2mm – 0.5mm | Avoids excessive swelling and deep bruising. |
| Eyeliner | 0.2mm – 0.5mm | Prevents pigment migration in thin eyelid skin. |
How to Set the Needle Hang on Your PMU Machine
Setting up your equipment correctly before the client sits in the chair prevents technical delays and keeps the environment professional. Follow these steps every time you start a new session.
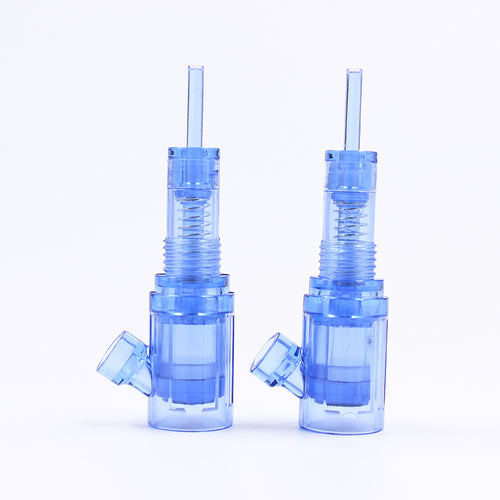
- Insert the Cartridge: Secure your needle cartridge into the pmu pen and ensure it locks into place.
- Turn the Machine ON: You cannot accurately judge hang while the needle is still. The vibration and movement change the visible length.
- Rotate the Grip: Twist the handle of your machine. Watch as the needle moves in or out.
- Measure Visually: A good trick is to compare the needle to the thickness of a nickel. A nickel is about 2mm thick. Aim for that length.
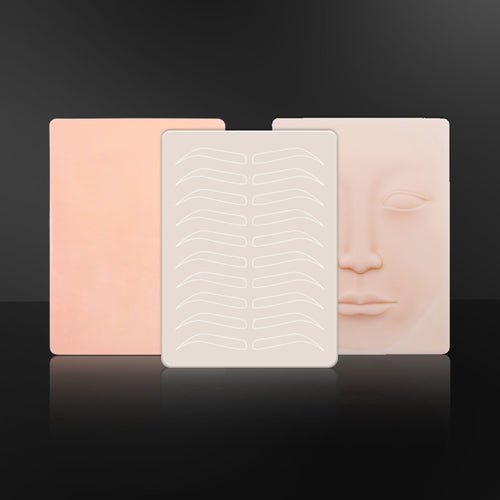
- Test on Practice Skin: Run the machine on a piece of practice skin. If you can see the tip clearly and the ink is flowing without pooling, you are ready to go.
Troubleshooting Common Needle Hang Problems
Even experienced artists can have a problem when switching between needle brands or machines. If your work doesn't look right, you can fix your machine configuration by referring to the following table.
| Problem | Likely Cause | Solution |
|---|---|---|
| Ink spitting or pooling | Hang is too short | Increase hang by rotating the grip to 2mm. |
| No pigment coming out | Hang is too long | Decrease hang so the needle can reach the ink. |
| Poor visibility | Plastic tip is in the way | Increase hang so the needle sticks out further. |
| Blurry or thick lines | Pressing too hard | Keep 2mm hang but use a lighter touch. |
| Machine vibrating too much | Cartridge not seated | Turn off and re-insert the cartridge. |
Mastering Your PMU Machine Settings
While the machine handles the ink flow, your light touch controls the final look. Practice finding that perfect balance on latex until it feels like second nature. Learning the pmu machine settings paired with steady hand pressure leads to beautiful, predictable healing for every client.