


How to Achieve Perfect Single Pass Black Lines in Tattooing?

Key Takeaway
The perfect single pass black line requires a combination of proper machine choice, correct needle selection, consistent hand pressure, quality ink, appropriate speed, and proper skin stretching. Mastering this technique takes practice but results in cleaner, more professional tattoos with less trauma to the client's skin.
Tattoo artists need to use the single pass black lines frequently during the tattooing process. This technique, which involves finishing a line with a single, fluid motion, produces very precise results that cause minimal trauma to the skin and promote a speedy recovery. Mastering this basic skill is difficult for many artists, but with the proper tools, setup, and hand skills will take your linework to the next level.
What Are Single Pass Black Lines and Why Do They Matter?
Single pass black lines represent the pinnacle of tattooing artistry—crafting a consistent, solid line with one pass of the needle across the skin. Single pass methods, in contrast to styles where artists continuously re-trace the same line, require technical skill, confidence, and accuracy. Quality single pass black line work has the below benefits:
- Single pass lines are more even, with clean edges and uniform saturation.
- They recover faster since the skin undergoes less trauma, with minimal scabbing and shorter recovery times.
- It also reduces the risk of blowouts, where ink seeps underneath the skin to produce a smudgy, sloppy appearance.
- Efficiency and client comfort will also benefit from the nailing single pass lines. With fewer passes, your sessions are faster, and your clients suffer less pain and irritation during tattooing and healing time.
How to Get the Perfect Single Pass Lines in Tattooing?
Picking the right machine and getting your machine dialed in correctly is the foundation of clean single pass lines. Without proper setup, even the best technique won't work.
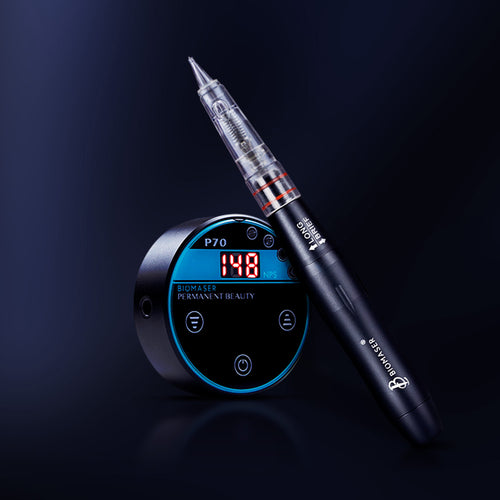
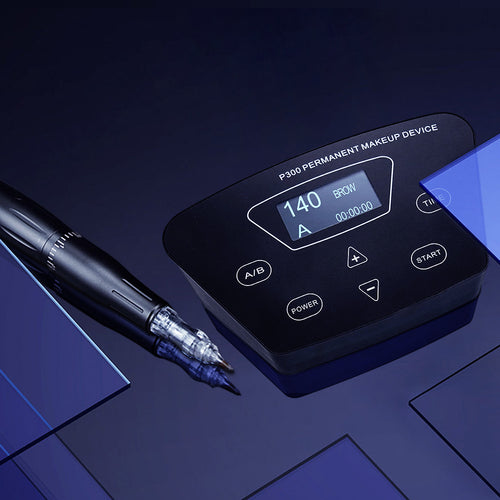
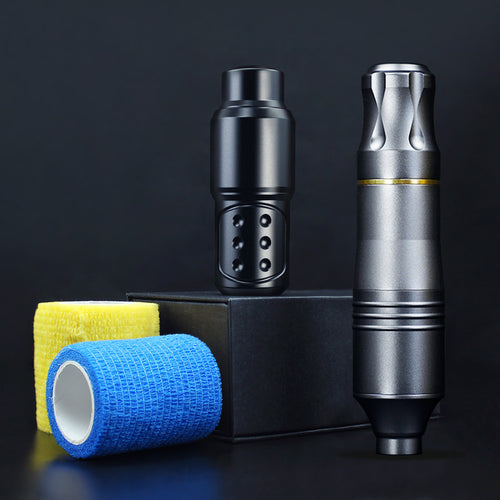
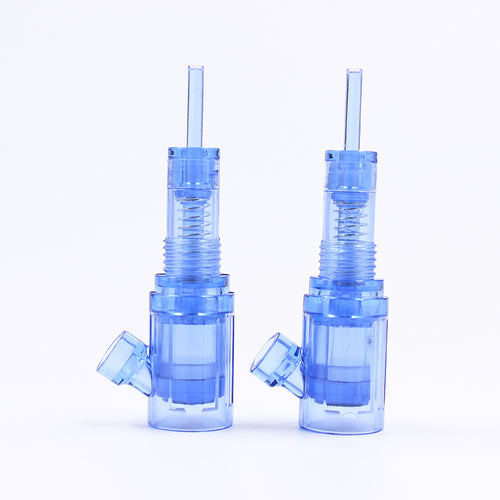
Choose the Right Machine
The machine you select has a massive impact on your line quality. Coil machines are traditionally excellent at lining due to their solid hit, but newer rotary machines give you consistency and less hand fatigue. New players should use a solid rotary, which is kinder when you're learning.

Employ medium-stroke length machines (approximately 3.5mm) for lining. Shorter strokes (2.5-3mm) create tighter, more precise lines but are more skill-dependent, while longer strokes deposit more ink but can be less precise.
Most professionals have their own specialized lining machines separate from their shading setups. This dedicated approach gives optimal performance for each task without a need for regular reconfiguration.
Find Your Optimal Voltage
Start with voltage—most artists like to work best with lining at 7-9 volts, but this varies by machine. Begin with the lower end and gradually go up until you can hear that sweet spot—a clean hum without excessive noise. The machine must be operating smoothly without stuttering or underpowering.
For rotary machines, you will typically need a little more voltage than coil machines. Observe the motion of the needle into the skin. If you're seeing patchy lines, you might need more power. If the lines are blowing out, back it off.
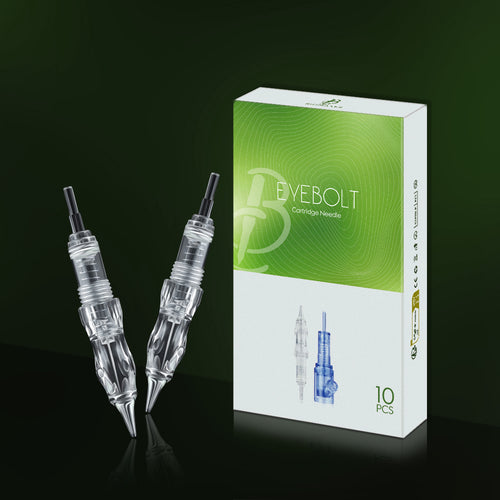
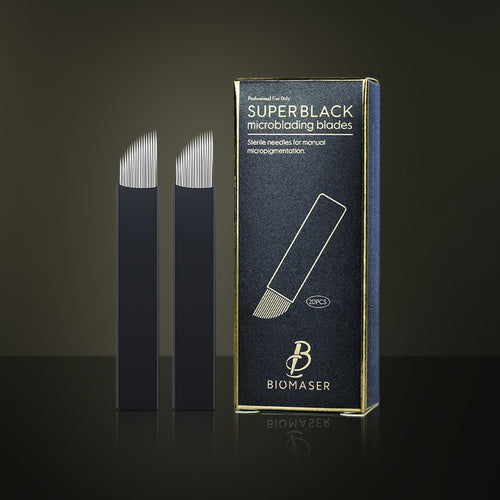
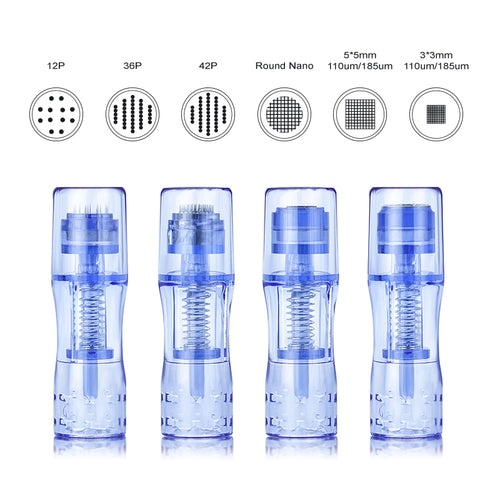
Pick Out the Right Needles
Line quality is greatly affected by the needle pick. 3RL (3 round liner) or 5RL needles work great for making clean, thin lines. Move up to 7RL, 9RL, or larger groupings for stronger lines.
Bug pin needles, which have thinner individual needles, usually make lines that are sharper than regular needles and need less pressure to deposit ink well. They're great for detailed work, but they might need slightly higher voltage.
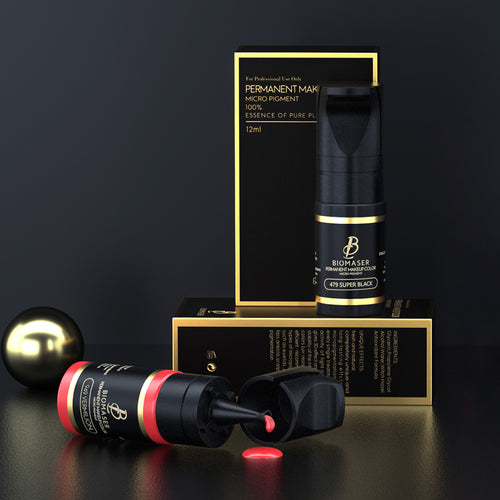
Choose Quality Ink
High-quality black lining inks have the right viscosity to flow well but are thick enough to create solid lines. Avoid too watery or too thick inks. Most artists prefer lining-specific blacks, which are formulated for optimal performance in liner needles. These inks are usually more heavily loaded with pigment and flowing agents than general-purpose blacks.
Pro Tip: Test new inks prior to client jobs—some have finicky subtleties of technique or machine settings required for perfect single pass results.
Adjust Needle Depth
Your needle should stick out just far enough to put ink in the dermis—typically 1.5-2mm beyond the end of the tube. Too shallow, and you'll get patchy lines; too deep, and you'll experience blowouts.
Here's a simple test: run your machine and lightly tap the needle tip against a paper towel. It should leave a small dot of ink without tearing the paper. You should feel some resistance while tattooing, but you never need to force the needle.
Optimize Your Hand Technique
Hold your machine like a pencil and keep it at a 45-degree angle to your skin at all times. Your grip should be strong but relaxed. If your hand is tense, your lines will move jerkily and not line up straight.
When you keep the pressure and speed steady, the magic happens. It's important not to move too quickly or too slowly. If you do, you might get broken lines. For a motion that feels normal, aim for one that is smooth, deliberate, and not rushed or hesitant.
Many artists find that pulling lines (moving the needle away from your body) offers more control than pushing. Practice this movement over and over until it feels natural.
Master Skin Stretching
When you stretch skin the right way, you get a flat, taut surface that takes ink evenly. Stretch the skin in the opposite way of your line with your non-dominant hand to add tension without distorting the design.

Firm stretching is important for places with loose skin, like the inner arm or stomach. When stretching tighter areas, like the outer forearm, gentler stretching prevents bounce-back that can lead to skipping.
How Can You Practice to Master Single Pass Black Lines?
It takes time to establish muscle memory and confidence to achieve flawless single-pass lines. Strategic practice enables you to progress faster and build the skills you need for professional outcomes.
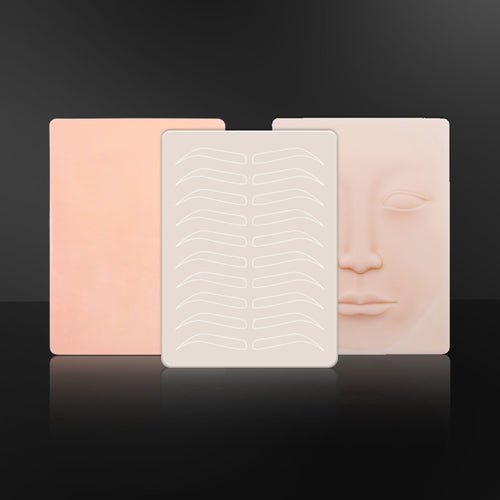
Start on Synthetic Skin
Practice skins offer a consistent surface on which to practice developing your technique without the stress of practicing on clients. They are not the same as human skin, but they are excellent for learning basic skills.
- Start with straight lines of differing lengths. First, draw guidelines with a marker, and afterward, practice following them in a single, fluid motion.
- Maintain attention to the position of your hand, the angle of the machine, and the speed of movement.
- Practice straight lines well before moving to soft curves and then more sophisticated shapes such as S-curves and circles.
- Record your practice sessions occasionally. Watching yourself work illuminates small issues in your technique that you won't notice while concentrating on the task. Are you slouching? Holding too tightly? Traveling at uneven speeds?
These observations can make a massive impact on your approach.
Develop a Daily Line Drill Routine
Consistency builds skill faster than occasional marathon practice. Invest 15-30 minutes daily in line practice, even if you're not actually tattooing clients.
Create a practice template consisting of various line styles—straight lines, curves, circles, and zigzags of varying lengths and thicknesses. Practice using this template every day, trying to complete each line in one smooth stroke.
Mark progress by dating the practice sheets. Weeks and months will reveal improvements easily, providing encouragement to practice further.
Practice Good Body Mechanics
Practice keeping your machine hand supported by either resting your pinky on the surface or on an armrest. This will keep your hand stable and not as tiring. Position yourself so you can see your work without having to strain or make shadows.
Practice using different methods of stretching with your non-dominant hand. Try two-finger stretching, thumb-and-forefinger, and back-of-hand to find what is best for different areas. The aim is to achieve a flat, taut surface without distorting the design.
Slow Down Before Speeding Up
Novices usually rush their lines out of nervousness, and this produces uneven, patchy results. When you're practicing, consciously slow down until you can achieve solid lines with consistency.
Say "one-one-thousand, two-one-thousand" while you draw lines to maintain a steady rhythm. The moment you achieve consistency at slower speeds, increase your speed gradually without compromising quality.
Remember that professional speed comes from efficiency, not from hurry. Even experienced artists work slowly on important linework rather than sacrificing quality for speed.
Record and Analyze Your Results
Check your lines under good lighting after each practice session. Look for:
- Consistency of depth (no blowouts or light spots)
- Equal width along the line
- Clean edges without wobbling
- Smooth joints where lines meet
Record your best work and your challenges. Create a digital notebook recording machine settings, needle set-ups, and methods employed to produce your best work. This manual becomes an invaluable resource as you continue to develop your skills.

Graduate to Different Surfaces and Angles
Once skilled on flat practice skin, proceed to curved surfaces. Roll practice skin around various sizes of objects to simulate various body parts—small cylinders for fingers, large ones for arms or legs.
Practice lines transitioning across different surfaces, i.e., from one flat surface to another curved one. These transitions tend to generate hesitation or changes in pressure, leading to a disconnection in the consistency of single-pass black lines.
Work at different angles rather than constantly being in your optimal position. In real tattoo sessions, there will be odd positions where you can't possibly get an optimal view of your work. Having the ability to maintain lines well, even with adverse angles, is the mark of professional skill.
Find a Mentor for Feedback
Where self-practice is required, nothing accelerates improvement better than expert feedback. Find a veteran tattoo artist who is willing to evaluate your skill and provide guidance.
Most experienced artists offer one-on-one workshops focused specifically on linework. These intensive workshops may assist in identifying and rectifying small imperfections in your style that may take a few months to notice by yourself.
Without direct face-to-face mentorship, document your practice sessions and share them on professional tattoo forums or groups. Experienced artists will share knowledge with dedicated learners with kindness.
FAQs About Single Pass Black Lines
Q: How long does it take to master single pass black lines?
A: Basic single pass competency is attained by most artists within 3-6 months of dedicated practice. However, true mastery—where you can consistently apply perfect lines on various skin types and locations on the body—typically takes 1-2 years of regular application. The learning curve varies according to your natural dexterity, frequency of practice, and whether you have professional instruction or not.
Q: What voltage should I run my liner machine at?
A: For most liner setups, 7-9 volts is the best voltage for single pass lines. For rotary machines, the higher end of this range (8-9 volts) is best, while for coil machines, 7-8 volts works well. However, these are just starting points; the best setting will depend on your machine, needle grouping, and personal technique. Start at the lower end and slowly raise it until you get smooth needle action and good ink flow. The machine should sound consistent without struggling or running too aggressively.
Q: Why do my lines look solid at first but heal patchy?
A: Patchy healing generally means that the ink wasn't deposited at the same depth along the line. Some common reasons are:
- Inconsistent hand pressure
- Moving too quickly over certain areas
- Inadequate skin stretching, causing the needle to skip
- Running your machine at insufficient voltage
Another possibility is that you're not going deep enough. Ink that is only on the skin's surface often looks solid at first but fades as the epidermis grows back. Make sure you're reaching the dermis (you should feel some resistance) without going too deep.
Q: Can all skin types handle single pass lines equally well?
A: Your single pass technique needs to be adjusted for each type of skin.
- Thinner, paler skin shows damage more easily and may need to be handled more gently with less voltage.
- Mature or sun-damaged skin tends to be less elastic and needs to be stretched with extra care.
- Pay close attention to consistent depth when you have darker skin tones because they can hide the look of solid saturation.
- Most of the time, ink goes on more easily on oily skin than on dry skin.
Q: Should I use different techniques for different body parts?
A: Of course.
- Body parts with thin skin, like the inner arms, ribs, and tops of the feet, need less pressure and sometimes even lower voltage to keep them from blowing out.
- More forceful stretching is needed to make a workable surface on areas with loose skin areas, like the stomach and inner thighs.
- Bony parts with little padding must be handled more gently to avoid too much damage.
- It takes practice to keep the needle at the same depth as you move across changing surfaces.