


Troubleshooting Common Problems with Permanent Makeup Machines
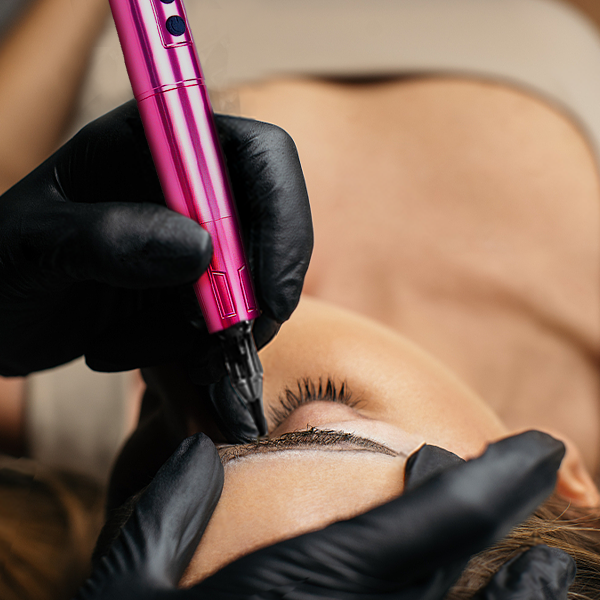
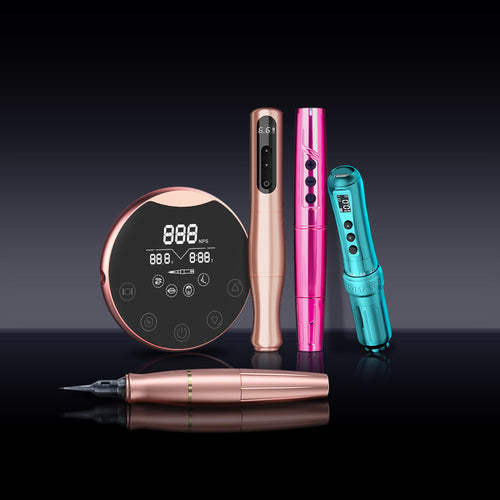
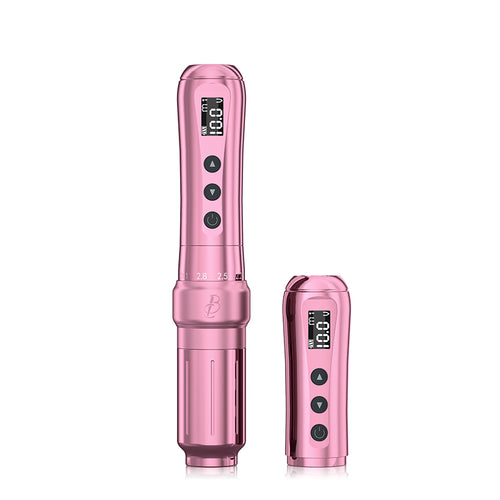
Permanent makeup machines have exploded in popularity in recent years for procedures like microblading eyebrows. These devices offer convenience and efficiency for technicians. However, like any equipment, issues can pop up that disrupt services. Knowing how to troubleshoot common problems can get your machine back up and running smoothly. Let’s explore some frequent problems technicians face and how to get your device humming again.
1. Needle Not Piercing Skin Properly
One frustration technicians report is the needle not piercing or depositing pigment into the skin appropriately. There are a few potential causes and solutions for this. First, check that the needle protrusion length or depth setting is appropriate. Different needle lengths are required for procedures like microblading versus shading. Adjust the setting as needed for the technique.
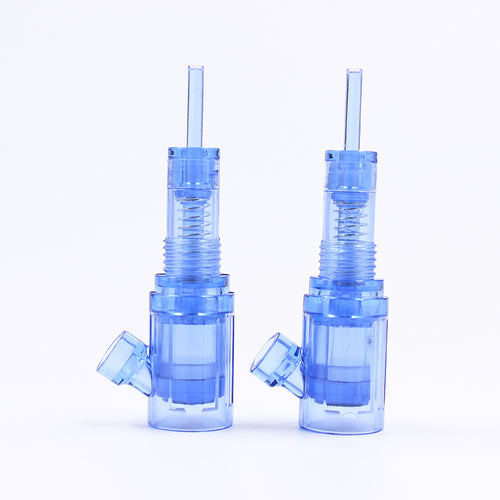
Next, inspect the needle tip. Is it showing signs of wear and tear? Dull needle tips resist piercing effectively. Replacing them with fresh, sharp needles can instantly improve performance.
If adjusting the needle settings doesn’t help, the machine itself may lack force. Try increasing the machine’s power or speed if these are adjustable. For machines with fading motors, a replacement handpiece or cartridge may be required. Machines require sufficient power to drive needles through the skin.
2. Pigment Leaking or Pooling in Treatment Area
Another common complaint is pigment pooling, bleeding, or leaking uncontrollably from the needle deposit site. This results in messy applications. Again, the needle is the first place to inspect. Is the blade damaged in any way that would allow excessive pigment to leak? Swap out for a new needle.
Check that pigment isn’t being loaded too heavily on the needle tip before applying. Use a lighter hand when dipping into the pigment well. Alternatively, wipe away any excess pooling before each stroke. Don’t saturate the skin or drag the needle to minimize poor containment.
3. Machine Power Problems of Permanent Makeup Machines
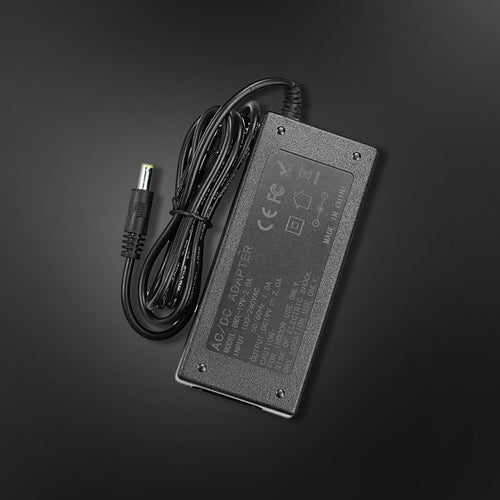
Sometimes, the machine seems to lack force or power for effective needling. There are a few troubleshooting steps here. First, check that the power cord is securely plugged into both the machine and the wall outlet. Loose connections can affect performance.
For battery-powered devices, the issue may simply be drained batteries. Replace them with a fresh fully charged set. Rechargeable batteries lose capacity over time, so swap older batteries out every few years or 500 charges.
Inspect internally for bigger problems. Open up the handpiece or device casing and examine the motor. If the motor appears damaged or defective, a replacement will be required. Contact the manufacturer for repair options.
4. Overheating Machines
It’s not unusual for permanent makeup devices to get hot during prolonged use. However, overheating can damage internal components. Ensure the vent holes are free of dust, dirt, and debris. Give the machine brief rest periods during long sessions to cool off. Avoid continuous use past 20 minutes. Schedule breaks between appointments.
To further regulate temperature, invest in a machine stand with cooling fans built in. Keeping the ambient room temperature lower helps as well. Take steps to prevent the motor from burning out.
5. Pigment Splattering During Application
No technician wants to finish a procedure with pigment dots all over the client’s face. The cause for splattering varies. As previously mentioned, worn needle tips should be replaced. The splintered edge of a damaged needle can fling pigment.
Adjusting needle depth and angle can improve splattering. Aim for a 45-degree or shallower angle. Adjusting the power settings to run lower may also help. Stretching skin taut before needling provides firmness and resistance for better deposits.
Always use the needle cap when wiping excess pigment. The cap helps contain stray pigment. Changing to a tighter-fitting cap can help too.
6. Machine Refusing to Turn On
Nothing is more frustrating than pressing the power button and getting no response. The first step is checking the batteries or power cord. Dead batteries or a faulty cord are common culprits for a machine that won’t start.
Inspect the on/off switch for damage or sticking. Clean around the button to ensure it moves freely. Try tapping it a few times to loosen it up.
For advanced issues, you’ll need to open up the machine. Inspect for any damaged wires or electrical components that require replacement. Contact technical support for further guidance if needed.
7. Unusual Noises of Permanent Makeup Machines
Clanking, grinding, and other odd noises require investigation. Begin by opening the casing and powering it on to identify the source.
The fan is one common culprit for rattling noises. Is a blade bent and rubbing? Replace the faulty fan.
Check the motor for wear and binding. Motors can degrade over time and begin to grind. Replacing failing motors will stop the noise.
Ensure no loose fasteners that could be rattling around internally. Strange noises usually indicate a repair or replacement is needed. Address promptly before greater damage occurs.
Keep Your Permanent Makeup Machine Humming
Permanent makeup machines allow technicians to perform procedures efficiently. But like any equipment, they can experience minor issues. By learning to identify and troubleshoot common problems, you can get your device back up and running smoothly. Follow troubleshooting tips to keep your permanent makeup machine humming along. With proper care and repair, your machine will deliver reliable performance year after year.