




The Thinnest Skin on Your Face Has the Biggest Technical Demands — Here's How to Meet Them

Introduction
The eye area is where color migration problems become most visible — and most permanent. Unlike the brow body or lip, where the skin is thick enough to provide some buffer for technical imprecision, the periorbital zone offers no forgiveness. Every variable that goes wrong shows up clearly, and problems that would be minor elsewhere become significant cosmetic issues when they occur within a centimeter of the eye.
Red and blue migration in eye and brow PMU isn't a mystery — it's a physics problem. The skin in the periorbital area averages 0.5mm in thickness. Most standard PMU needle stroke depths are between 2.0–3.0mm. That means if you're using standard machine settings on the thinnest skin of the face, every single needle puncture is going deeper than your target layer. This isn't speculation — it's a geometric fact. The question isn't whether this causes problems, but how significant those problems are and how consistently they manifest.
Understanding this math changes the approach from "hope the technique works" to "engineer the conditions for success." This article covers the full chain of variables you can control: pigment selection, machine parameters, hand technique, and needle quality. By the end, you'll have a systematic framework for achieving zero color migration in eye and brow work — not a set of tips, but a system.
Why the Periorbital Zone Is the Hardest Location in PMU
The Anatomy That Makes the Eye Area Difficult
The skin around the eyes is the thinnest skin on the human body — approximately 0.5mm at the eyelid, compared to 1.5–2.0mm in most areas of the face. This is not a minor difference; it's a fundamental structural distinction that affects every aspect of how the skin responds to pigment implantation.
This extreme thinness creates three compounding problems:
- No depth buffer: With only 0.5mm to work with, there's almost no margin for error on implantation depth. A needle that penetrates 0.3mm too deep has already passed through the papillary dermis and entered the capillary-rich reticular dermis, where color migration becomes significantly more likely.
- Extreme mobility: The periorbital skin moves with every blink, squint, and eye expression. This mechanical stress affects how pigment settles in the dermis over time and creates constant micro-movement that can gradually push pigment out of its intended position.
- Visible vascular effects: Because the skin is so thin, any increased blood flow during the inflammatory healing phase is immediately visible. The periorbital area's rich vascular supply means that post-procedure redness and the hemoglobin interaction with pigment is more visually pronounced here than anywhere else on the face.
How Red and Blue Migration Actually Work in This Zone
Red migration in the periorbital area is primarily caused by oversized pigment particles triggering an immune response that pushes them toward the capillary system, where they become associated with hemoglobin and oxidized blood, creating a persistent red cast. The extremely thin skin makes this effect immediately visible rather than masked by overlying tissue.
Blue migration here results from the same depth problem but with a different mechanism: when pigment reaches the subcutaneous fat layer through over-deep implantation, the light-scattering properties of fat cells interacting with dark carbon-based pigments produces a blue-grey cast that's difficult to correct without removal.
The core insight is that zero color migration in eye work is fundamentally a depth control problem — not a pigment color problem, not a machine brand problem. Control depth, and the color migration risk drops dramatically.
The First Control Point: Pigment Particle Size
Why Nano-Scale Pigments Change the Math
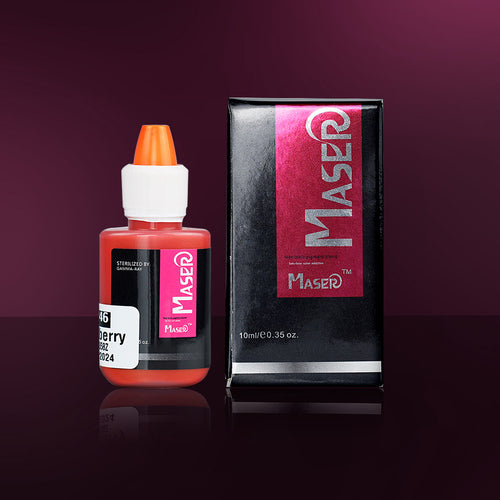
The particle size of PMU pigments determines how the skin processes them after implantation. Standard pigment particles above a certain size threshold are recognized as foreign material by the immune system and are targeted for elimination through the lymphatic system and capillary absorption. The smaller the particle, the less aggressively the immune system responds — and the more likely it is to remain stably integrated in the dermal layer.
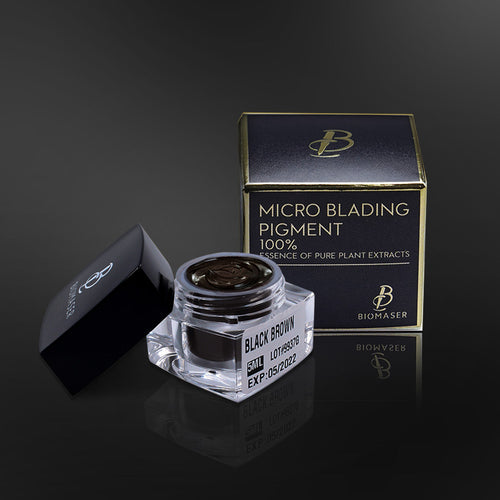
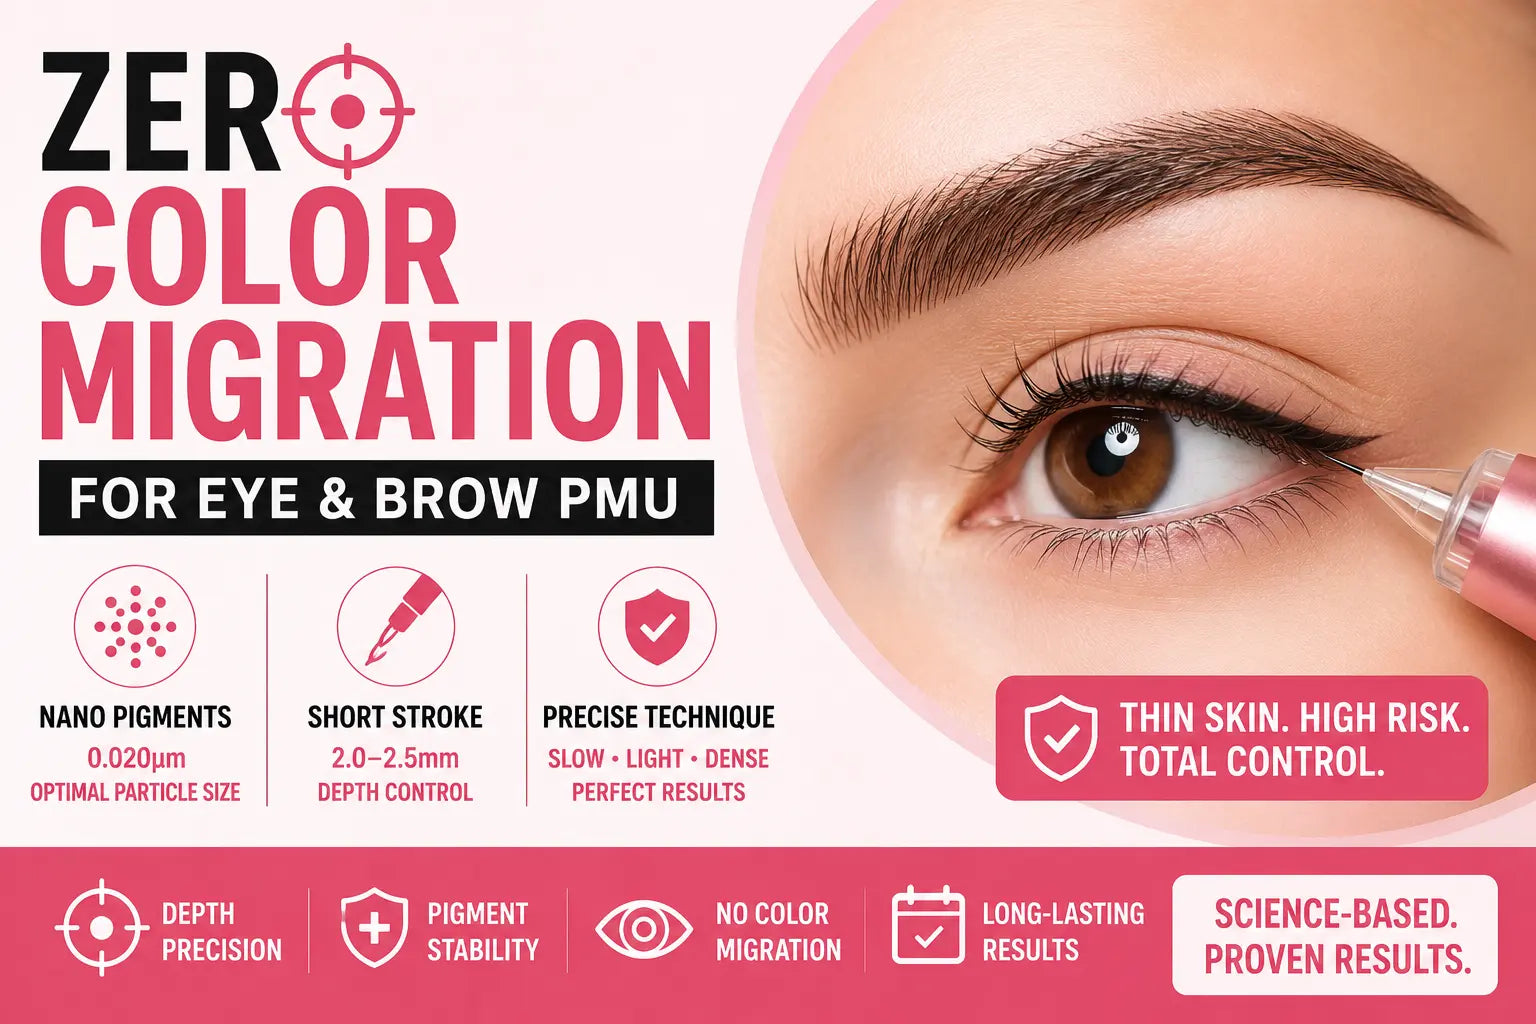
Modern nano-scale pigments — with particle diameters in the 0.020μm range — represent a meaningful technical advancement over conventional PMU pigments for eye area work. At this particle size, the pigment particles are small enough to avoid active capillary absorption (which would cause them to migrate and produce red effects), yet large enough to remain structurally integrated in the dermis rather than being metabolized too quickly.
The practical outcome for the artist: nano-scale pigments produce significantly lower color migration risk in the delicate periorbital zone, even when implantation depth isn't perfectly controlled. The pigment formulation itself provides a margin of error that standard particles don't.
What "Lock-Color" Concentrate Formulas Actually Mean for Your Client
Advanced pigment formulations using concentrated technology deliver higher color saturation per unit volume implanted. In practical terms, this means:
- Fewer needle passes required to achieve target saturation — reducing cumulative tissue trauma
- Higher color density in the dermis, which means the healed result is more resistant to the dilution effect of the skin's natural metabolic processes over time
- Better coverage on the first pass, which reduces the likelihood of needing to go over the same area multiple times (and risking over-saturation and migration)
For the periorbital zone in particular, the ability to achieve target saturation in fewer passes is a meaningful tissue-trauma advantage. Every additional pass over the same area increases cumulative damage and increases the probability of post-procedure inflammation, which is the primary driver of the color intensification and migration effects.
Why 19 Years of Real-World Data Matters in Pigment Development
Pigment formulation quality isn't just about the chemistry — it's about iteration speed. A brand that's been developing and refining pigment formulations over 19 years across diverse ethnic skin types, climate conditions, and technique traditions has accumulated data that no laboratory alone can replicate. Each iteration of the formulation is validated not by a single controlled test but by thousands of real procedures across different operating conditions.
This is why experienced artists consistently report that pigment performance from established brands with long track records is more predictable than newer formulations — the formulation has already encountered and been adjusted for the edge cases that only emerge in large-scale real-world use.
The Second Control Point: Machine Parameters for Eye Area Work
Why Standard Stroke Depth Is Wrong for the Periorbital Zone
Standard PMU machines have needle stroke depths between 2.0–3.0mm. For thicker skin areas like the brow body or lip, these parameters are appropriate. For the periorbital zone — where skin is 0.5mm — this means the needle is penetrating four to six times deeper than the skin's actual thickness with every single puncture.
The consequence of this geometric mismatch isn't subtle. Every needle pass is going beyond the papillary dermis (the ideal retention zone at 0.5–0.8mm) into the capillary-rich reticular dermis (1.0–2.0mm) or even subcutaneous fat. This is where red and blue migration originate — not because of the pigment, but because of where the pigment is being deposited.
Machines with adjustable stroke depth in the 2.0–2.5mm range have been specifically validated through field use as the correct parameter for brow and eye area work. At 2.0–2.5mm stroke depth, the needle still reliably reaches the papillary dermis (since the skin compresses during puncture), but is far less likely to routinely pass through into the lower dermal layers or subcutaneous tissue.
The Biomaser U1 Pro Approach to Multi-Zone Coverage
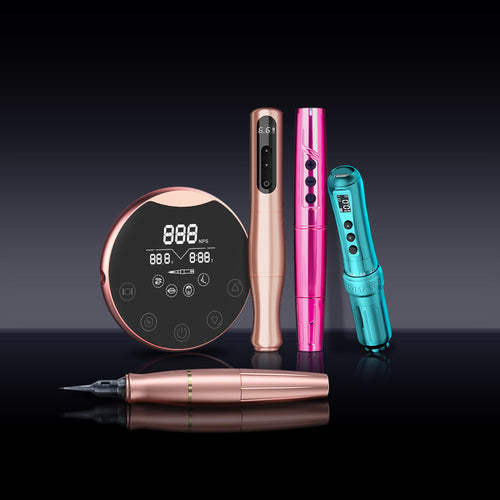
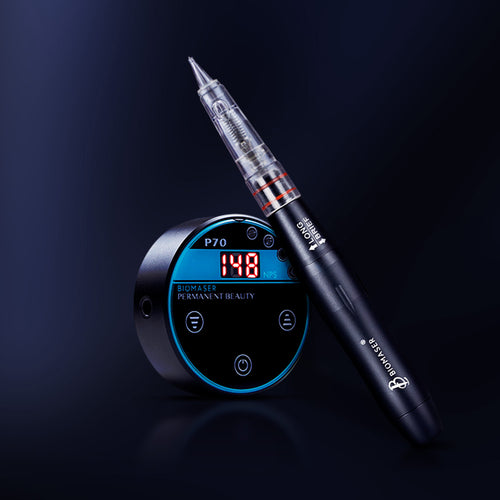
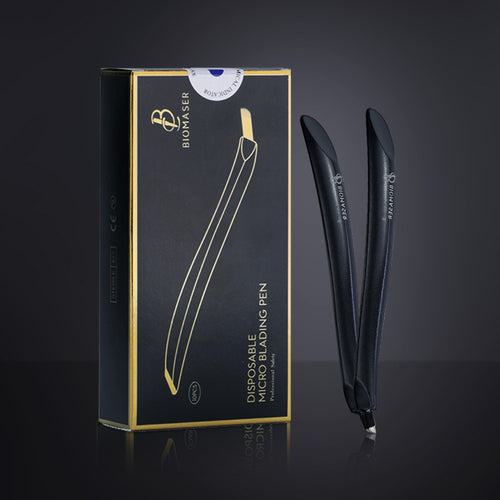
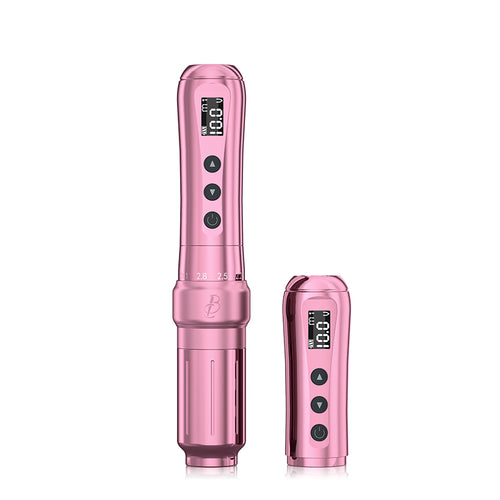
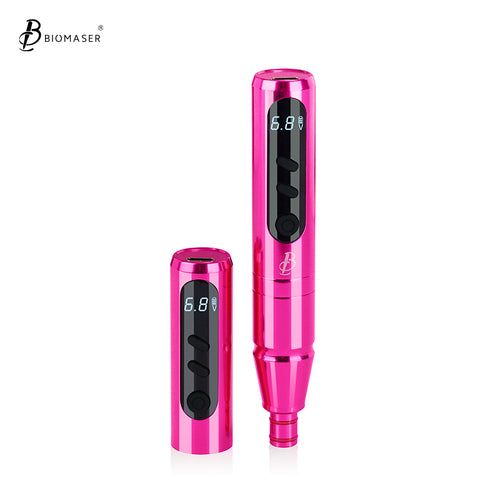
The Biomaser U1 Pro machine's six adjustable stroke depth settings were developed specifically to address the multi-zone nature of PMU work. For the periorbital zone, the shorter stroke depth setting provides the depth control needed for the thinnest skin. For the brow body, the standard stroke depth setting provides adequate penetration for solid saturation. This capability — having one machine handle multiple depth requirements without device change — is a practical workflow advantage, but more importantly, it's the key to achieving zone-specific depth control that prevents migration.
Technique Parameters: The "Slow, Light, Dense" Framework
Even with the correct machine settings, hand technique matters significantly in the periorbital zone. The recommended framework for this area is:
Slow: Reduce punctures per second to give the skin adequate time to absorb each pigment deposit before the next needle pass. Fast repetition rates don't allow the dermis to accept each deposit cleanly, resulting in pigment being pushed laterally rather than settling vertically — which produces uneven color and migration.
Light: Apply minimal downward pressure. The goal is to reach the papillary dermis through gentle repetitive punctures, not through forceful penetration. Heavy pressure compounds the depth problem by mechanically driving the needle beyond the target layer.
Dense: Use tighter needle spacing in the periorbital zone than you would in thicker skin areas. The combination of shallow penetration and tight spacing means each individual deposit carries less pigment load, which reduces the lateral spread that causes migration — but the overall density is maintained through the number of passes.
The Third Control Point: Needle Selection
Why Needle Geometry Directly Affects Color Migration Risk
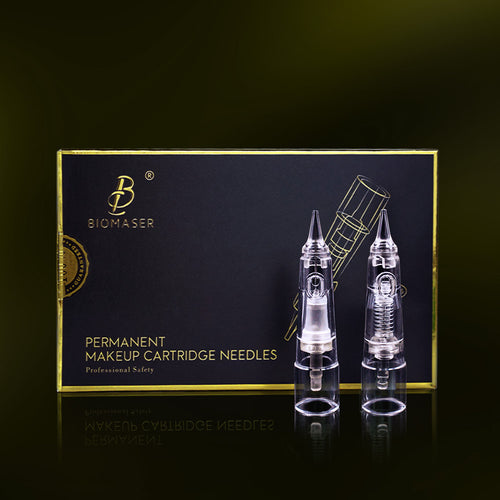
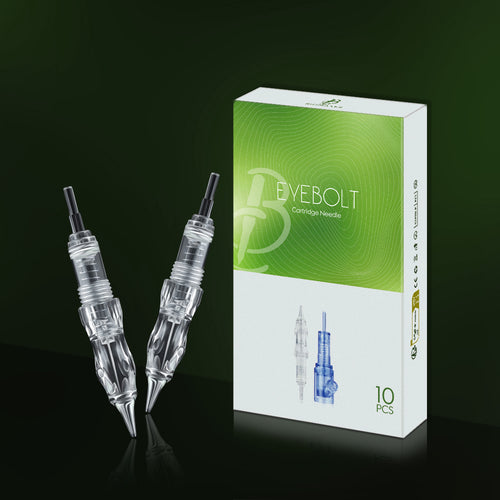
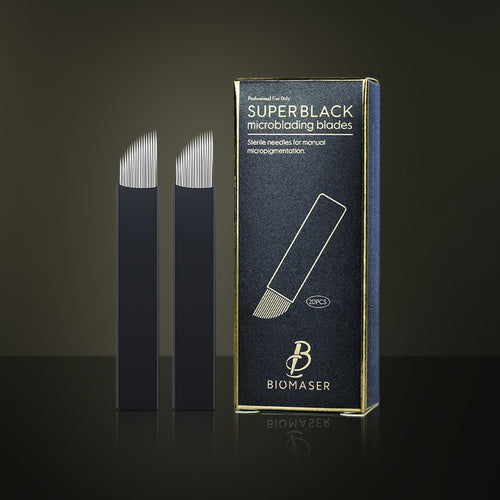
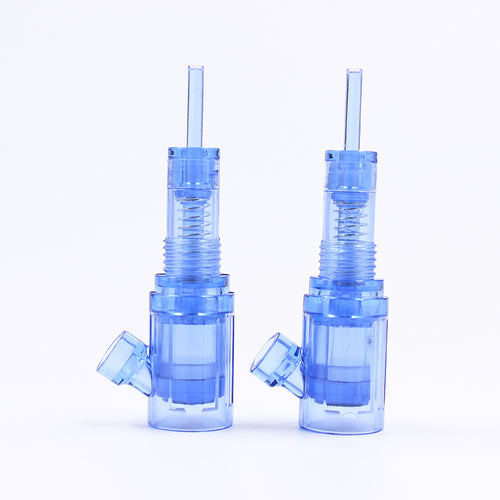
The needle's tip angle, body geometry, and ink reservoir design all affect two critical variables: how consistently the needle punctures to the same depth, and how uniformly pigment is released at each puncture point. Both variables directly influence color migration risk.
Needles with inconsistent tip geometry produce variable puncture depth even at the same machine stroke setting — some punctures reach the target dermal layer, others pass through it. The resulting pigment distribution is uneven, with some areas receiving pigment in the correct layer and others receiving it too deep.
Precision-ground needle tips from manufacturers who prioritize geometric consistency (rather than just sharpness) produce more predictable puncture channels. The consistency advantage is most significant in the periorbital zone, where the margin for depth error is measured in fractions of a millimeter.
Single-Use vs. Extended-Use Needles in High-Precision Work
Re-used needles develop micro-abrasions on the tip that change the puncture geometry over multiple uses. Even with careful cleaning and sterilization, the physical wear on the needle tip changes how it interacts with skin — and in the periorbital zone, these changes are enough to affect depth consistency and pigment release uniformity.
For eye and brow work specifically, high-frequency needle replacement — or the use of high-quality single-use cartridges — is a meaningful risk reduction strategy. The cost of a cartridge per procedure is negligible compared to the cost of a color migration correction procedure or client dissatisfaction outcome.
Aftercare: The Window Where Most Clients Lose Their Color
The 72-Hour Critical Window for Eye Area PMU
The periorbital zone's extreme vascularity and thin skin mean that the post-procedure inflammatory response is more pronounced here than in any other PMU location. During the first 72 hours, the combination of dilated blood vessels, immune cell activity, and the skin's barrier compromise creates conditions where pigment can be actively displaced from the dermis if the client doesn't follow proper aftercare.
The most important aftercare behaviors for eye area PMU:
- No eye rubbing: Mechanical friction on the periorbital area is the highest-risk behavior — it directly physically dislodges pigment that hasn't yet integrated into the dermis
- Avoid steam and heat: Saunas, hot showers, and steamFacials cause vasodilation that increases blood flow to the area, intensifying the red color effect during healing
- No eye makeup for 48–72 hours: Cosmetics application and removal around the treated area introduces both mechanical friction and chemical exposure that can compromise pigment integration
- Cold compresses in first few hours: Cool compresses reduce the initial inflammatory response, limiting the vasodilation that amplifies red tones and causes color migration
What You Should Tell Clients About the 4–6 Week Stabilization Period
The final color result in eye area PMU typically doesn't stabilize until 4–6 weeks post-procedure. During this window, clients will observe the color going through several apparent phases — initially very dark, then appearing to fade significantly, then gradually returning to the target color. This is normal. The apparent "fading" in the first 2–3 weeks is primarily the superficial pigment being shed along with the micro-scab that forms over the puncture sites — not actual pigment loss from the dermis.
Clients who understand this process are far less likely to panic and demand immediate correction in the early healing window, which is the most common source of unnecessary secondary procedures that can create new problems.
FAQ
Why does my eyeliner PMU always look good immediately but turns blue-grey within weeks?
This is the classic over-deep implantation signature. The immediate result looks good because pigment is sitting at or near the surface. Within weeks, the pigment that was placed too deep has settled into the subcutaneous fat layer, where light scattering around fat cells and blood vessels creates the blue-grey cast. The fix is to switch to a shorter stroke depth setting (2.0–2.5mm) and select a nano-scale pigment formulation (0.020μm particle size) — these two changes together eliminate the depth problem that causes the blue-grey shift.
What's the ideal stroke depth for eye liner PMU specifically?
For eyeliner work on the thin skin of the waterline and lid margin, a stroke depth of 2.0mm or below is the target zone. Many machines don't go this low, which is why dedicated eye-area devices or machines with fine stroke adjustment are important for this work. If your machine's minimum stroke depth is 2.5mm or above, you can compensate partially with a lighter hand technique, but you're still operating at a geometric disadvantage compared to a machine that can reach the 2.0mm range.
My client has very oily skin around the eyes — does this change my approach?
Yes — oily periorbital skin requires adjusting both pigment selection and technique. For oily skin, use a nano-scale pigment with higher pigment concentration to compensate for the fact that sebum can push pigment particles laterally during implantation, reducing the precision of deposit placement. Increase the number of passes slightly (while reducing the pigment load per pass) to build saturation through accumulation rather than single-pass density. The goal is to achieve target color without the oily skin pushing pigment into uneven distribution patterns.
How can I explain color migration risk to clients without losing their confidence in the procedure?
Use this framing: "The eye area is the most technically demanding zone in all of PMU — it requires different equipment settings and pigment specifications compared to the brow or lip. We use specialized parameters specifically for this area to minimize every known risk factor. The results are excellent when these protocols are followed, and I'm going to walk you through exactly what those protocols are so you understand why the aftercare instructions matter." This positions you as technically rigorous rather than warning of problems — clients respond better to technical confidence than technical caveats.
How long do eye area PMU results typically last, and what affects longevity?
Under ideal conditions — correct depth, appropriate pigment, minimal tissue trauma, and proper aftercare — eye area PMU typically maintains satisfactory color for 1–3 years. Longevity is primarily affected by: client's skin metabolism rate (faster metabolism = faster pigment clearance), sun exposure (UV accelerates pigment oxidation in the dermis), and the quality of the original pigment formulation (premium nano-scale pigments last measurably longer than standard formulations due to better dermal integration).
Key Takeaways
- Eye and brow PMU color migration is primarily a depth control problem — the periorbital zone's 0.5mm skin thickness means standard machine stroke depths routinely deposit pigment too deep, causing red and blue migration effects
- Pigment particle size matters: nano-scale formulations (0.020μm) reduce capillary absorption and immune clearance, providing a meaningful migration risk reduction that standard particles don't offer
- Machine stroke depth for the periorbital zone should be in the 2.0–2.5mm range — significantly lower than standard settings calibrated for thicker skin areas
- Technique framework: slow puncture rate, light pressure, dense needle spacing — this combination achieves target saturation with minimal tissue trauma in the most technically demanding zone of the face
- Needle quality is a controllable variable: precision-ground, high-consistency needle tips and high replacement frequency reduce depth variation that causes migration even when other parameters are correct
- Aftercare in the first 72 hours is critical — the periorbital zone's high vascularity means that post-procedure inflammation is both more intense and more visible than anywhere else on the face
