


A Step-by-Step Guide to Perform a PMU Patch Test Safely
As a permanent makeup artist, your skill is what clients see, but your commitment to safety defines your professionalism. A beautiful set of new brows or blushed lips can be ruined if a client has an unexpected allergic reaction. A PMU patch test is one of the simplest ways to protect clients from unexpected allergic reactions to pigments or anesthetics. This detailed guide will show how to prepare, perform, and interpret a PMU patch test in a safe and professional way.

What is a PMU Patch Test?
A PMU patch test is a simple safety test performed before a permanent makeup procedure. It involves applying a small amount of the pigment and numbing cream to a discreet area of skin, normally the back of the ear, to find out whether you are allergic to the pigment. It is a necessary first step for many different reasons.
Why is the PMU Patch Test a Critical First Step?
- First and foremost, it safeguards your client's health. PMU products contain substances that result in skin reactions from mild itching to extreme swelling and blisters. A patch test reveals these sensitivities ahead of time and prevents a painful and disturbing outcome for your client.
- Secondly, it protects your professional reputation. Conducting a patch test shows that you're a cautious and considerate artist. It is frequently required by insurance and provides you with legal protection by providing evidence that you've taken the necessary precautions.
- Finally, it builds trust. Taking the time to do this test makes the client feel safe and cared for. This simple step reassures that health and well-being are foremost for clients, so they can start the appointment on a positive note.
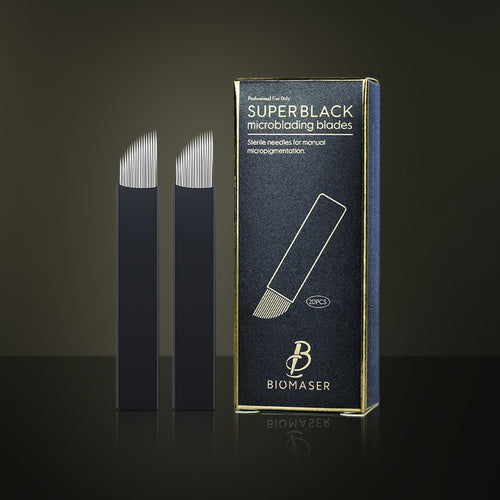
What Exactly Should Be Tested?
Both PMU pigments and numbing agents should be tested prior to the procedure. Pigments sometimes contain allergens in their ingredients, and anesthetic gels or creams may also prompt sensitivity. Testing them both ensures that the client won't feel any discomfort or unanticipated skin reactions during the permanent makeup procedure.

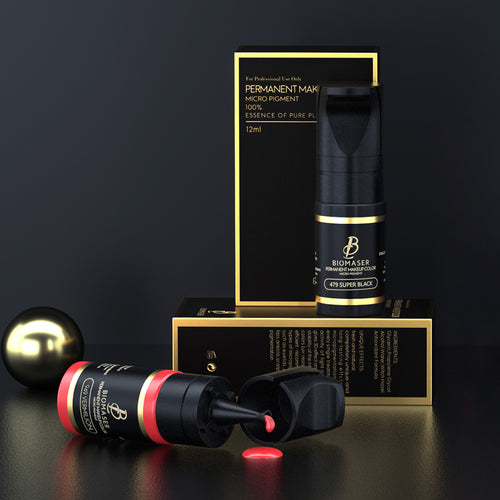
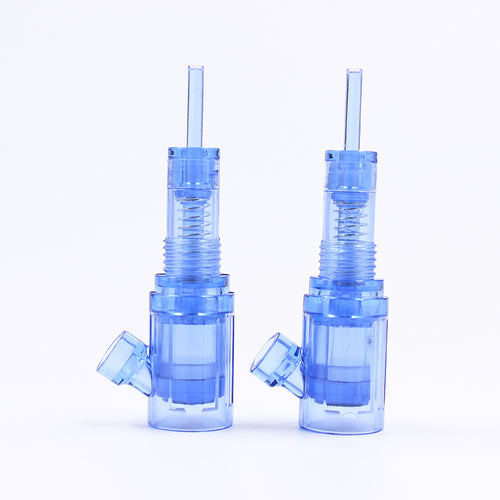
Biomaser Lips Pigment Collection
Who Should Take a PMU Patch Test
Not every client reacts the same way. A patch test is especially recommended for:
- Clients receiving permanent makeup for the first time
- Clients with a history of skin sensitivities or allergies
- Clients who are switching to new PMU pigments
- Clients using permanent makeup anesthetic for the first time
Preparing for a PMU Patch Test
A successful patch test begins with proper preparation. Proper preparation results in true results and safety of the client and artist.
Materials and Tools Required
To safely conduct the test, prepare the following materials in advance:
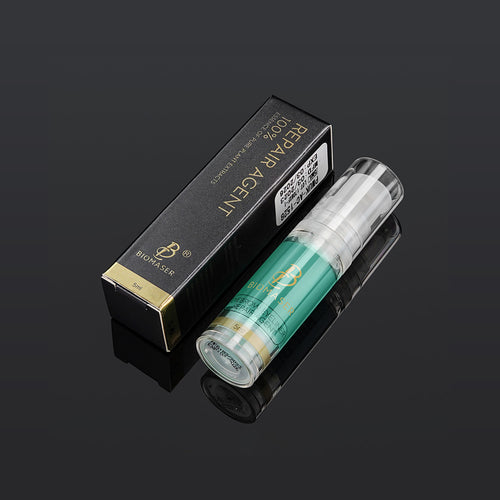
- PMU pigment sample (or permanent makeup anesthetic, if testing anesthetic)
- Disposable applicator or microbrush
- Medical gloves
- Antiseptic or alcohol swabs
- Cotton pads
- Skin marker
- Small bandage or adhesive (optional)
Pre-Test Precautions
Ask the client to refrain from using abrasive skincare agents, exfoliation, or sunburn prior to testing. Ensure that the client reports any known allergies, skin conditions, or drugs that could invalidate results.
The Step-by-Step Method for a Correct PMU Patch Test
After getting the tools prepared, you are ready to perform the test itself. It is very important to do the patch test properly. These are the five steps to make sure you get the right results while keeping things clean and professional.
Step 1: Choose the Test Location
Pick a hidden but sensitive area of skin for the test. The ideal spot is usually behind the ear because the skin is thin and is not going to get rubbed away or washed away easily. The inner elbow or the inner wrist is also a suitable alternative.
Step 2: Prepare the Area
Put on a new pair of disposable gloves. Clean the small area with an alcohol wipe to remove any oils or germs. Let the area air dry completely. A clean surface is needed to prevent infection and get an accurate result.

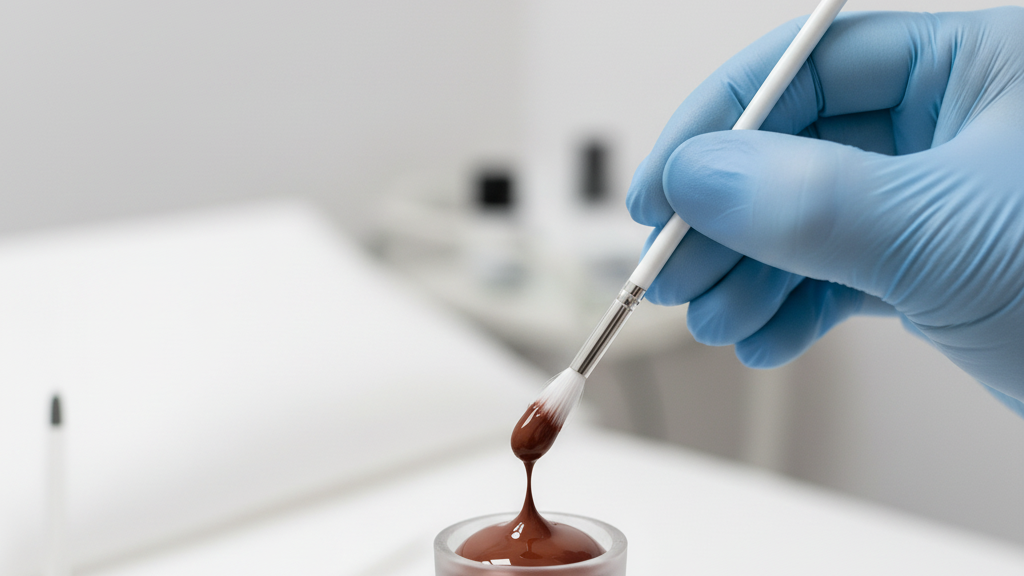
Step 3: Do the test
This step has two parts: one for the pigment and one for the anaesthetic.
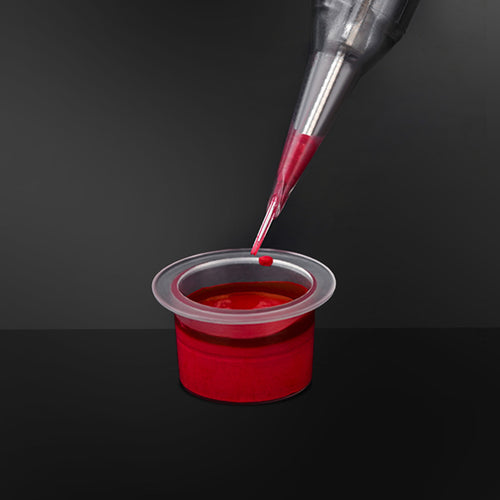
- For the pigment: Open a sterile needle or tool. Then dip it into the colouring you want to use. Scratch the clean area very lightly, or poke it a few times. The idea is to just break the top surface of the skin to copy what happens during the real procedure. Rub a small amount of the pigment gently into these marks.
- For the anaesthetic: apply a small amount of the PMU anaesthetic cream you plan to use in a spot next to the pigment test (but not touching it).
Step 4: Clean and document
Leave the products there for about 5 to 10 minutes. Then, gently wipe away any extra product with a clean, dry cotton swab. Take a clear photo of the test spots. Put the photo in the client's file with a note about the date, time, and products used.
Step 5: Tell the client what to do
Give your client clear instructions for the test area.
- Explain that they need to watch the spots for the next 24 to 48 hours.
- Tell them to keep the area clean and dry and not to scratch it.
- Notice the signs of a bad reaction, like redness that doesn't go away, swelling, itching, or bumps.
- Make sure they know how to contact you if they see any of these signs.
How to Interpret the Results of a PMU Patch Test
After the 24-48 hour waiting period, it's time to check the test area. Reading the results correctly is the final, important step to see if it's safe to go ahead with the full permanent makeup application.
Negative Result (All Clear)
A negative result is what you want. The skin in the test area will look normal. There should be no redness, swelling, itching, or bumps. Any pinkness from the scratch should be gone. A negative result means the client is not allergic to the products, and it is safe to do their PMU treatment. Be sure to write this result in their client file.
Positive Result (Stop and Reassess)
A positive result means there is a bad reaction. The skin may look red, raised, itchy, or have small bumps or blisters. The client might feel a burning or itching that doesn't stop. If you see any of these signs, you must NOT do the permanent makeup procedure with those products. Document the result with another photo. Tell the client about the reaction and explain that you cannot do the procedure. If the reaction is strong, suggest they see a doctor.
Tips for a Safe and Accurate PMU Patch Test
If you want the test to be accurate, you need to take a few extra steps. Otherwise, the results might be unreliable.
- Always use tools that are sterile and disposable to prevent cross-contamination.
- Do the test in a controlled, clean environment.
- Don't use too much pigment—just a small amount is enough.
- Please remind the client not to scratch, rub, or wash the area excessively during the waiting period.
- Make sure you keep a record of the test results for each client.
These small habits make permanent makeup practices safer and build trust between the artist and the customer.
FAQs About the PMU Patch Test
Q1: How long before the actual appointment should I do the patch test?
The best time is 48 hours to one week before the appointment. This gives enough time for any delayed reactions to appear.
Q2: What if a client refuses a patch test?
Explain the safety risks. If they still refuse, have them sign a waiver saying they are refusing the test even after you explained the risks. The safest and most professional choice, however, is to not perform the service.
Q3: Can clients perform a patch test on themselves at home?
This is a bad idea. A patch test needs to be done by a professional to make sure it's clean, done correctly, and documented for legal and insurance reasons. A home test may not be accurate.
Q4: Do I need to test every single color I plan to use?
You should test the main color you will be using. If you plan to mix pigments, it is smart to test the mixture as well. When in doubt, it is always better to test.
Ensure Client Safety with a PMU Patch Test
A good, responsible artist will know how to do a correct PMU patch test. It's a simple practice that shows how much you care about your work. Make this a standard part of every client's experience, and you will protect them from harm, build a great reputation, and help your business succeed.