


Ink Splatter When Tattooing: 7 Common Causes and How to Stop It
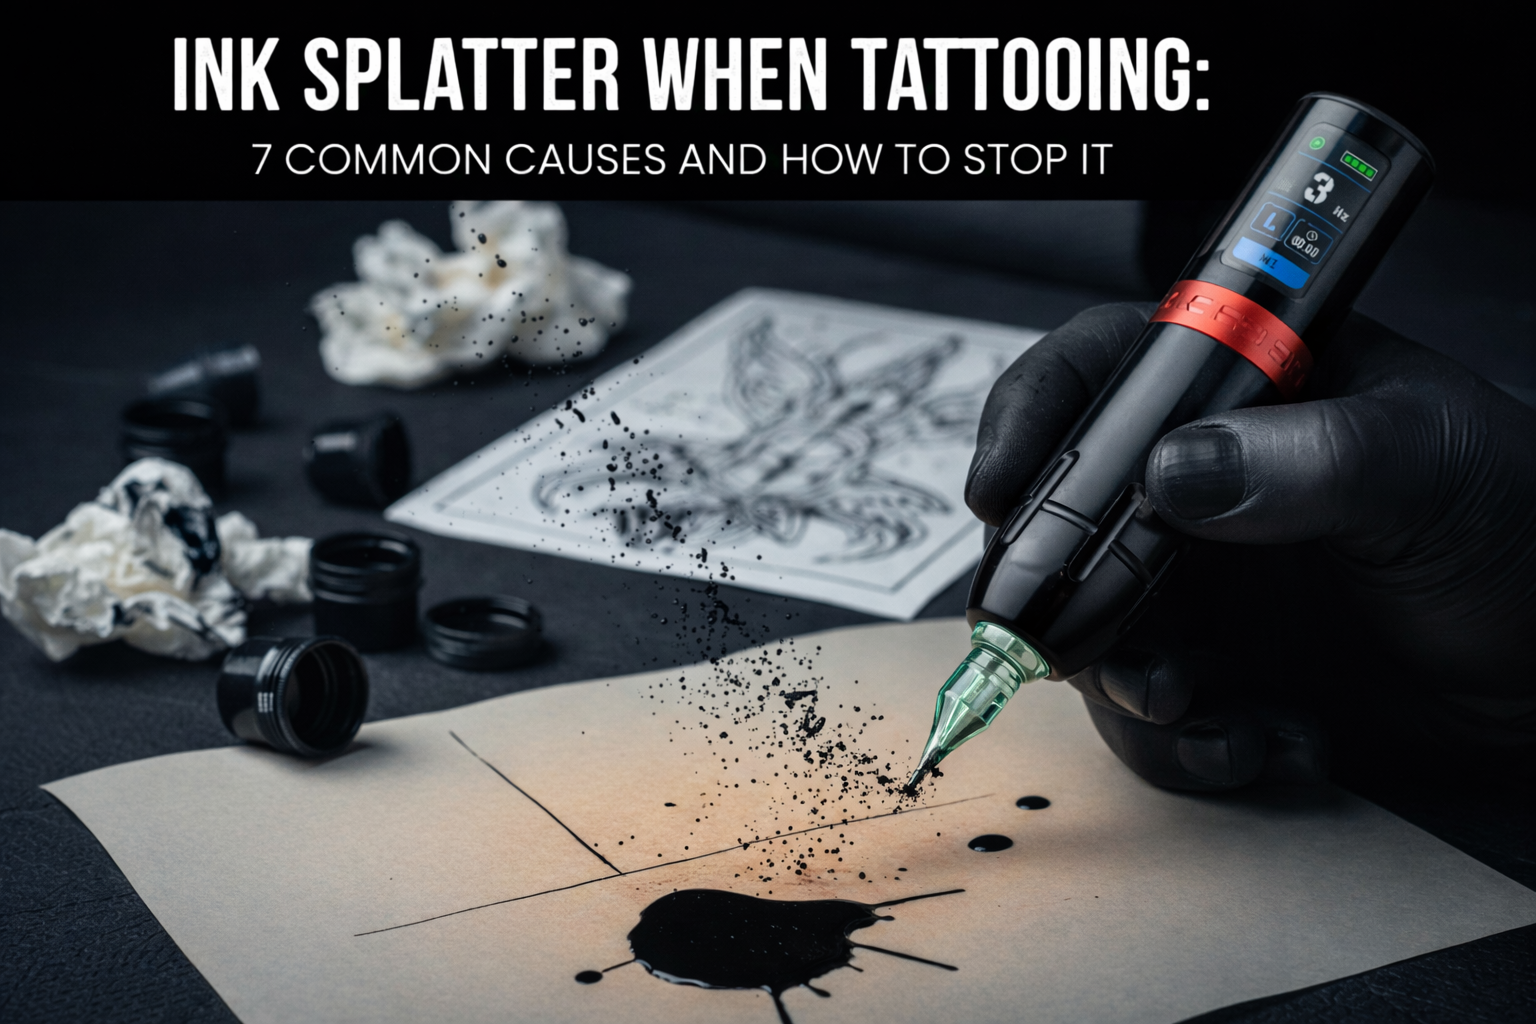
Ink splatter can make a mess of your workspace and ruin a crisp stencil in seconds. It wastes expensive pigment and makes the process look chaotic. Fortunately, getting a clean flow is a skill you can master by adjusting your equipment and your hand movements.
Difference Between Good Flow and Messy Splatter
When things run right, ink moves from the tip into the skin without a mess. Knowing what to look for helps you fix issues fast.
Identifying the Problem First
- Normal Flow: A clean line forms. The needle tip stays clear, and you can see your stencil perfectly.
- Splatter: Tiny droplets spray across the skin. This usually happens because the motor is too fast or the needle is too long.
- Pooling: Ink gathers in a large puddle. This hides your path and often happens if you hold the machine straight up.
- Spitting: The machine throws thick blobs of ink. This is often caused by a clog or a dirty needle tip.
Small droplets are normal, but constant spray means your setup needs a change. You should see a sharp line without a dark cloud around the needle. Check these seven common mistakes to stop the spray and get back to work.
Cause 1: High Tattoo Machine Voltage and Speed
This is the most frequent reason for spray. When the tattoo machine speed is too high, the rapid vibration ejects the liquid from the reservoir. On a coil machine, this happens if the contact screw is too tight. On a rotary, it happens when the tattoo machine voltage is turned up too far.
Finding the Right Power Setting
To fix this, start with a lower power setting. If you are wondering what voltage should my tattoo machine be on, a good starting point is 6V to 8V.
- Lining: Try 7.5V–9.5V for rotaries or 7V–9V for coils.
- Shading: Try 6V–8V for rotaries or 5.5V–7V for coils.
Listen to the motor. It should hum steadily. If it sounds like a high-pitched buzz and ink is flying, turn the power down by 0.1V increments until the spray stops.
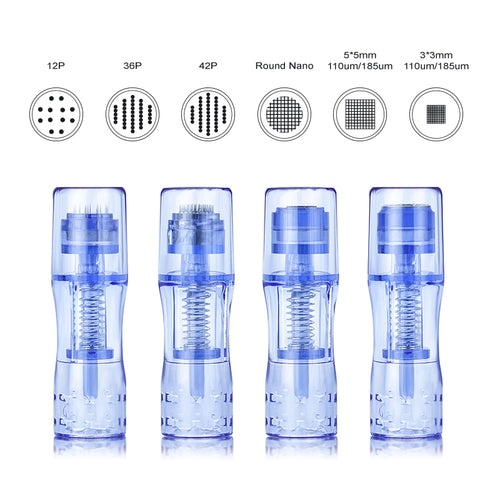
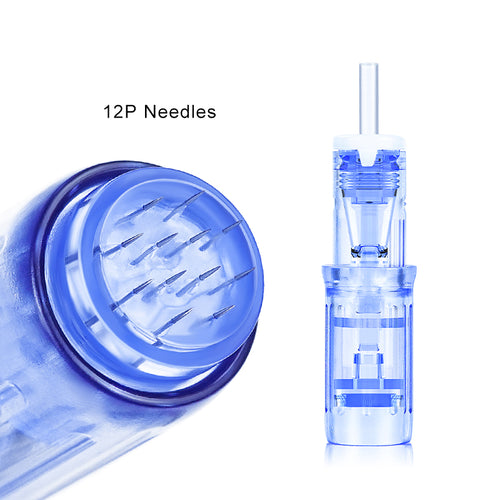
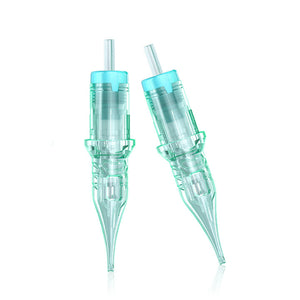
Cause 2: Wrong Tattoo Machine Needle Protrusion
The distance the needle sticks out from the plastic tip determines how the ink hits the skin. If it hangs out too far, the ink loses its "wicking" connection and starts to drip or fly off.
The Correct Needle Depth
The "Goldilocks zone" for a tattoo machine needle is usually 2mm to 2.5mm. This is roughly the thickness of two stacked dimes. If the needle stays too deep inside the tube, ink will pool and hide your line. If it sticks out 3mm or more, the needle travels too far, causing it to flick ink as it retracts.
Adjusting Your Setup
For lining, 2.0mm to 2.5mm provides better visibility. For shading, 1.2mm to 2.0mm is ideal for consistent saturation. Always check this distance before you start a session. If you see splatter, pull the needle back into the tube slightly.
Cause 3: Rubber Band Tension on Coil Machines
Coil machines rely on physical tension to keep the needle bar steady. If the bar wobbles or shakes side-to-side, it will spray ink in every direction instead of delivering it straight down.
Too much tension from using three or four rubber bands can actually distort the needle's path. Use one or two fresh rubber bands with just enough pressure to keep the bar from rattling. If the bands are old and stretched out, the needle will dance around in the tip, causing erratic ink delivery. Replace your rubber bands every day to keep the movement consistent.
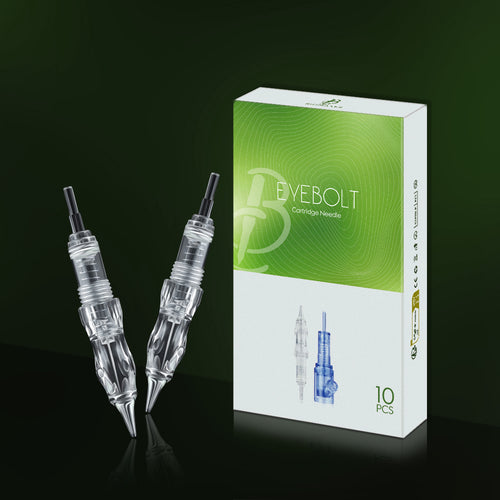
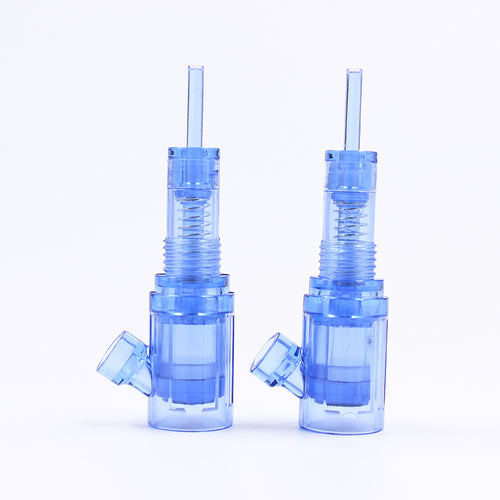
Cause 4: Clogged or Blocked Tattoo Needle Cartridges
Tiny obstructions can disrupt the flow of ink and cause it to spray out sideways instead of flowing down the needle shaft.
Common Sources of Clogs
Paper towel fibers are a major culprit. If you wipe the needle too hard, small bits of paper get caught in the tattoo needle cartridges.
Another issue is using too much petroleum jelly. If a big glob of jelly gets sucked into the tip, it blocks the ink and causes "spitting."
Maintenance Tips
- Apply a very thin layer of lubricant to the skin.
- When you need to clean the needle, dip it in a rinse cup and "dab" it on a paper towel rather than wiping it.
- If you see fibers stuck inside the plastic tip, throw the cartridge away and start with a fresh one.
Cause 5: Poor Ink Loading Technique
How you pick up ink from the cap matters just as much as how you put it into the skin. Many artists make the mistake of running the tattoo machine while dipping it into the ink, which 'vacuums' up too much liquid and overfills the cartridge. Instead, dip only the very tip of the needle into the ink cap. You don't need to submerge the whole plastic housing.
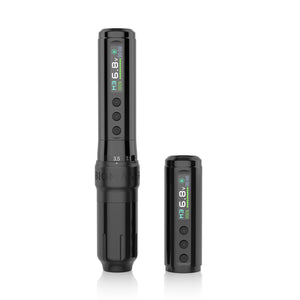
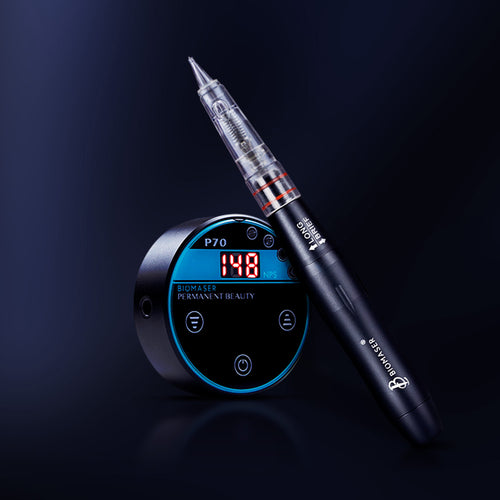
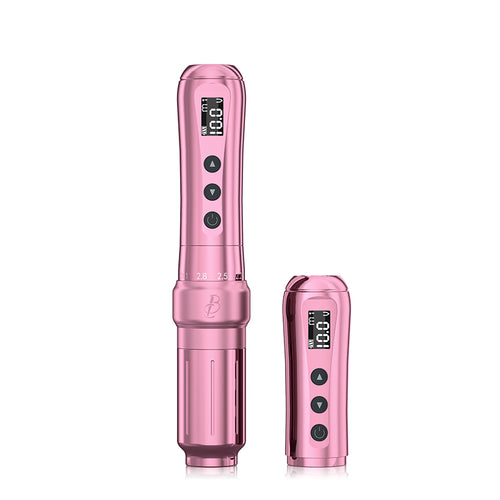
Biomaser Plenilune U1 Pro Wireless Tattoo & PMU Machine With Adjustable Stroke
After loading, gently touch the needle tip to a clean paper towel. This removes the "hanging drop" that usually causes the first big splatter of a line. Reload more often with less ink rather than trying to fill the tube to the top.
Cause 6: Incorrect Machine Angle During Use
The angle at which the needle enters the skin acts like a ramp for the ink. If the angle is wrong, gravity and vibration work against you, resulting in spray.
The Ideal Angle: An 80 to 90-degree angle is the 'sweet spot' for lining to ensure precision. A 45 to 60-degree angle is preferred for shading. If your angle is too flat (less than 30 degrees), the needle might skip and throw ink.
Cause 7: Pressing the Cartridge Tip Against the Skin
If you press the plastic tip against the skin, you can create a seal that forces ink out of the sides, leading to pooling. This leads to massive pooling and "blowouts" where you can't see your stencil. You should "hover" just above the surface, letting only the needle penetrate. This gives the ink room to flow correctly and keeps your view clear. If you find yourself scrubbing the skin with the plastic, you need to learn how to adjust tattoo machine needle depth so the needle reaches the skin while the housing stays away.
How to Adjust Tattoo Machine Settings to Prevent Splatter
A consistent routine stops mess and saves time. Follow these steps to ensure your equipment is ready for a clean session.
Complete Setup Checklist
- Set Needle Protrusion: Adjust your grip so the tattoo machine needle sticks out 2–2.5mm.
- Set Voltage: Start your tattoo machine voltage between 6V and 8V.
- Check Stroke Length: Use a stroke length of 3.0–3.5mm for general work.
- Test Early: Run a test line on the edge of a practice skin.
Pre-Session Testing Routine
Run the tattoo machine in the air and listen for a steady, consistent hum. If the sound is jagged, check your needle bar or bands.
Test on a practice scrap to check the ink flow. If you see spray, lower the power by 0.1V. If the lines are too light, increase the power slightly. Make these final changes on practice material to keep the actual tattoo clean.
Troubleshooting Your Tattoo Machine Settings
If you are in the middle of a tattoo and splatter starts happening, use this quick reference to find the fix. Most problems have a very simple solution.
| Problem | Likely Cause | Fix |
|---|---|---|
| Ink spraying in a wide arc | Voltage too high | Lower voltage by 0.1V |
| Big ink blobs at the start | Overloaded needle | Dab tip on paper towel |
| Ink spitting or bubbling | Clogged tip | Rinse in water and dab |
| Lines are blurry and messy | Needle out too far | Reduce protrusion to 2mm |
| Machine "dragging" | Angle too flat | Adjust to 45 degrees |
Advanced Tips and Drills for Clean Tattooing
Managing your workspace and hand movement keeps your station professional and your lines sharp. Use these methods to control ink flow and improve your technique.
Skin Prep and Hand Coordination
- Use Thin Ointment: Apply a very thin layer of lubricant to the skin. If it is too thick, it clogs the needle tip and sprays. If the skin is too dry, the needle catches and splashes.
- Match Hand Speed: Move your hand in sync with the motor. If your hand moves too slowly while the machine runs fast, ink builds up in one spot and splatters. Use a steady, confident motion.
Practice Drills for Ink Control
Try these exercises to see how your tattoo machine settings change the result:
- The Voltage Ladder: Draw five parallel lines. Start at 6V and increase by 1V for each line until you hit 10V. Note where the splatter begins so you know your machine's limit.
- The Depth Drill: Draw lines at 1mm, 2mm, and 3mm needle depths. This shows you why the 2mm "Goldilocks zone" delivers the cleanest line.
- Loading Reps: Practice dipping only the needle tip into the ink and dabbing the excess on a paper towel. Repeat this 20 times until the motion becomes automatic.
Master Your Tattoo Machine Settings for Cleaner Work
Messy ink spray stops being a problem when you take control of your equipment. Stick to a 45-degree angle, keep your needle at 2mm, and dial your power to 7.5V. These small changes fix most issues instantly. Clean tattooing is a technical skill you can reach with a solid setup routine.