Microblading Aftercare and Safety Tips
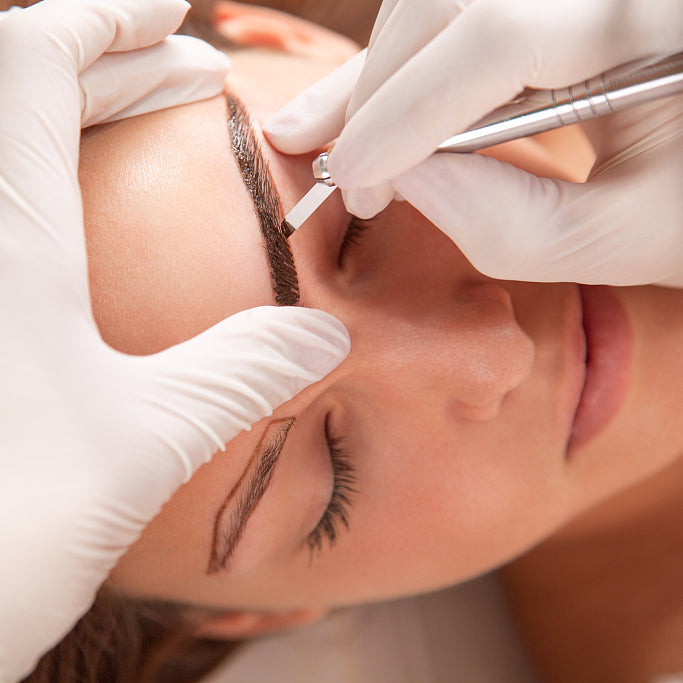
Getting your brows microbladed can give you the full, natural-looking arches you've always wanted. But the procedure is really only half the battle. Proper aftercare is crucial for avoiding complications and achieving beautiful, long-lasting results. Here's your day-by-day guide to caring for your new microbladed brows.
What to Expect After a Microblading Procedure
Immediately after your appointment, your brows will likely be swollen, tender, and very dark from the pigment. It's completely normal for the area to look a little intense! Over the next couple of weeks, you'll start to see the true color emerge.
- Days 1-2: Keep the area clean and dry to allow healing to begin. Avoid washing entirely, and don't apply creams or ointments yet.
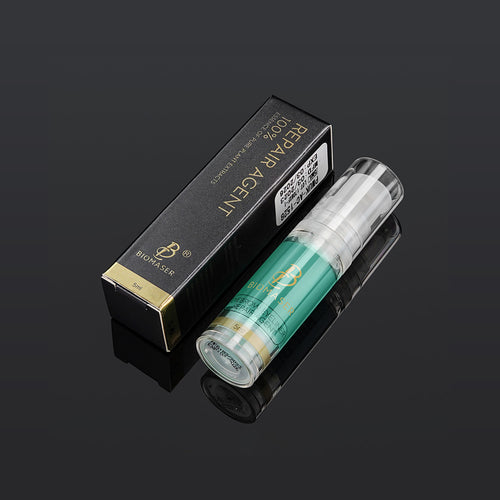
- Days 3-7: Gentle washing and applying ointment can now start. Use a soft, antibacterial soap and carefully cleanse the brows 2-3 times daily. After patting dry with a clean tissue, apply a thin layer of the provided aftercare ointment using a fresh cotton swab.
- Days 7-14: Let any scabbing shed naturally during this time. Avoid picking or scratching! Continue with gentle cleansing and ointment 1-2 times daily.
- Weeks 3-6: Brows should be just about healed by now. Ease back into your normal routine, but avoid chemical exfoliants or acids that can disturb the treated area. Makeup use can resume around the brows if needed.
- Month 1-2: Schedule a touch-up with your artist around 6-8 weeks out. This allows them to reinforce any spots that didn't take pigment fully. Follow a simpler aftercare routine after your touch-up appointment.
Microblading Aftercare Day by Day
Caring for your microbladed brows requires diligence, especially in the first two weeks when they are still healing. Avoiding common mistakes can help prevent irritation, scarring, and poor results.
First and foremost, keep them dry and don't disturb the treated area. Let any scabbing occur naturally. Once gentle washing can start, use only a mild, fragrance-free soap recommended by your technician. Apply any prescribed ointment sparingly. Too much can suffocate the skin and delay healing.
Avoid scratching or picking at scabs, even though they itch like crazy! This can remove the pigment prematurely. Try using an anti-itch cream if they bother you. Also, don't scrub or exfoliate the brows, and avoid direct sun exposure or tanning beds.
Follow your technician's recommendations, not Google's! They know best when it comes to choosing the right aftercare approach for your individual skin type. With proper cleaning and protection, your brows will develop beautifully.
How to Ensure Safe Microblading
While microblading is generally safe when done by a licensed esthetician, any procedure that breaks the skin does carry an infection risk. Luckily, there are steps you can take to ensure as smooth a process as possible:
Vet your technician thoroughly and ask to see examples of their work. Never compromise on skill to save money! A true professional will walk you through what to expect every step of the way.
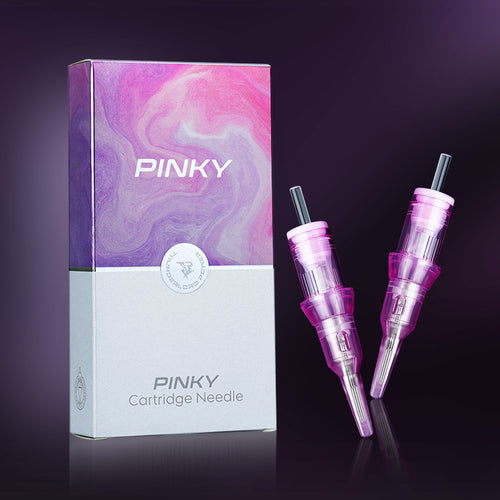
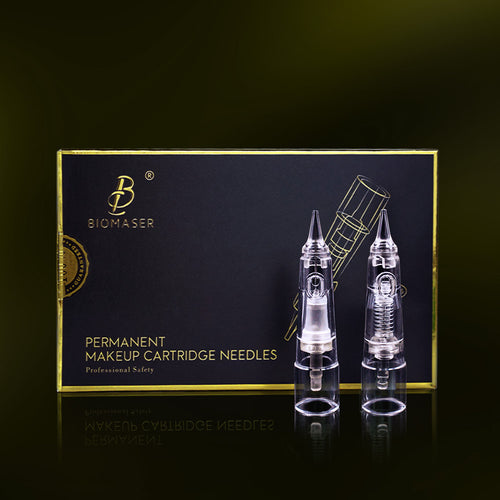
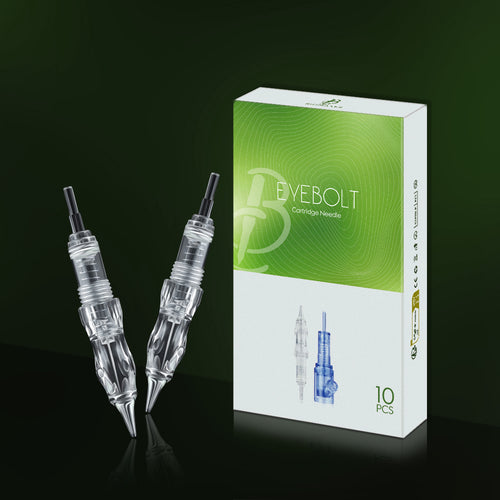
Make sure the technician opens sterile, disposable tools in front of you. This includes fresh needles before each new brow. Reused tools can spread blood-borne illnesses.
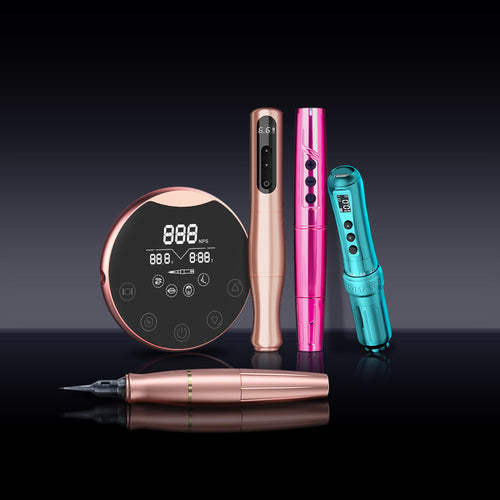
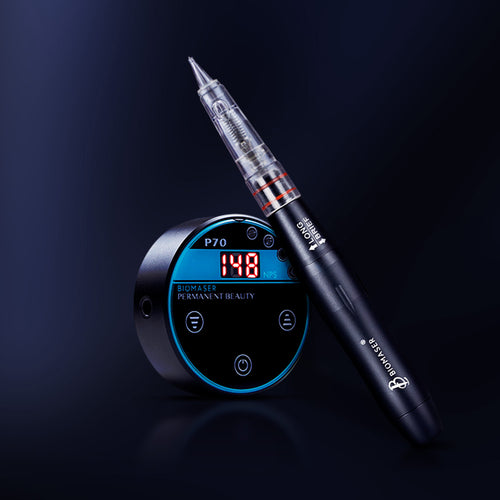
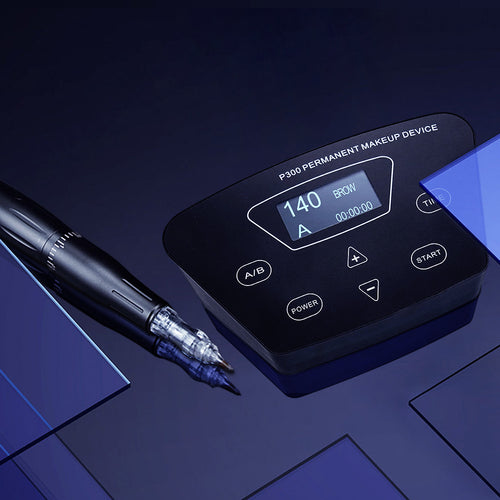
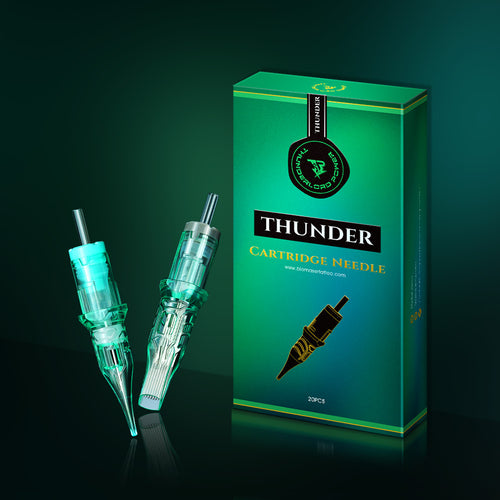
Here are some tips on choosing safe and professional microblading tools:
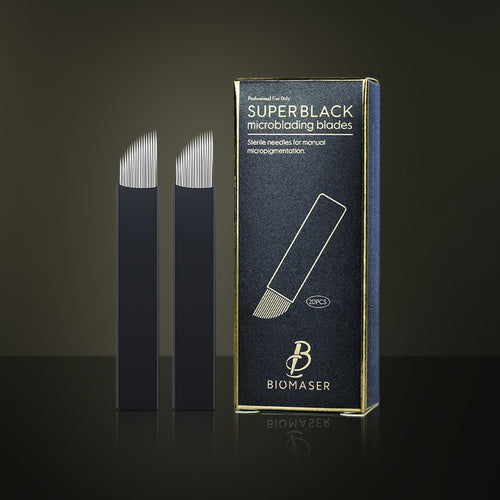
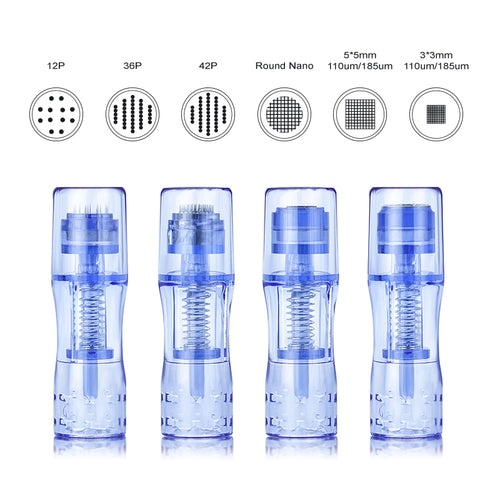
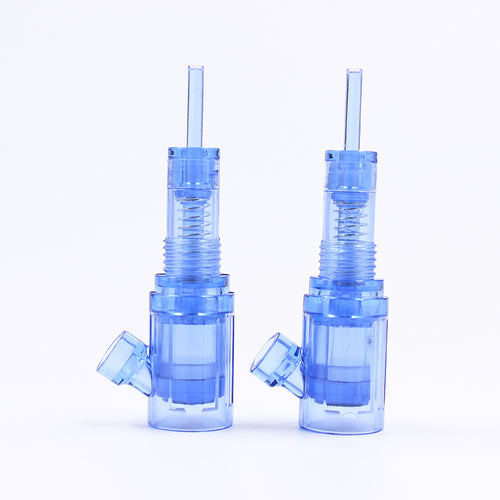
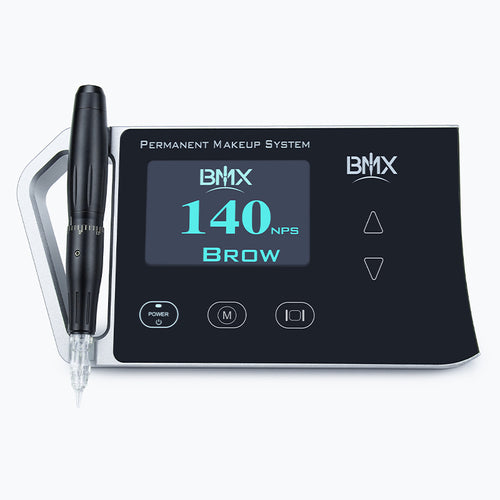
- Quality tools: Ask your technician where they source their needles and other supplies. Quality tools should come from reputable medical suppliers.
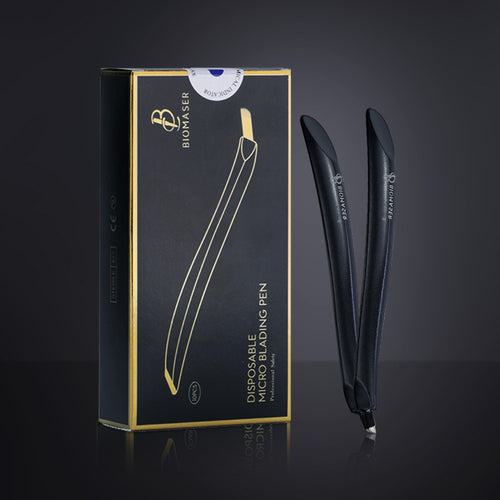
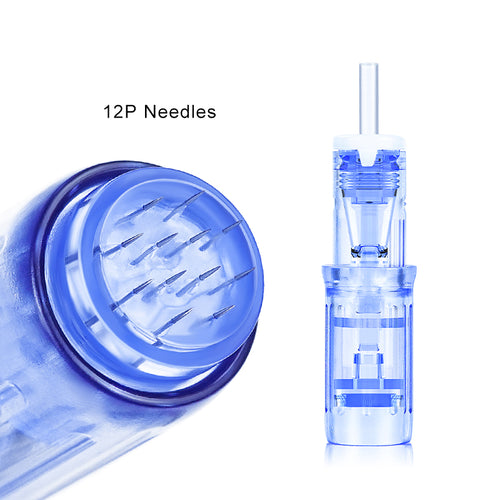
- Disposable needles and handles: Needles and handles should be disposable and only used once. Watch your technician open all sealed packages in front of you.
- Sterilization: All non-disposable tools should be sterilized in an autoclave, not just disinfected. This heating process kills more bacteria.
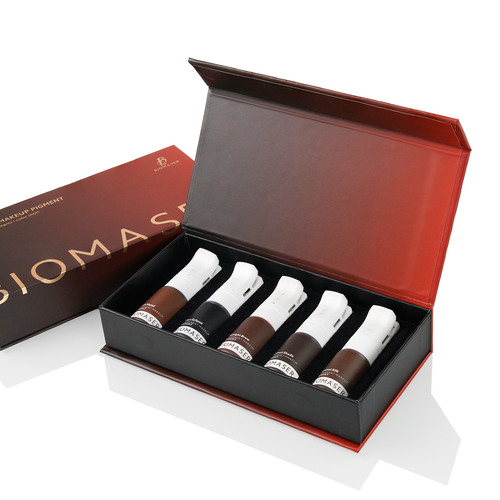
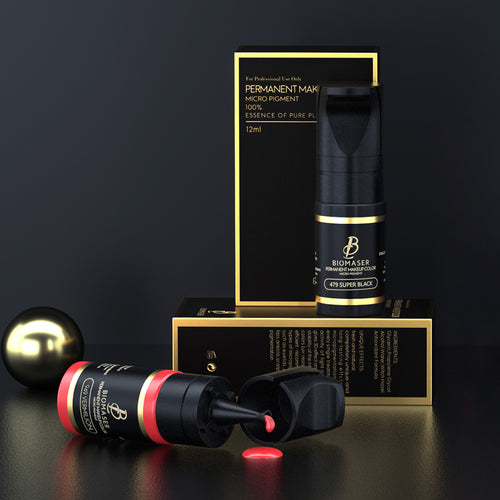
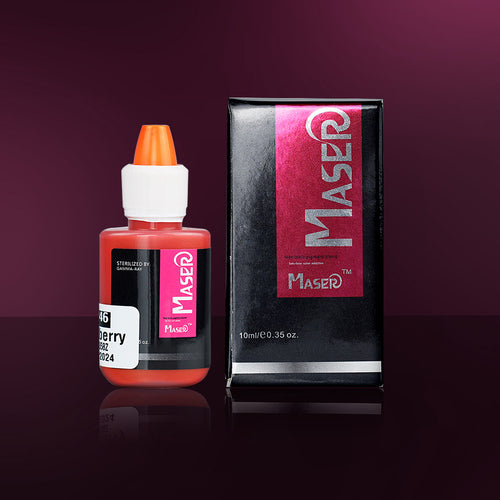
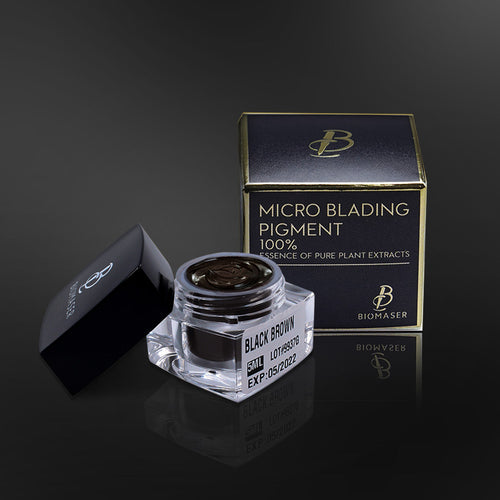
- Quality pigment brands: Look for quality pigment brands, because cheap inks can cause reactions.
- Clean, organized workspace: The workspace should look clean, organized, and professional, not cluttered. This shows attention to safety.
- Sanitation practices: Following proper sanitation practices is a must for any qualified technician. Don't hesitate to speak up or walk away if anything seems off!
- Follow guidelines: Follow all pre- and post-procedure guidelines faithfully. This gives your brows the best chance of healing well. If you have any concerns later, contact your technician right away.
Ultimately, being picky about your artist and staying on top of aftercare is crucial for beautiful microblading results. While your brows transform, get plenty of rest and pamper yourself as they fully heal. Soon you'll be showing off the arches of your dreams! Just stick with the process and avoid picking naturally defined brows to last for months on end.
Common Mistakes in Microblading Aftercare
It's easy to make missteps when caring for freshly microbladed brows. Avoid these common pitfalls to keep your brows looking fabulous.
- Picking at scabs: Picking can remove pigment prematurely and lead to patchy results. Let scabs shed naturally, and use an anti-itch cream if they bother you.
- Using unapproved products: Stick to the aftercare regimen recommended by your technician. Random skincare ingredients can irritate the treated area.
- Not washing properly: Gentle cleansing is important to keep brows clean while healing. Use a mild soap and soft pats with a tissue.
- Scrubbing or exfoliating: Harsh scrubbing can damage the delicate treated skin. Do not exfoliate until fully healed.
- Getting brows wet: Keeping brows dry for the first 5-7 days is crucial. Use shower guards and avoid direct water contact.
- Applying too much ointment: The ointment should be a very thin layer. Too much product can clog pores.
- Exposure to sun/tanning: The sun fades pigment quickly. Wear SPF 30+ daily after healing and avoid direct sun exposure.
With some care and common sense, you can avoid these pitfalls. Be gentle, be patient, and always follow your technician's aftercare advice. Your microblading results will be worth it!
You've Got This!
While the intensity of microblading aftercare may seem daunting at first, stay the course! Proper healing sets you up for naturally beautiful, long-lasting eyebrows.
Be diligent with gentle cleansing, applying ointment, and avoiding picking or scratching those pesky scabs. Your technician is your best resource for tailored advice. And take it from the pros-a little patience goes a long way.
Soon you'll be rocking your dream brows. Just remember, it's normal for things to look a little crazy at first! Trust the process, and you'll get through this transformation in no time. We know you can do it!
Read More
- How to choose microneedle and microneedling pen? - Biomaser
- How should the Permanent Makeup artist communicate with the customer? - Biomaser
- The Art of Tattooing: Unveiling Machine Needles - Biomaser
- Tattoo Machine Needles: A Comprehensive Overview - Biomaser
- Unveiling Microblading Needle Secrets: Achieve Flawless Eyebrows with Precision - Biomaser
