


The Ultimate Guide to Preparing for Permanent Makeup
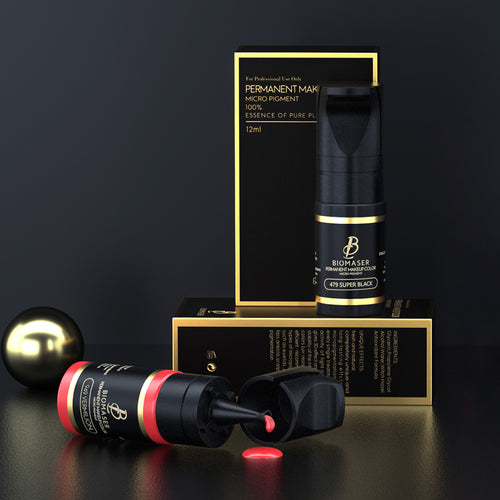
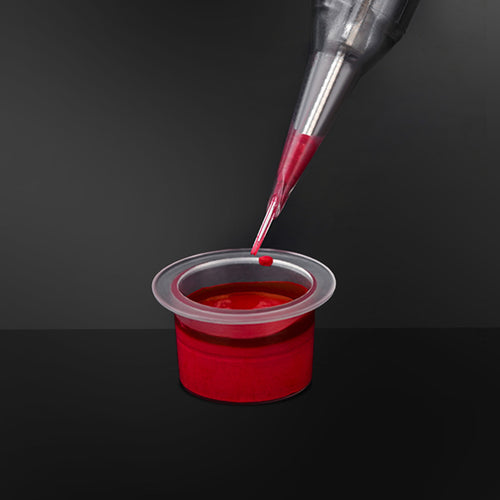
Permanent makeup can save you time and hassle with your daily beauty routine. However, to get the best results from treatments like microblading, eyeliner, or lip blush tattoos, proper preparation is essential. In this guide, we’ll walk you through all the key steps to get your skin and body ready beforehand.
Properly prepping for your permanent makeup appointment minimizes risks and improves outcomes. It also helps the process go more smoothly for both you and your technician. While the procedure requires planning and commitment upfront, the long-lasting polished look you’ll achieve in the end makes it well worth the effort.
Let’s explore the crucial things to do before your permanent makeup session for brows, eyes, or lips.
General Tips for Any Permanent Makeup Treatment
No matter which area you’re getting done, there are some universal preparation guidelines to follow:
- Don’t book an appointment if you are sick, on antibiotics, or have any cold, flu, or illness symptoms. Reschedule until you recover, as this puts you and your technician at infection risk. It also negatively impacts results.
- Disclose any medical conditions like keloid scarring or the use of blood thinners. Your technician needs this information to determine if you’re a candidate.
- Avoid direct sun exposure and tanning beds for at least 2-3 weeks before your procedure. Burnt or tanned skin is much more sensitive and prone to complications.
- Do not consume alcohol or caffeine or do strenuous exercise on the day of your appointment. This thins the blood and can increase bleeding.
- Arrange accommodations for potential swelling or bruising after your session. You may not feel comfortable driving yourself home.
- Prepare mentally and emotionally for the healing process. Know that there will be rawness, swelling, flaking, and lightened color initially. Be patient and let the area heal fully to see the final results.
In summary, it is advisable to take these universal precautions before any permanent makeup appointment - avoid sun, illness, and blood thinners and set proper expectations. This lays the groundwork for a smooth session with optimal results.
How to Prepare for Eyebrow Tattoos
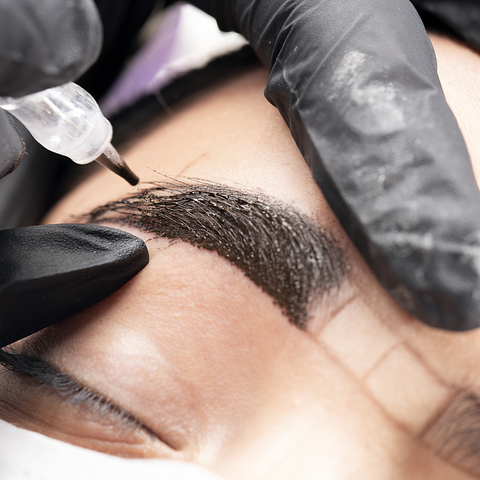
If you’re getting microblading, shading, or ombre powder brows, follow these preparation guidelines:
- Avoid tweezing, waxing, threading, or any other brow grooming for 3-5 days prior. Let the hairs grow out some beforehand.
- Don’t tint or laminate brows for at least 1 week before your tattoo appointment.
- Cease using retinoids, chemical peels, and other acidic skin treatments 4-6 weeks beforehand. This includes topicals like tretinoin and oral medications like Accutane.
- Wait 1 full month after getting Botox, filler, or any other injections before brow tattooing. It takes this long for results to fully settle.
- Come to your session with your regular brow makeup applied so the technician can see your everyday style.
- Stop taking supplements that thin the blood, like vitamin E, turmeric, omega-3 fatty acids, ginseng, ginkgo, etc., 1-2 weeks before treatment. But check with your doctor first about discontinuing any prescription blood thinners.
To recap, let brows grow in, cease skin treatments, skip blood thinners and come with your makeup done as usual. Following this brow tattoo prep checklist leads to beautifully enhanced arches.
How to Prepare for Permanent Eyeliner
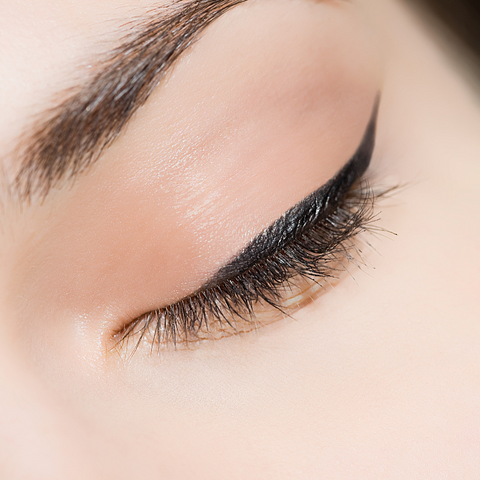
If you’re getting permanent eyeliner - whether just the top lid, lower rim, cat eye flick, or other style - follow these tips:
- Remove lash extensions at least 3 days prior to allow your natural lashes time to recover. Don’t try removing them yourself, as this can cause lash loss or damage.
- Avoid lash tinting or perming for 1 full week before and after your eyeliner tattoo session.
- Cease the use of eyelash-enhancing serums like Latisse for at least 6 months beforehand. These products can interfere with pigment binding.
- Remove contact lenses before your appointment, and bring your glasses to wear instead. You cannot wear contacts for 24 hours post-tattoo.
- Stop taking blood thinners like ibuprofen, fish oil, and aspirin for 7 days beforehand, with physician approval. Excessive bleeding makes the process more difficult.
- Do not get Botox or fillers for at least two weeks before and after. It takes this long for swelling and bruising to disappear.
- If you’ve had any eye surgery within the last 12 months, bring an approval letter from your ophthalmologist or optometrist clearing you for permanent eyeliner.
In closing, properly prepping for eyeliner tattoos involves letting lashes recover, stopping lash treatments and serums, removing contacts, and avoiding injectables. This care before your appointment leads to stunning, defined eyes.
How to Prepare for Lip Blush Tattoos
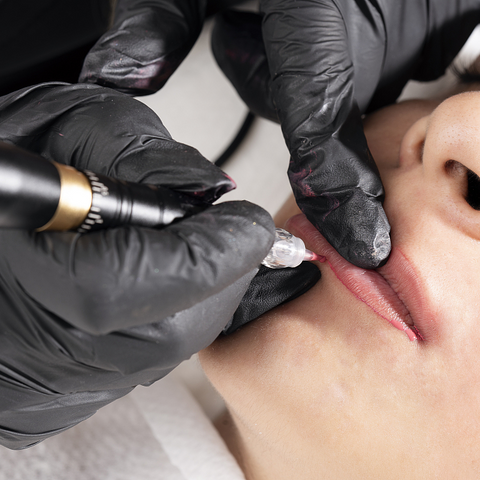
To prep your pout for long-lasting color, follow this lip blush pre-care checklist:
- Gently exfoliate lips and apply nourishing balm daily, 5-7 days before your appointment. This removes dead skin and improves pigment absorption.
- If prone to cold sores, get an antiviral prescription from your doctor to take a few days before and after your session. This helps prevent outbreaks triggered by lip trauma.
- One month prior, cease using oral and topical retinoids like tretinoin or isotretinoin.
- Avoid botox or filler injections for 4 full weeks beforehand. Lip tattoos should be done once these settle completely.
- Halt all blood thinner medications or supplements 1 week before treatment, with physician consent. Minimizing bleeding allows better results.
- In the 24-48 hours leading up, limit alcohol and caffeine intake, which thin blood. Hydrate well with water instead.
In short, exfoliate lips, take antivirals if needed, discontinue retinoids, and limit blood thinners. This lip blush preparation routine results in gorgeously saturated lip color.
Conclusion
Diligent aftercare is just as crucial as preparation before your permanent makeup appointment. Be sure to closely follow your technician’s instructions for cleansing, applying ointment, and avoiding activities like sweat, swimming, sun, and makeup on the treated area during the 2-week healing period.
With proper preparation and aftercare, you’ll be thrilled with your semipermanent makeup results. A little planning goes a long way toward success with these treatments. Take the necessary steps beforehand, and your technicians will be able to work their magic more effectively!