


8 Common PMU Needle Issues and How to Fix Them Fast
Fixing PMU needle issues promptly and efficiently is the mark of a skilled PMU artist. Regular practice, daily equipment inspection, and strict hygiene regulations solve PMU needle issues before they become larger complications. Invest in good needles, adjust machine settings for each client, and continue learning about needle grouping and cartridge technology to remain at the top of your game.
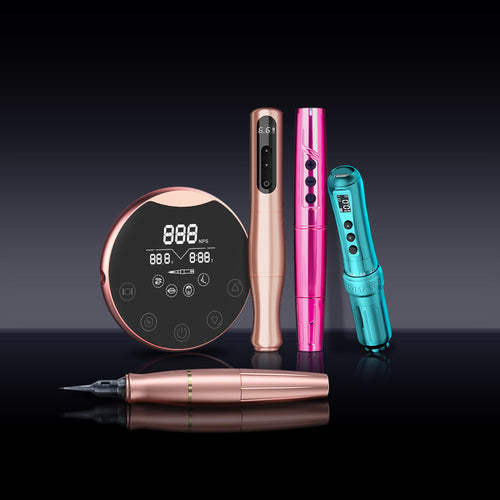
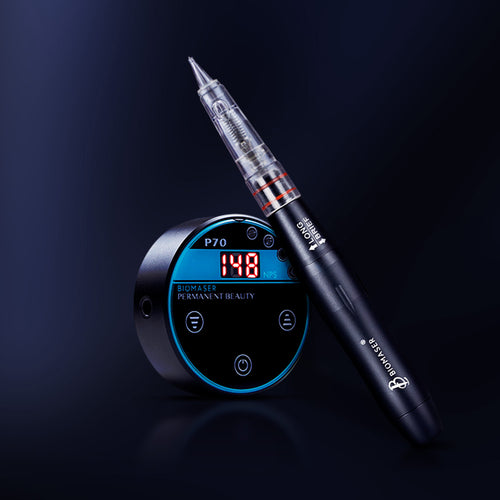
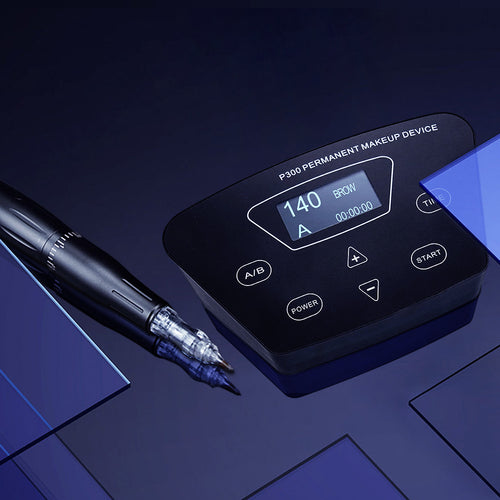
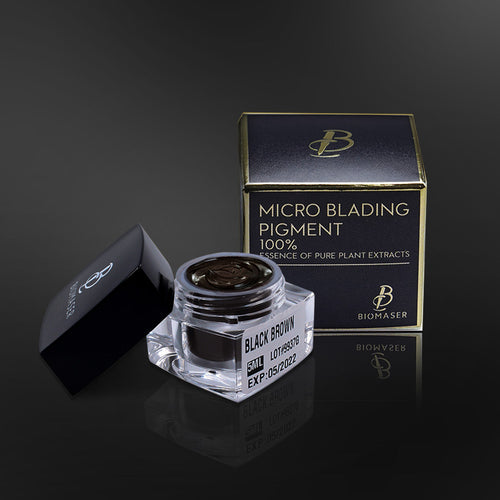
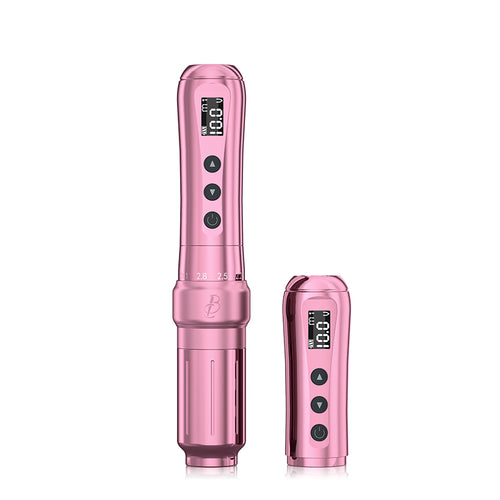
Permanent makeup, also known as cosmetic tattooing, is gaining popularity for its ability to simplify beauty routines and deliver long-lasting results. But even skilled PMU artists can face PMU needle issues at some point. A well-running needle cartridge is vital for comfort, pigment implantation, and client satisfaction. This rundown identifies the eight most frequent needle problems that get in the way of perfect results. You will learn simple, quick fixes to get your workflow back on track, ensuring you can work efficiently and keep your clients happy.

Issue #1: Poor Pigment Pickup and Flow
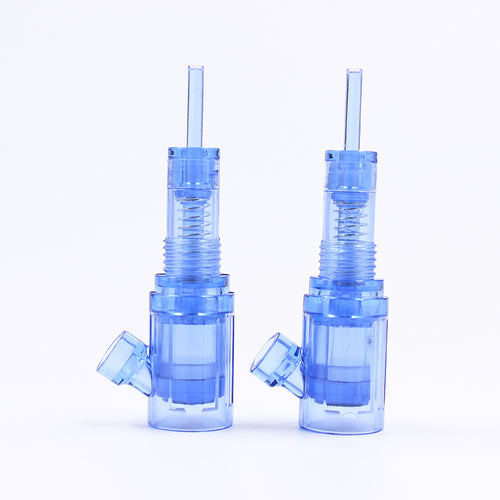
The needle in your PMU needle cartridge isn't loading with pigment properly or fails to deposit it into the skin. This is a primary cause of weak pigment implantation.
Common Causes:
- The cartridge membrane might be clogged or defective, preventing a vacuum from forming.
- Your PMU machine settings might be too high. A fast speed doesn't allow the needle enough time in the cartridge tip to pick up ink.
- You could be working at an incorrect angle when dipping into your pigment cup.
The Fix:
- The quickest way to solve potential clogged PMU cartridge problems is to switch to a new needle cartridge immediately. Don't waste time trying to clean it.
- Slightly reduce your machine's voltage. A slower, more controlled speed often improves pigment pickup dramatically.
- Ensure you are dipping the needle at a 90-degree angle into your pigment and scooping gently. This allows the cartridge reservoir to fill properly.
Issue #2: Needle Spitting Ink or Splattering
Pigment sprays erratically from the needle tip, creating a messy work area and making precise lines impossible. This is a classic example of needle spitting ink.
Common Causes:
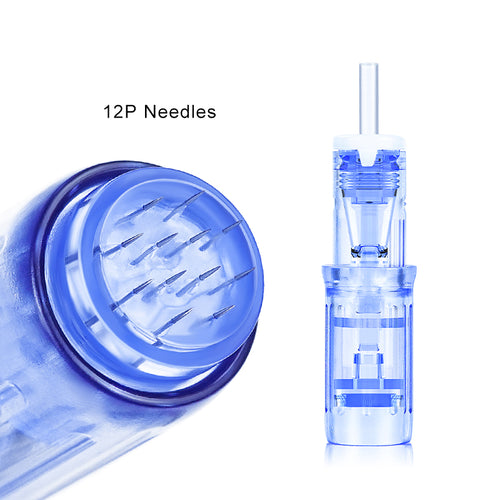
- The most likely culprit is a damaged or barbed needle tip, which can be invisible to the naked eye.
- The PMU needle cartridge is not fully twisted and locked into the machine, causing an improper seal.
- Your needle "hang" or PMU needle depth is set too long, allowing excess air to get into the tip.
The Fix:
- Stop and replace the needle immediately. This is the number one cause of ink spitting and the fastest fix. A single barbed needle can cause significant skin trauma, especially during PMU procedures.
- Remove and re-seat the cartridge, making sure you hear or feel it click securely into place.
- Adjust your needle depth to be slightly shorter. This reduces the amount of air that can mix with the PMU pigment as the needle retracts.

Issue #3: Creating Blurry or Fuzzy Lines
Your hairstrokes or lines look thick, blurry, or "blown out" instead of crisp and clean. This is a major concern in cosmetic tattooing.
Common Causes:
- You're working with a dull PMU needle or one with a bent tip.
- You're applying excessive pressure or your hand speed is too slow, causing the pigment to spread laterally in the skin.
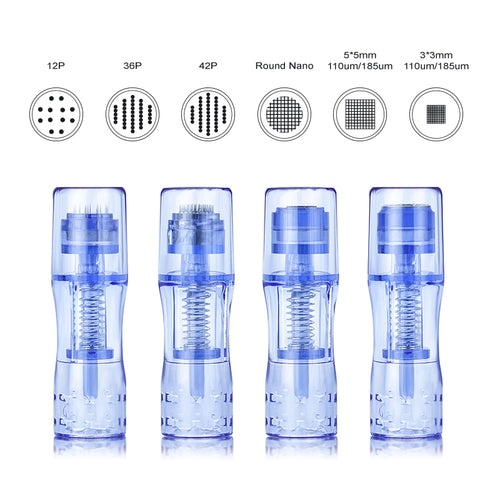
- You're using the wrong needle configuration (also called needle grouping), such as a shader for work that requires a fine liner.
The Fix:
- Start with a fresh needle. A sharp needle pierces the skin cleanly, while a dull one tears it.
- Lighten your pressure and increase your hand speed. The goal is to deposit pigment without lingering in one spot for too long.
- For crisp linework, ensure you're using a Round Liner (RL) needle grouping. Check your needle configuration to match the desired outcome.
Issue #4: Inconsistent or Patchy Color Deposit
The final healed result is uneven, with some areas darker than others. This points directly to issues with pigment implantation and can lead to poor pigment retention.
Common Causes:
- Your working depth and pressure are inconsistent across the treatment area.
- You are not maintaining a proper three-point skin stretch, allowing the skin to bounce against the needle.
- Your needle is becoming dull towards the end of the procedure.
The Fix:
- Focus on your hand pressure. Listen for the consistent, soft "tearing" sound of the needle entering the skin at the correct depth.
- Ensure the skin is held taut like a drum. This creates a stable surface for clean pigment implantation.
- For longer cosmetic tattooing procedures, consider changing your needle halfway through to maintain sharpness and consistency.

Issue #5: Causing Excessive Skin Trauma
The client's skin is unusually red, swollen, or bleeding more than what is typical for the procedure. This is a clear sign of skin trauma PMU.
Common Causes:
- Your PMU needle depth is set too deep, penetrating past the dermal-epidermal junction.
- A dull PMU needle or one with a barbed tip is tearing the skin instead of making clean micro-incisions. Proper needle tip condition assessment can prevent most trauma-related complications during procedures.
- You are making too many passes over the same area.
The Fix:
- Pull back on your needle depth immediately. You should be working in the upper layer of the dermis, not deep within it.
- If you suspect the needle is the cause, replace it with a new, sharp one. This is a simple way to fix PMU needles that are causing trauma.
- Be more efficient and deliberate with your passes. Aim to achieve saturation with the minimum number of passes required.
Issue #6: Loud Rattling or Machine Vibration
Your machine is making a loud, rattling noise or vibrating excessively in your hand, which can affect your precision.
Common Causes:
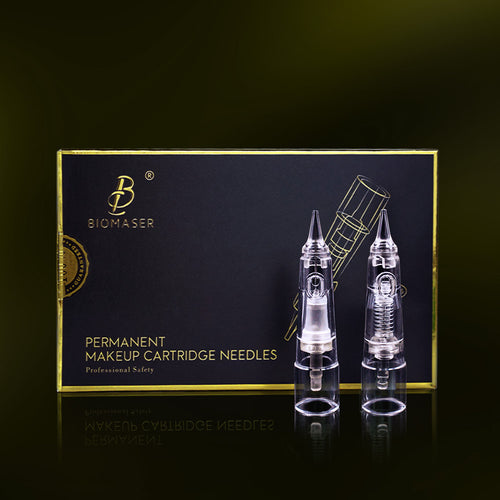
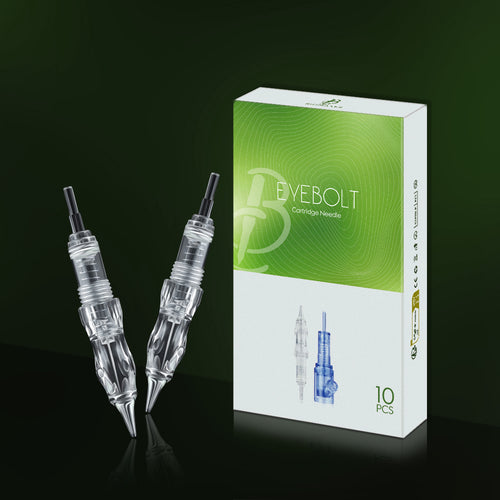
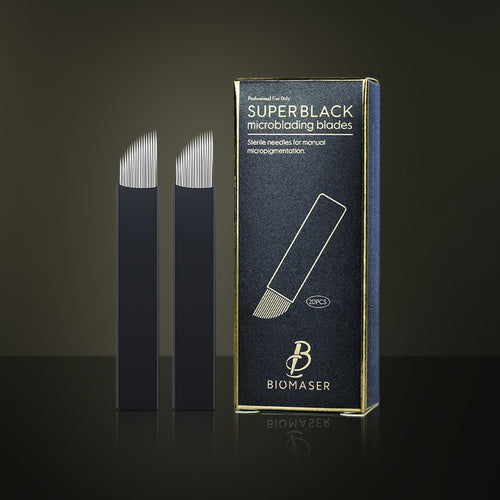
- You have a poorly seated or incompatible PMU needle cartridge. Not all cartridges fit all machines.
- There is a defect within the cartridge's internal mechanism, causing parts to move incorrectly. These are common cartridge problems.
The Fix:
- Remove and re-insert the cartridge, ensuring it clicks securely into place.
- If the noise persists, discard the needle and try a new one from the same box. If the issue continues, try a different box or contact the manufacturer. If it still happens, the problem may be your machine.
Issue #7: Needle Bending or Breaking
The fine needle tip bends or, in rare cases, snaps during use. This is a serious safety concern.
Common Causes:
- Using very fine needles (like nano needles) with too much pressure, especially when working over tough skin or scar tissue.
- Using low-quality needles with poor soldering or inferior metal.
The Fix:
- Let the machine and needle do the work. Use a much lighter touch and allow the needle's sharpness and the machine's motor to penetrate the skin.
- Invest in reputable, high-quality needle brands known for their manufacturing consistency and durability. This is a critical PMU artist tip.
Issue #8: Cartridge Feels Loose or Won't Lock In
The PMU needle cartridge wiggles or doesn't feel secure in the handpiece, leading to inconsistent needle depth and vibration.
Common Causes:
- You are using a cartridge brand that is not compatible with your specific PMU machine.
- The plastic housing on the cartridge is cracked or has a manufacturing defect.
- There is wear and tear on your machine's grip or locking mechanism.
The Fix:
- Only use cartridges that are explicitly stated as compatible with your device. Refer to your machine's manual or the manufacturer's website.
- Always inspect the plastic on the cartridge for any signs of damage before opening the sterile packaging.
- If new, compatible cartridges still feel loose, your machine may need servicing.

Keep Your PMU Needle Skills Sharp and Clients Happy
Knowing how to solve needle problems quickly makes you a more reliable artist. It prevents frustrating delays and protects your work from healing poorly. When you can troubleshoot with confidence, you show clients they are in skilled hands. This ability, combined with careful tool selection and machine control, is the key to delivering the beautiful, consistent results that build a strong reputation.
3 FAQs About PMU Needles
Q1: How often should I change my needle during a procedure?
At a minimum, you must use a new, sterile needle for every client. For long sessions (over 2.5-3 hours), it is best practice to change the needle midway through to ensure it remains perfectly sharp and effective for clean pigment implantation.
Q2: What PMU machine settings prevent needle skipping?
Stable voltage, correct speed, and matching needle groupings to your machine help prevent common problems. Test machine settings with each new cartridge you use.
Q2: How do I identify a faulty PMU needle before starting?
Visually inspect every needle under strong light—look for bends, hooks, misaligned points, or dullness. If in doubt, replace the cartridge to avoid risks.