


How to Shade a Tattoo: A Step-by-Step Guide
Shading a tattoo turns simple line drawings into rich, lifelike images. It's the process that adds depth, dimension, and emotion to what would otherwise be flat images on the skin. This guide will take you through each step needed to shade a tattoo properly. You'll learn how to give your designs a three-dimensional quality that pops off the skin.
Step 1: Understanding Shading Basics
Before we get into the nitty-gritty of needles and ink, it's important to understand some basic ideas about shading tattoos.
Light Source and Shadow
The sun is your light source, and it determines where and how the shadow appears. In tattooing, you decide where the "sun" is. Whether the light is coming from the top right, bottom left, or directly above - your choice will change how the tattoo looks. Where you place these light and dark spots can turn a flat circle into a bouncing ball.
Needle Angle and Hand Speed
How you angle the needle and the speed of your movements are crucial factors that determine how your shading turns out. If you're holding the needle at a low angle to the skin and moving your hand quickly, you're going to get a softer, more subtle look. On the flip side, if you hold the needle more upright and move your hand slower, you're going to leave more ink in the skin, resulting in deeper, darker shades.
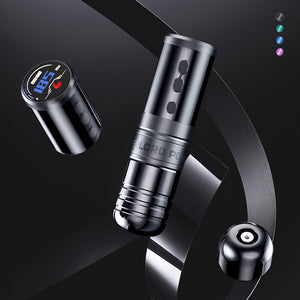
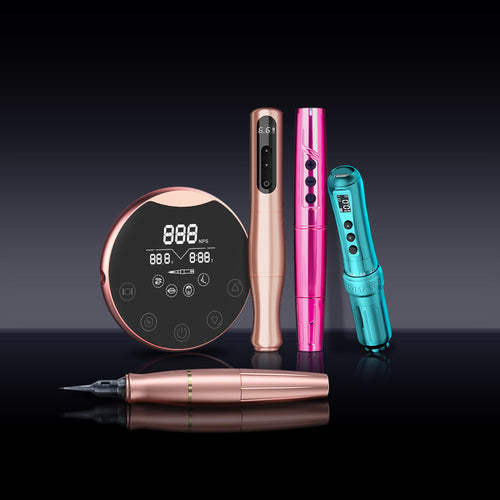
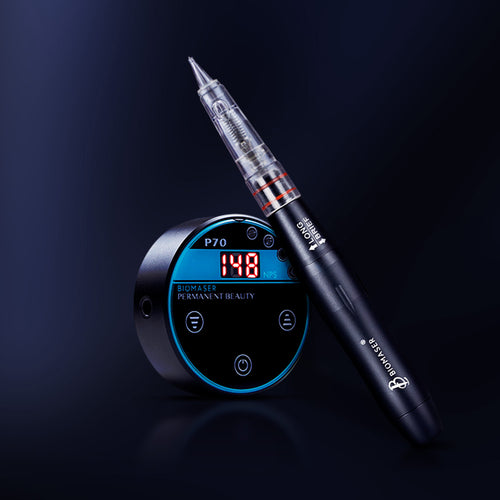
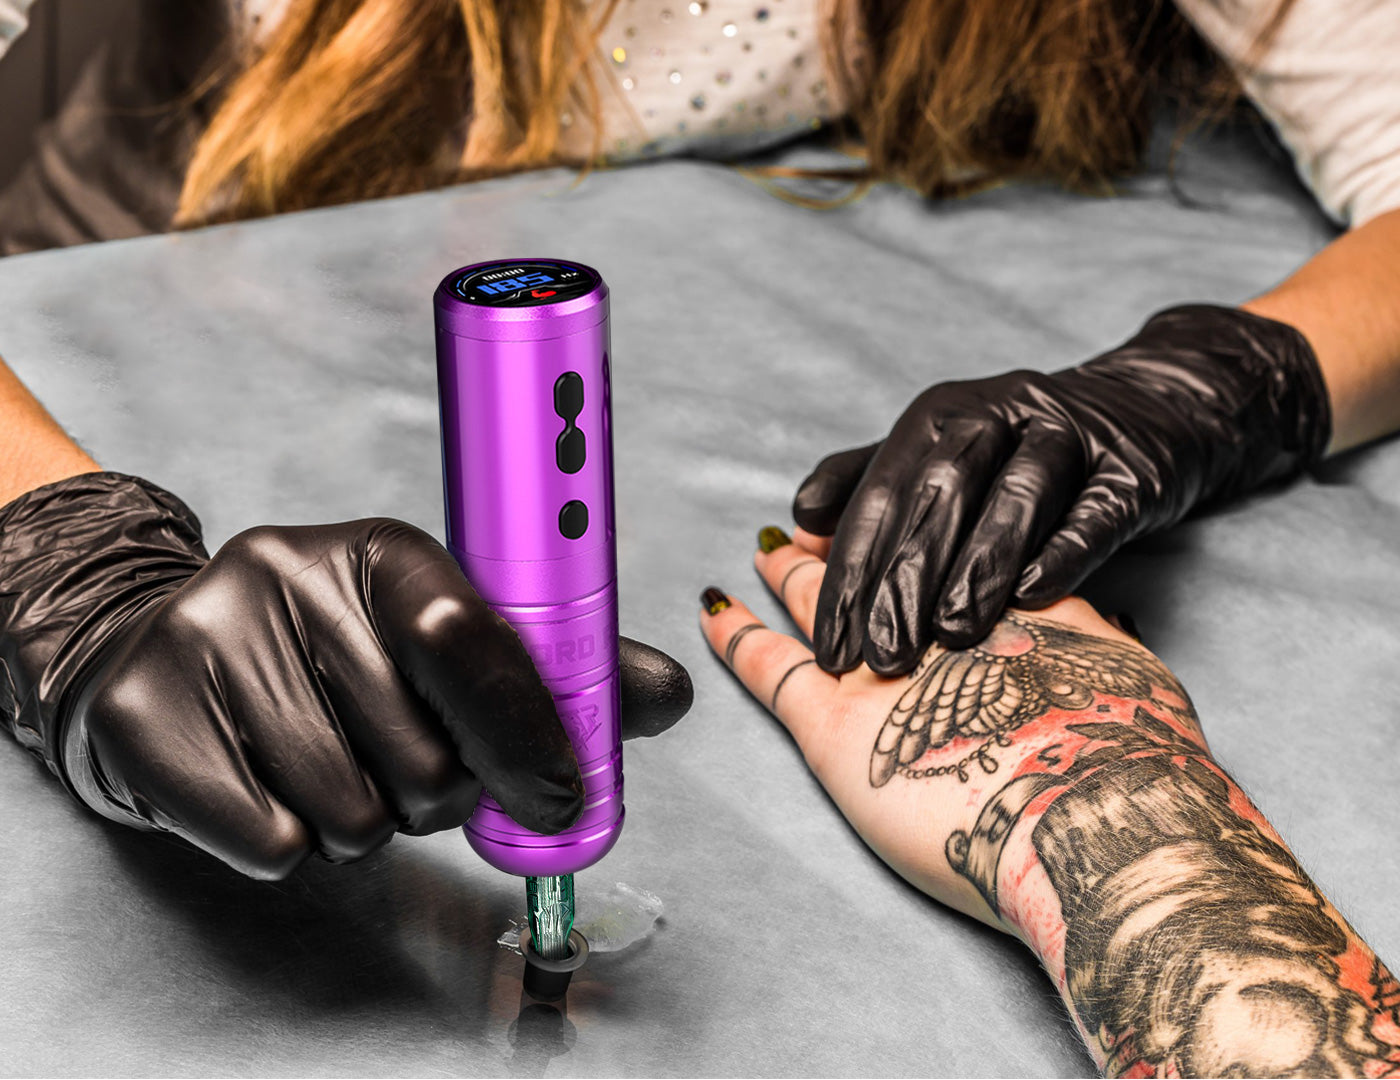
THUNDERLORD POWER PROTECTOR U8 Wireless tattoo Machine Pen Frequency Adjustable
Step 2: Preparing to Shade
Selecting Needles
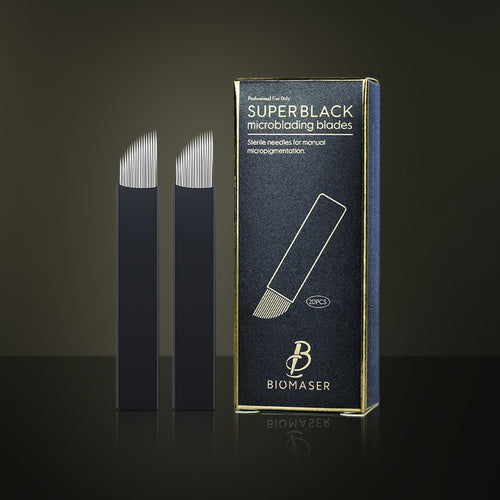
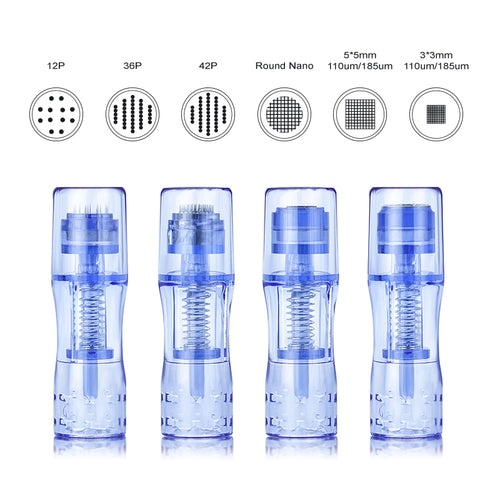
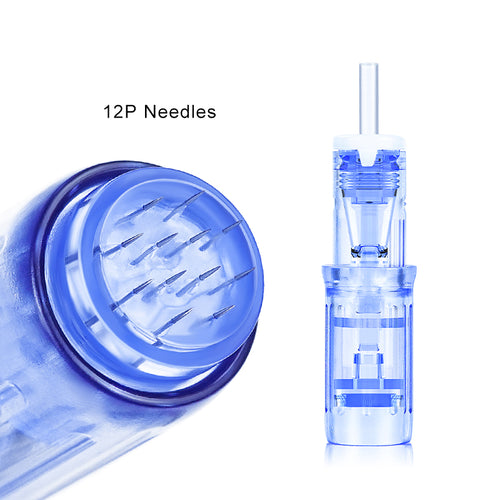
Picking the right needle is like choosing the right brush for a painting. It all depends on what you’re trying to shade. Larger areas that require a softer, more diffused look call for magnum needles. When dealing with smaller, intricate designs, or when you need to add fine details, round shader needles are your go-to. These are the detail brushes that let you work precisely and carefully.
Tattoo Machine Setup
Your tattoo machine needs to be set up properly. If you're going for deeper, bolder shades, adjust your machine to run at a higher voltage. This drives the needle into the skin more forcefully, depositing more ink. For lighter shades, dial down the voltage. This will make the needle move more gently, laying down less ink for those subtle tones.
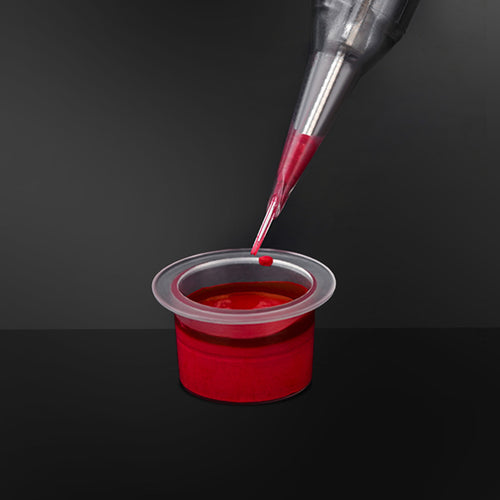
Ink Mixing
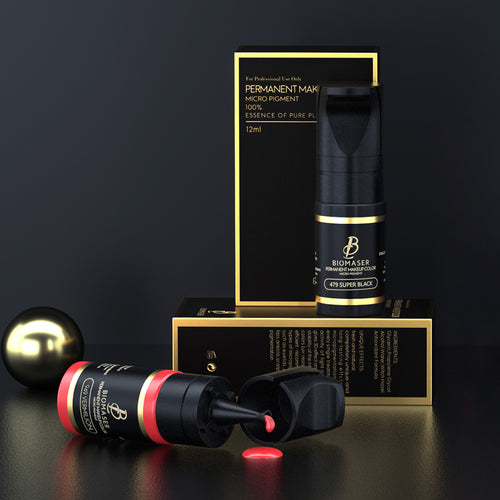
Different shades of ink will give you the gradients necessary for lifelike shading. By diluting your black ink with distilled water or a specialized mixing solution, you can create a range of greys for different shading effects.
Step 3: Technique Practice

Practice Makes Perfect—And Safe
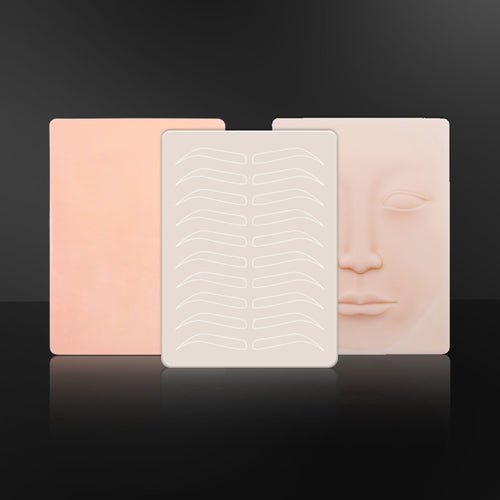
Before you work on human skin, hone your skills on alternatives like synthetic skins or fruit. These materials mimic the texture and contours of human skin, giving you a canvas to practice without any risk.
Getting a Grip on Hand Movements
- Small Circles: This is a classic movement that helps avoid harsh lines. It's perfect for creating soft, even shades. This motion allows for gradual building up of color and is excellent for filling in backgrounds and larger areas with subtle gradation.
- Flicking Motions: When you're shading towards the edges of an area or creating wispy shadows, flick your wrist lightly at the end of each stroke. This technique lets you create those soft, tapered edges that make shadows look realistic.
- Pendulum Swings: Apply this steady motion when you want uniform shading over larger areas. It helps keep your saturation even, which is crucial for big sections of color or gradients.
Step 4: Beginning the Shading

Outlining Shading Areas
Look at the different spaces within the design that will need shading. Are there areas that need to be darker to show depth? Any parts that should be lighter to highlight or illustrate a light source? With a fine liner tattoo needle, lightly trace just inside the edges of where you plan to shade. These marks are your guidelines and will help prevent the shading from bleeding into areas where it doesn't belong. Before touching skin with ink, take a moment to visualize the finished product. Where will the darkest shades go? How will they transition to lighter shades? This mental preparation is as crucial as the physical prep.
Applying the First Layer
Starting with the lightest shades gives you more control. Hold the tattoo machine like a pencil. Use a consistent and steady hand movement for even distribution of the ink. Begin with soft pressure. Pay close attention to the skin as you shade. It should take the ink evenly and change color gradually. If the skin isn’t taking the ink well, don’t just keep going over it; give it a brief rest and try again with a slightly heavier hand.
Step 5: Developing Mid-tones
Creating smooth transitions between shades is like mixing colors on a palette before putting a brush on canvas. Your goal is to have a gradual shift in tone from light to dark with no obvious boundaries. To do this, you'll pick a mid-tone ink that's a shade darker than your base layer. Begin by dipping your needle into the mid-tone ink and gently going over the edge of where your lightest shade ends. Remember, less is more here. It’s easier to go back and deepen an area than it is to lighten it. Be gentle as you work the needle over the transition between the light base and the new mid-tone. If you’re too heavy-handed, you can cause unnecessary trauma to the skin. A professional gradient needle designed for smooth color transitions will provide better control and reduce skin trauma. As you blend, regularly wipe away excess ink so you can see the true colors coming through.
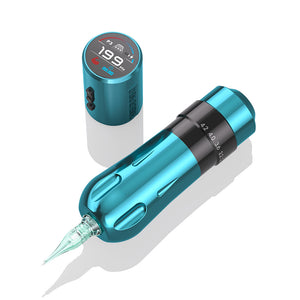
7 Stroke adjustable Thunderlordpower U7 Wireless tattoo Machine Pen
Step 6: Deepening Shadows
Here’s the key: use these dark tones sparingly. These areas are the punctuation in the story of your design—they define shape and texture without overpowering the rest of your art. As you lay down these darker tones, gradually lighten your touch as you move towards the lighter sections. It’s similar to how a shadow gently fades into the light rather than abruptly stopping. Next, you'll decide where your tattoo needs soft shadows versus hard shadows. Soft shadows might be found around the curves of a face or body, where light softly transitions into darkness. For these, you’ll spread the ink thinly, allowing it to diffuse gently into surrounding areas. Hard edges, on the other hand, are more pronounced. They’re used to create dramatic effects and show a clear separation between elements of your design.
Step 7: Refining the Shading
With all the main shading in place, it’s time to take a step back surveying your work.
Areas you should focus on include the transitions between different shades. These should be smooth without obvious demarcation lines unless your design deliberately calls for them. Observe the balance between the light and dark tones; they should complement each other, creating a dimensional and cohesive image. Take the time to view the tattoo from multiple angles. This is important because a tattoo wraps around the body, and light can catch curves and contours differently from various perspectives. You may also want to give the skin a gentle stretch in different directions. This can expose any spots that may need additional ink, as stretching the skin simulates how the tattoo will look when the client moves. If you do find areas that need more work, approach them carefully. Apply ink sparingly and blend it into the existing work.To enhance your tattooing process and ensure the best results, check out our top-rated tattoo blending tools that can help you achieve flawless transitions and a perfect finish.
Step 8: Post-Shading Clean Up

First, make sure your hands are thoroughly washed. With clean hands, take some mild, fragrance-free soap and mix it with warm water. Then, using a soft, clean paper towel or gauze, gently blot and wipe away the excess ink, blood, and any ointment from the skin. Be gentle to avoid irritating the newly worked skin. After the initial clean-up, apply a thin layer of aftercare ointment specifically designed for tattoos. This helps kickstart the healing process by keeping the area moisturized and protected. Plus, with the excess ink and fluid cleaned away, you'll get a better view of the shading work. If there are areas that need touching up, they'll be much easier to spot now.
Further Aftercare Instructions
The way your client takes care of their tattoo over the next few weeks will have a huge impact on how well it heals and looks in the long run. It's your job to give them a clear, easy-to-follow plan.
- Keep It Clean: They should wash the tattoo 2-3 times a day with fragrance-free soap and water. Remind them always to use clean hands and pat the area dry with a clean paper towel.
- Moisturize Regularly: Advise them to apply a thin layer of aftercare ointment or lotion to the tattoo several times a day to keep it from drying out and help with the healing process.
- Avoid Soaking: Not to submerge the tattoo in water, so no baths, swimming pools, or hot tubs for a couple of weeks. Showers are fine as long as the tattoo isn't under direct stream for too long.
- Protect From the Sun: Recommend that they keep the tattoo covered or use a high-SPF sunscreen once it's healed enough to do so, as the UV rays can fade the ink.
- Don’t Pick or Scratch: As the tattoo heals, it will itch and flake. It's important they don’t scratch or pick at it, as this can pull out the ink and lead to patches or scarring.
- Loose Clothing: Suggest wearing loose-fitting clothes over the tattoo to avoid irritation and let the skin breathe.
-
Watch for Signs of Infection: Remind them to keep an eye on the tattoo for signs of infection like excessive redness, swelling, or a foul odor.
For comprehensive tattoo aftercare products that can support your client's healing process, visit our tattoo aftercare essentials to keep tattoos looking their best.
Conclusion
Getting the shading right on a tattoo takes not just know-how and creativity, but also a good instinct. With enough practice and patience, you'll get to a point where your shaded tattoos look great and last a long time. It's important to remember that everyone's skin is different, and every tattoo gives you a chance to get better at what you do. Keep working on your techniques and be open to always getting better at your art.