





PMU Brow Color Shift: Three Rules for Retention Stability and Prevention

Introduction
You've seen it happen. A client leaves the studio looking perfect — soft, natural powder brows with ideal saturation and coverage. Three weeks later, the color has shifted toward red or blue, the effect is muddy, and the client is frustrated. The blame game starts: "Is it the pigment?" "Did the client do something wrong?" "Did I do something wrong?"
The uncomfortable truth is that color shift in powder brows is rarely a single-factor failure. It's almost always the result of interactions between pigment science, technique execution, and the skin's unique response to the implantation process. And here's what most training programs don't tell you: the majority of color migration cases are preventable with the right knowledge before you even pick up the machine.
This article breaks down the three-rule system for preventing red and blue color shift in powder brows — covering the science behind why it happens, how to select the right pigment formulation, how to control your technique parameters, and what aftercare protocols actually matter. If you're a working PMU artist who wants to stop guessing and start controlling outcomes, this guide is for you.
The Science: Why Color Shift Happens in Powder Brows
How Skin Pigments Interact with PMU Colorants
When pigment particles are implanted into the dermal layer during a powder brow procedure, they don't just sit there passively. The skin's melanin system actively processes different wavelengths of light — and it does so with a clear priority order.
Melanin cells process short-wavelength pigments (blue, violet) and medium-wavelength pigments (red, yellow) first, because these are recognized as foreign or unnecessary more quickly than long-wavelength dark pigments (dark brown, black). This is the same biological mechanism that makes certain pigment colors fade faster than others in any cosmetic tattooing procedure.
Here's what this means practically: if your powder brow pigment formulation has an elevated proportion of red or blue pigment particles, those specific particles will be metabolized and eliminated faster than the darker base tones. As the red and blue particles fade, the remaining dark pigment represents a larger percentage of what you see — resulting in an observable shift toward the color that was originally subordinate in the formula. The brow doesn't turn red because red was added; it turns red because the red faded and the remaining color palette restructured around what's left.
Why Red Shift Happens
Post-procedure red shift in powder brows typically involves one or more of the following mechanisms:
- Pigment formulation issue: Red pigment particles in the formula are either over-concentrated relative to other pigments, or have an unfavorable particle size distribution that makes them metabolize faster than expected.
- Implantation depth error: Pigment placed too deep reaches the capillary-rich dermal layer, where hemoglobin oxidization interacts with the red pigment component, amplifying the red tone visually.
- Post-procedure inflammation: The skin's natural healing response involves increased blood flow to the treated area, which creates a temporary but real intensification of red tones in the early healing window.
Why Blue Shift Happens
Blue shift operates through different mechanisms, though it can also result from the same depth problem:
- Thermal color behavior of dark pigments: Pure carbon-based dark pigments in very deep dermal layers can develop a blue-grey cast as light refracts differently around blood vessels and fatty tissue at depth.
- Over-deep implantation: When pigment reaches subcutaneous tissue, the scattering effects of vascular and fatty structures create a cool-toned grey-blue visual result that wasn't in the original formulation.
- Inconsistent particle distribution: Pigments with non-uniform particle size produce different optical scattering behaviors in the dermis, causing the overall tone to drift away from the intended color.
Understanding these mechanisms is the foundation of every prevention strategy in the three-rule system.
Rule One: Pigment Selection and Formulation Decoding
Understanding the Six Pigment Physical Forms
Modern PMU pigments are classified by their physical state into six categories: powder, cream, liquid, paste, emulsion, and concentrate. Each form behaves differently in terms of adhesion, penetration depth, and retention stability — and for powder brows, this choice matters significantly.
Powder-form pigments have the finest particle size and best penetration characteristics, making them ideal for achieving a natural, soft ombre effect. Cream-form pigments offer medium particle size with strong adhesive properties and represent the most widely used type for powder brow procedures. Concentrate-form pigments are best reserved for depth adjustment and corrective work, where you need to add intensity without changing the overall tone.
When selecting a pigment for powder brows, prioritize formulations with uniform particle size distribution and consistent dispersion characteristics. Non-uniform particle sizes cause different optical scattering behaviors in the dermis, which directly increases color migration risk. This is a specification you can and should ask your pigment supplier to provide — and if they can't, that's a meaningful signal about their quality control standards.
The ResAP Pigment Technology and What It Actually Means for Retention
ResAP (Response Adaptive Pigment) technology was developed specifically to address the retention stability problem in PMU applications. The core design principle is that the pigment formulation dynamically adjusts its release rate based on the skin's micro-environment — creating more even pigment deposition over time.
The practical advantages of ResAP-formulated pigments include:
- Metabolic synchronization: By controlling the degradation rate of red, yellow, blue, and black pigment particles to be closer in timing, the color balance that was designed into the formula stays intact longer, preventing single-color early fade from restructuring the visible color palette.
- Particle size optimization: Finer grinding processes produce a tighter particle size distribution, reducing the scattering variation that causes color drift in non-optimized formulations.
- Reduced immune response: By minimizing inflammatory reaction in the early healing window, the color intensification effect from increased blood flow is controlled, keeping the healed result closer to the intended color.
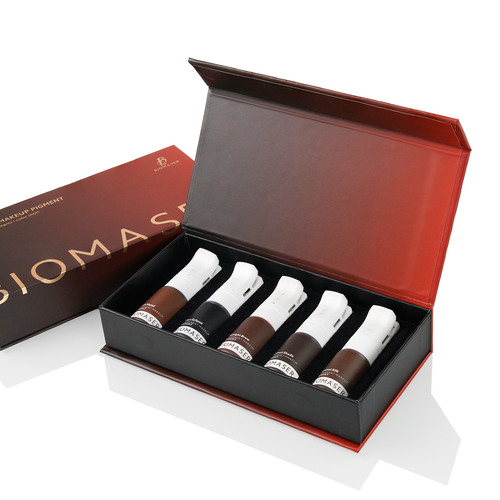
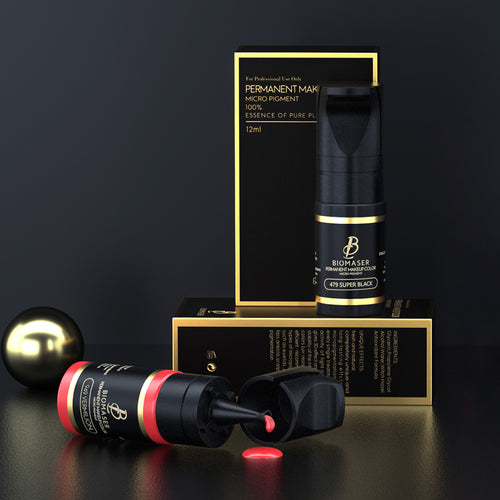
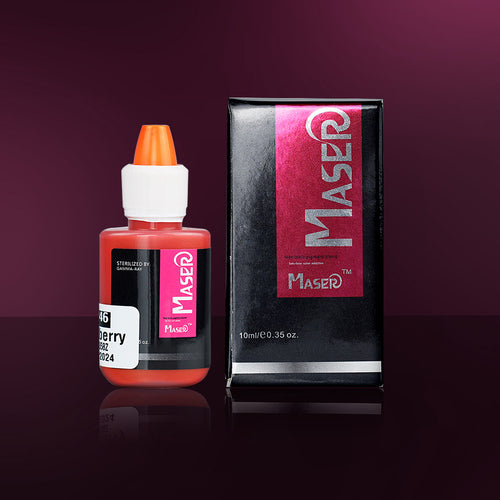
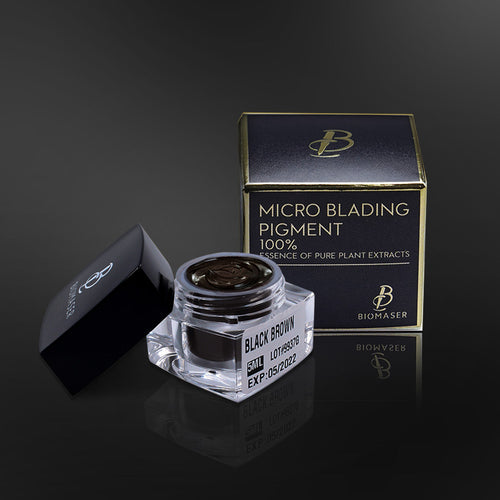
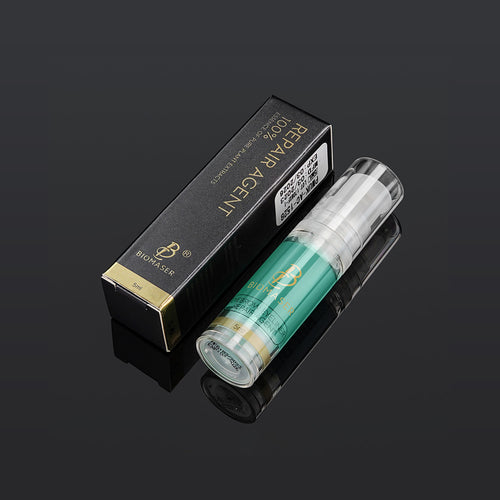
Brands like Biomaser have invested significantly in pigment technology development based on decades of real-world retention data, with their six-formulation system covering powder through concentrate variants specifically designed to address these challenges across different skin types and technique preferences.
Pigment Storage and Handling: The Variable Nobody Talks About
Even the best pigment formulation will underperform if it's been improperly stored. Pigment should be kept away from direct light and stored at stable temperatures — heat exposure causes molecular structure changes in the pigment particles that can alter both the color and the retention behavior. Opened bottles should be used within their specified period; beyond that, solvent evaporation changes the concentration, which means the actual amount of pigment being implanted per needle pass becomes unpredictable.
Before every procedure, shake the pigment thoroughly to ensure settled particles are fully re-dispersed. Pigment that hasn't been adequately mixed will deliver different color concentrations in the early versus late stages of a procedure, creating uneven retention across the brow.
Rule Two: Technique Control — Depth, Speed, and Layering
The Critical Importance of Shallow Implantation in Powder Brows
The single most controllable variable in preventing color shift is implantation depth. For powder brows, the ideal target zone is the superficial dermal layer — specifically the papillary dermis at approximately 0.5–0.8mm depth. This is where pigment particles get adequately surrounded by fibroblast cells for stable long-term retention, but where they avoid the capillary-rich deeper dermal layers and subcutaneous tissue that cause the red and blue migration effects described above.
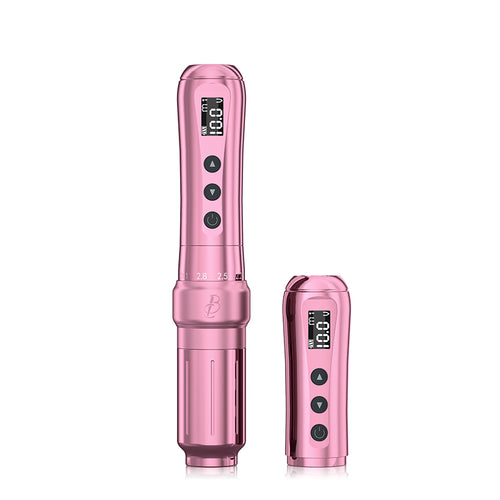
Most standard PMU machines have a needle stroke depth of 2.0–3.0mm, which is calibrated for thicker skin areas like the brow body or lips. For the periorbital area — where skin can be as thin as 0.5mm — this stroke range means every single needle puncture potentially exceeds the target layer. This is why machines with adjustable stroke depth are a significant advantage for brow work.
A stroke depth in the 2.0–2.5mm range has been validated through extensive field use as the optimal window for brow procedures on most skin types. Within this range, the needle travels deep enough to reach the papillary dermis reliably, but not so deep that it routinely passes through into the capillary-rich lower dermis. The result is smaller tissue trauma, shorter healing time, and significantly reduced risk of color migration.
The Corrective Color Principle: Using Green and Orange to Neutralize Shift
When red or blue shift has already occurred, the correction method follows a color-theory principle: neutralization through complementary pigments. On the color wheel, the complement of red is green, and the complement of blue is orange.
For red shift correction: Add green-tan corrective pigment to the target color formula. The green pigment absorbs the red wavelengths still present in the skin, visually canceling the red cast and producing a neutral brown result. Recommended corrective addition is 15–25% green-tan by volume, adjusted based on the severity of the shift. Correction should be performed 1–3 months after the initial procedure to allow sufficient metabolic time for the original red-toned pigment to partially resolve.
For blue shift correction: Use orange-tan corrective pigment in the same way. Orange absorbs blue wavelengths and produces a natural warm brown visual result. Recommended corrective addition is 20–30% orange-tan by volume. Blue shift typically becomes most visible 1–2 months post-procedure, so correction is best timed at 2–3 months post-initial.
Both correction scenarios share a key principle: shallow is better than deep. Shallower correction implantation produces more stable color results with lower risk of the shift recurring, even if retention rate is slightly lower than a deeper correction would produce.
Layering Technique: Building Color Without Over-Saturating
The "thin layers, multiple passes" approach produces more stable and natural-looking powder brows than single-pass heavy saturation. Multiple thin layers allow each pass to fully settle before the next is applied, which means:
- More even pigment distribution in the dermis
- Less risk of pigment pooling in the superficial layers, which causes the color to sit visibly on top of the skin rather than integrated within it
- Better control over the final saturation level, as you can stop adding layers once you've reached the target result
Rule Three: Aftercare Protocols That Actually Affect Retention
The Critical 72-Hour Window
The first 72 hours after a powder brow procedure are the most consequential for color retention. During this window, the skin is in the active inflammatory response phase — micro-vessels are dilated, immune cells are mobilized, and the skin's barrier function is compromised. All of these factors directly influence how much pigment successfully integrates into the dermal layer versus being pushed out or metabolized.
Aftercare protocols that matter during this window:
- Keep the area dry for at least 24 hours: Water exposure softens the scab that is forming over the micro-wounds, which can cause premature pigment loss when the scab separates from the skin.
- Avoid touching or rubbing: Manual friction on the treated area can dislodge pigment that hasn't yet been securely integrated into the dermis.
- Skip skincare products on the brow area: Active ingredients like retinoids, AHA/BHA exfoliants, and vitamin C serums accelerate epidermal cell turnover, which increases the rate at which pigment-loaded cells are shed from the skin surface.
- Apply cool compresses in the first hours: Cool compresses for 10–15 minutes immediately post-procedure help constrict blood vessels, reducing the inflammatory response intensity and limiting the color-intensifying blood flow effect in the early healing window.
- Sun protection: UV radiation in the first two weeks accelerates pigment oxidation in the dermis. Clients should apply SPF 30+ to the brow area or wear a wide-brimmed hat during sun exposure.
Long-Term Maintenance: What Affects the 1–3 Year Retention Window
The final color result in powder brows typically stabilizes 4–6 weeks post-procedure. During this period, clients should avoid products and activities that accelerate skin cell turnover in the brow area:
- Retinoid creams and serums
- Chemical exfoliants (AHA, BHA, PHA)
- High-intensity sun exposure without protection
- Swimming in chlorinated pools (chlorine accelerates pigment breakdown)
Professional PMU artists should provide written aftercare instructions and schedule follow-up check-ins at 1 week, 2 weeks, and 4 weeks post-procedure. Active follow-up allows early identification of developing color issues before they become client-facing problems.
Equipment as a Retention Variable
Why Your Machine's Stroke Depth Matters More Than You Think
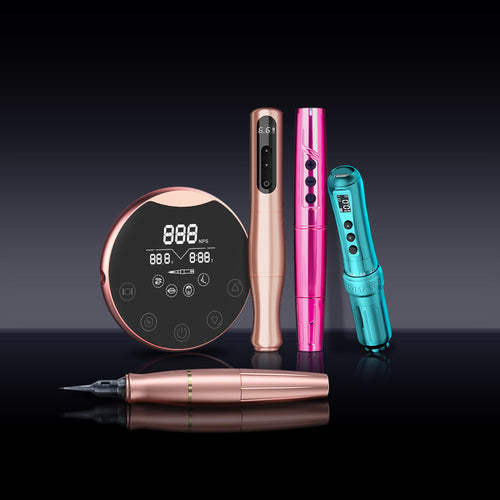
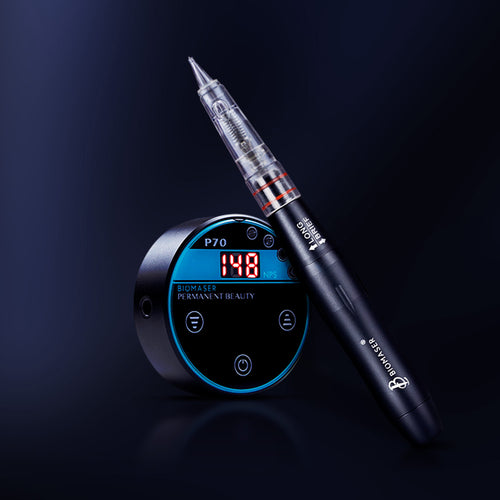
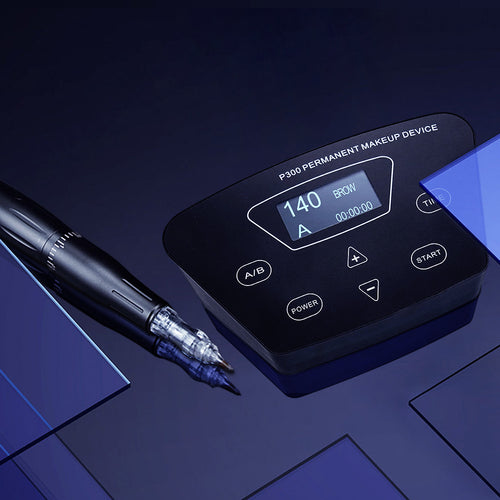
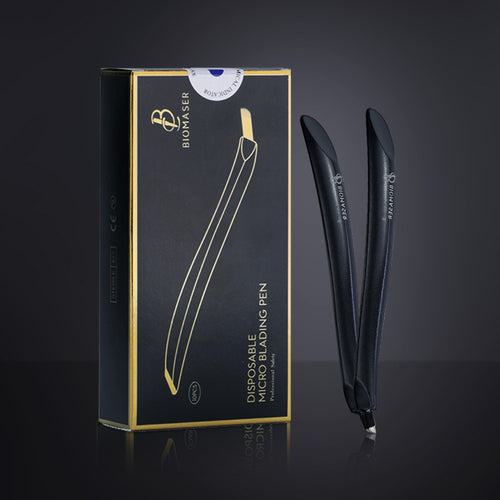
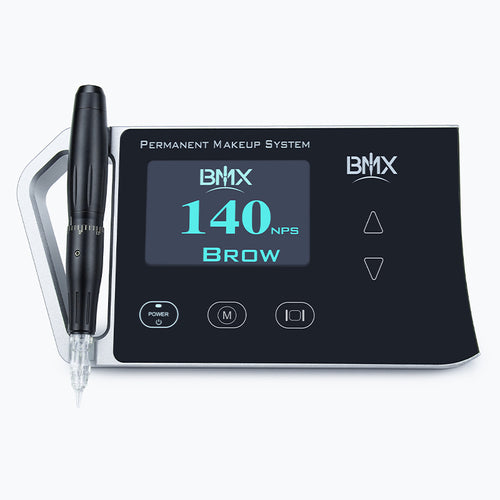
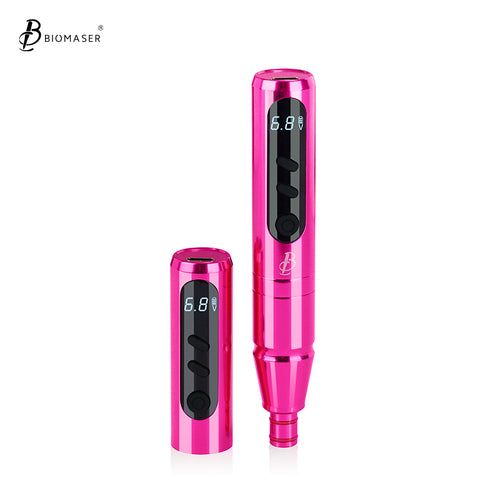
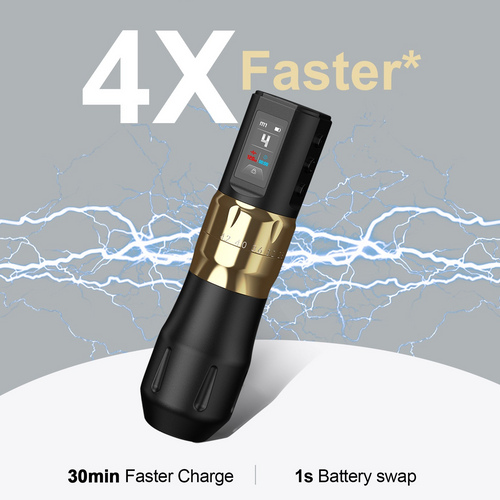
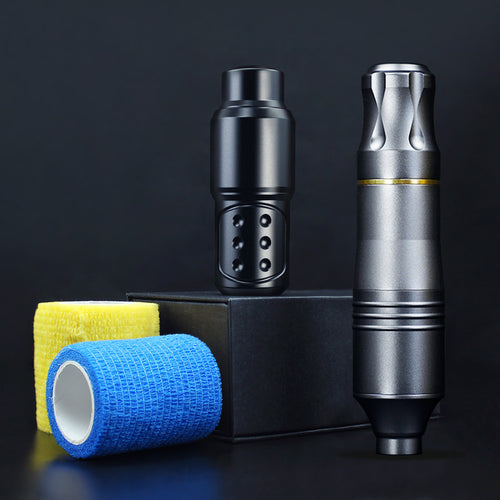
Beyond pigment selection and hand technique, the device itself is a meaningful variable in retention outcomes. High-precision PMU machines with stable stroke depth output and adjustable stroke settings allow artists to match the machine parameters to the specific requirements of the brow area — which is not the same as the brow body or lip.
Machines with multiple stroke depth settings let the artist switch between configurations for different treatment areas without changing devices. For the periorbital zone — where skin is at its thinnest — a shorter stroke depth setting means every needle puncture stays within the target dermal layer rather than penetrating beyond it. This is a controllable variable that most artists underutilize.
Needle Quality: The Overlooked Retention Factor
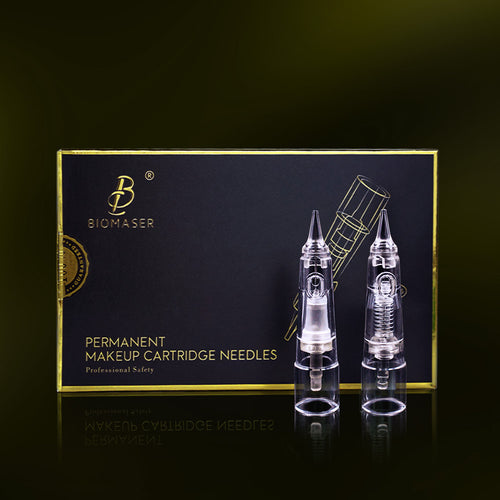
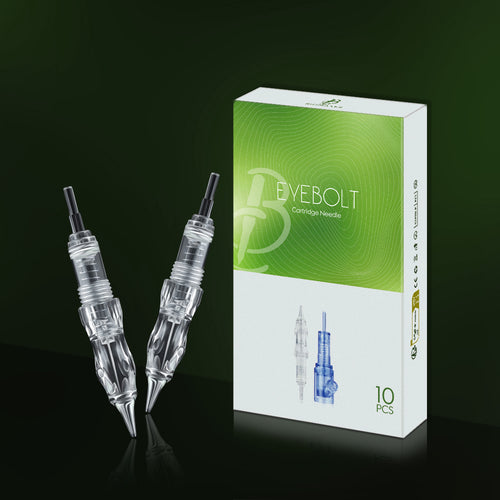
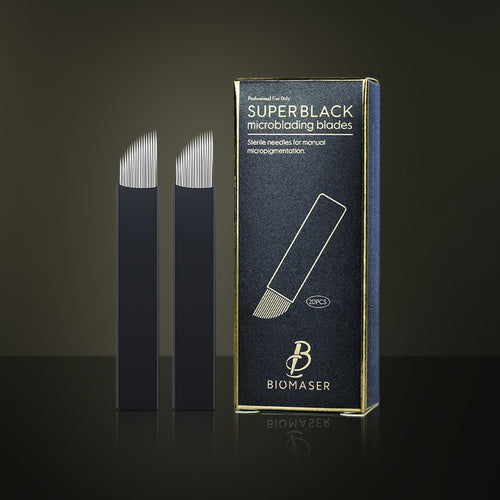
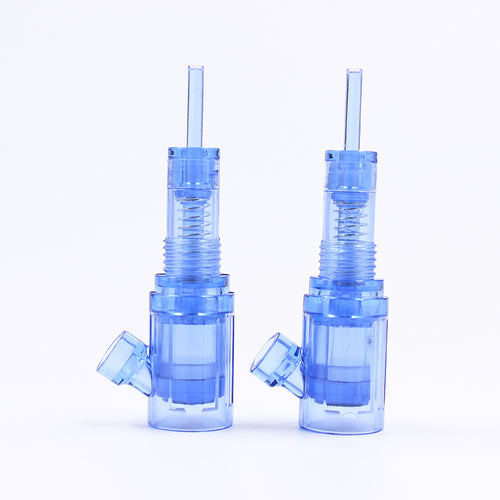
Needle geometry directly affects how consistently pigment is delivered into the skin. Needles with precision-ground tips and consistent flare geometry produce cleaner puncture channels with more predictable pigment release patterns. Worn or inconsistent needles cause variation in implantation depth and pigment quantity per puncture, which creates the uneven retention that shows up as patchiness or color inconsistency as the procedure heals.
For brow work — especially in the periorbital zone where precision demands are highest — high-quality single-use or frequently-replaced needle cartridges provide a meaningful retention advantage. The cost of replacing needles more frequently is significantly lower than the cost of a correction procedure or an unhappy client.
FAQ
How long does red or blue color shift take to appear after powder brow procedure?
Visible color shift typically develops 2–4 weeks post-procedure, as this is when the initial inflammatory response subsides and the skin's metabolic processing of the pigment particles becomes apparent. In some cases, shift may not be clearly noticeable until 6–8 weeks when the final healed result stabilizes. Early-stage red intensification in the first week is normal and usually resolves on its own as inflammation decreases.
Can color shift in powder brows be fully corrected, or is laser removal the only option?
Most cases of moderate color shift can be significantly improved through corrective pigmentation using complementary color neutralization (green-tan for red shift, orange-tan for blue shift), without requiring laser removal. The correction works by adding a complementary pigment that visually cancels the unwanted color cast. Full correction may require 1–2 sessions, and results depend on the severity of the original shift and the quality of the corrective pigment used.
Do oily skin types have higher risk of blue color shift?
Oily skin does present a measurably higher risk of blue shift, primarily because excess sebum can interfere with pigment adhesion and create uneven pigment distribution in the dermis. The sebum creates a physical barrier that prevents pigment particles from fully integrating with the dermal tissue, and can also push pigment deeper in some areas than others. For oily skin clients, selecting a finer-particle pigment formulation and using slightly shallower implantation depth reduces this risk.
Is the color I see immediately after the procedure the final color?
No. The immediate post-procedure color is consistently 30–40% darker than the final healed result, due to the combination of superficial pigment sitting on top of the skin, the initial inflammatory response intensifying tones, and the tissue swelling creating optical density. The final color becomes apparent around 4–6 weeks when the skin has fully healed and the superficial pigment has been naturally shed. Clients should be informed of this during the consultation to avoid expecting the immediate result to be the permanent result.
How can I explain aftercare importance to clients in simple terms?
Use this analogy: "The pigment is being integrated into your skin's architecture over the next several weeks — like foundations being poured for a building. If you disturb the site while it's still setting, the structure won't be as solid. Follow the care instructions, especially in the first 72 hours, to give the pigment the best chance of staying exactly where we put it." This lands better than clinical explanations and gives clients a concrete mental model for why the rules matter.
Key Takeaways
- Color shift in powder brows is caused by melanin metabolic priority interacting with pigment formulation, implantation depth, and post-procedure inflammation — not by a single factor
- Rule One: Select pigments with uniform particle size distribution and consider ResAP or equivalent retention-optimized formulations; store and mix pigments properly before use
- Rule Two: Control implantation depth to the papillary dermis (0.5–0.8mm); use complementary color correction (green for red shift, orange for blue shift) when shift has already occurred
- Rule Three: Implement structured aftercare protocols for the 72-hour critical window and the 4–6 week stabilization period; provide written instructions and schedule follow-up check-ins
- Equipment matters: adjustable stroke depth machines and high-quality needle cartridges are controllable variables that directly affect retention outcomes
- Prevention is significantly more cost-effective than correction — investing in proper pigment selection, technique training, and client education reduces long-term color shift complaints substantially
