




How to Improve Your PMU Practice Before Working on Clients
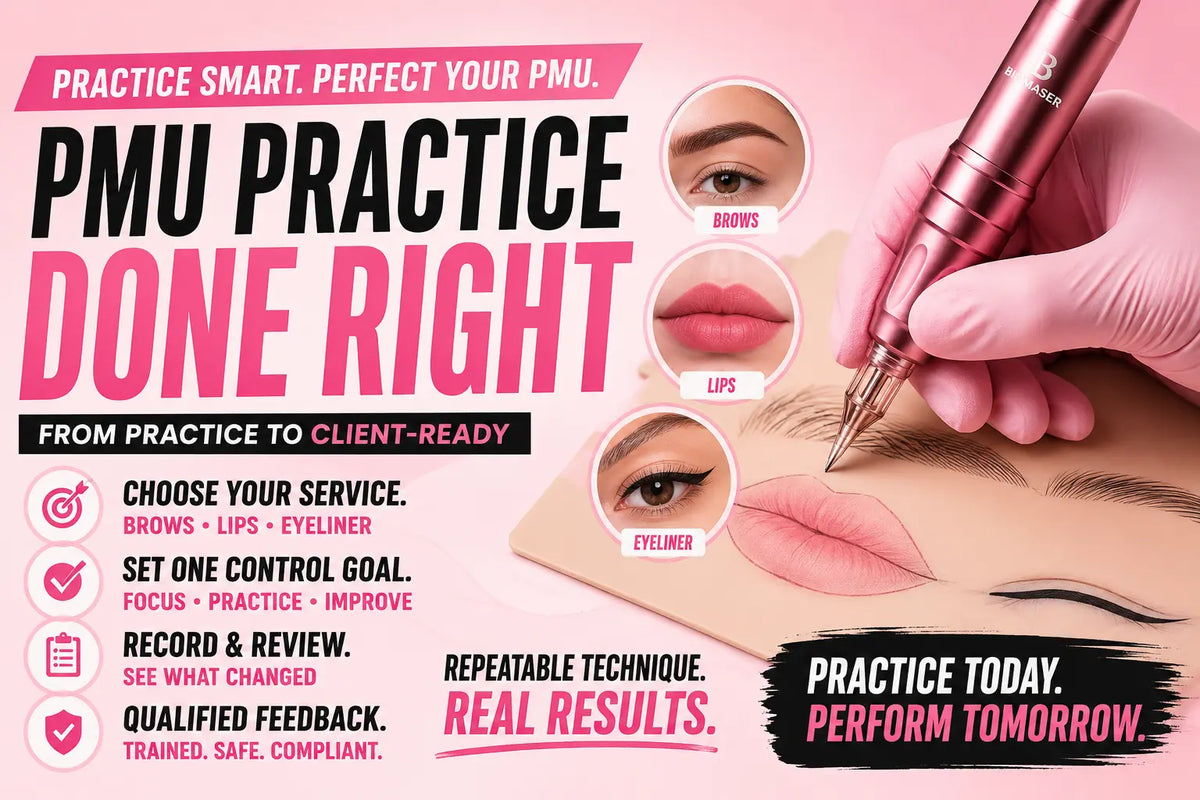
Choose the exact PMU practice first, then give each practice session one clear control goal. Work through comparable repetitions, record what changed, and move toward client work only when your service-specific technique and workflow are repeatable, supported by qualified feedback, and within applicable local requirements. Confidence or a set number of practice sessions is not enough on its own.
Start Each PMU Machine Session With One Service-Specific Control Goal
The fastest way to make practice useful is to decide whether you are training for brows, lips, or eyeliner before picking up your permanent makeup machine. Each service has different design and control demands, so a general goal such as "get better with the machine" gives you little to review.
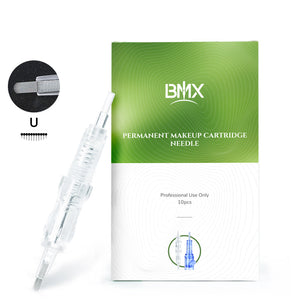
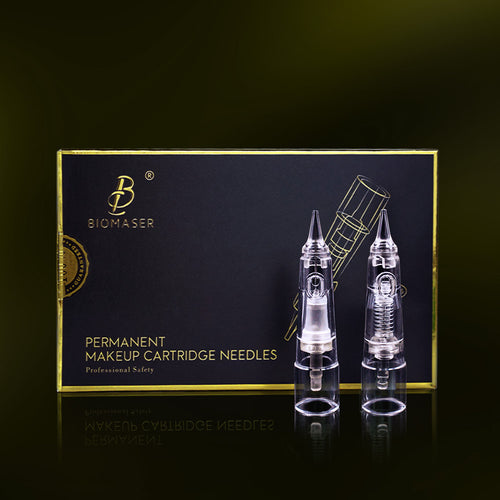
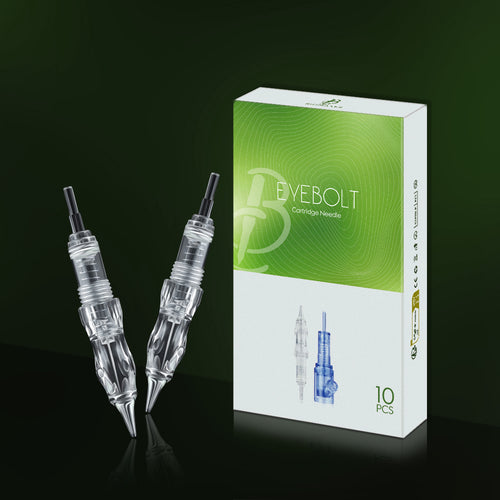
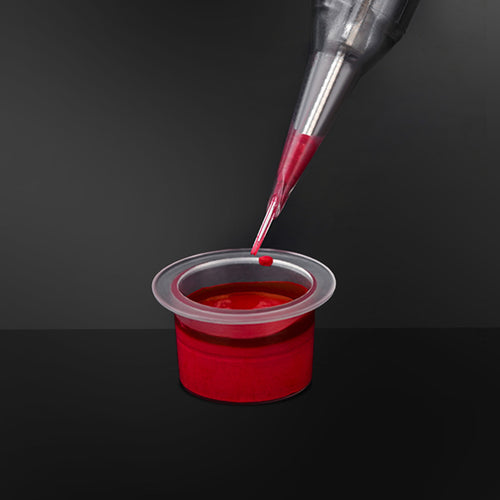
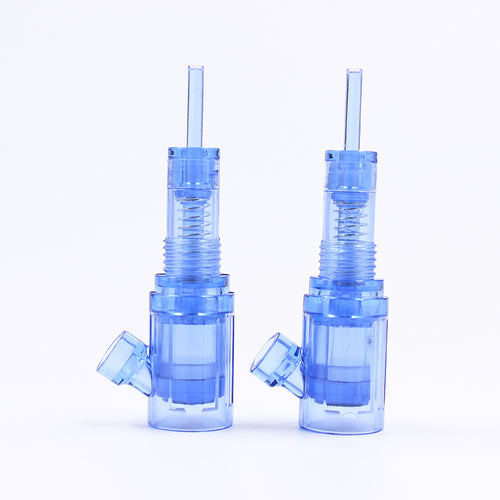
0411U-0.18mm U FLAT BMX Screw SMP Permanent Makeup Cartridge Needles for BMX Permanent makeup Machine 10PCS
Use this sequence for each session:
- Choose one service and form. Pick the exact area and drill, such as brow direction, lip border control, or eyeliner placement.
- Define one observable control goal. Focus on direction, spacing, angle, stopping control, border consistency, or keeping a path stable. Avoid setting a universal speed, pressure, depth, voltage, or needle target.
- Prepare a comparable sample. Keep the surface, reference design, posture, lighting, tool category, and review method as consistent as practical.
- Complete focused repetitions. Repeat the same narrow drill instead of switching between unrelated forms during one session.
- Record the visible result. Label or photograph attempts and note the main error, the variable you changed, and what happened next.
- Select one adjustment. Make the next session about the clearest remaining control gap, not about adding complexity.
For example, a brow session might review direction and spacing, while a lip session focuses on staying within a mapped border. An eyeliner session places more emphasis on angle, narrow-area placement, and stopping control. Keep practice on an appropriate nonliving medium until your qualified training permits model work and applicable requirements allow it.
Build a Practice Setup That Makes Technique Errors Visible
A useful setup recreates the working conditions you were taught to use without pretending that a practice surface behaves like living skin. Match your posture, hand support, lighting, mapping reference, tool category, and workflow closely enough to compare samples from one drill to the next.
| Setup element | Reproduce in practice | Inspect after the drill |
|---|---|---|
| Practice surface | Use a surface suited to the form you are reviewing, such as strokes, borders, or shading patterns. | Look for direction, spacing, shape, and stopping control. Treat the result as visual feedback only. |
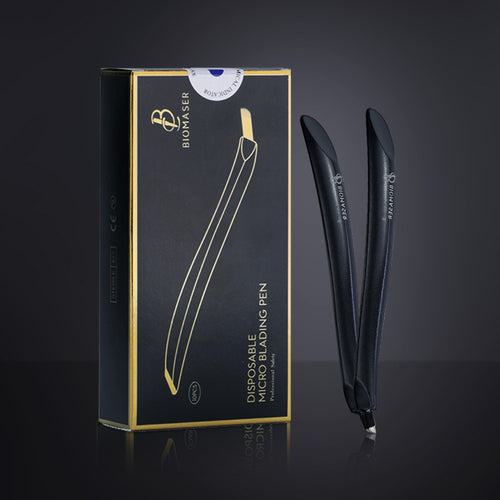
| PMU machine and needle category | Use the machine, PMU pen, and trained needle category associated with the service instruction you received. | Review the visible result rather than changing equipment to hide an unclear technique issue. |
| Posture and hand support | Match your seated position, working angle, hand support, and design placement. | Note drifting paths, tension, fatigue, or loss of stability. |
| Lighting and mapping reference | Use consistent lighting and the same type of design reference used in training. | Compare symmetry, border control, angle, and placement under the same viewing conditions. |
| Disposable workflow | Rehearse the clean setup, PPE, separation, and disposal process required for the setting before model work. | Make sure the workflow is complete without improvising around contaminated materials. |

When practice or model work can involve blood or contaminated sharps, sanitation is more than a shopping decision. In covered workplaces, OSHA's bloodborne-pathogen framework includes exposure-control measures, work practices, PPE, and training, as described in its bloodborne-pathogen exposure-control and training requirements. OSHA's microblading interpretation also addresses contaminated microblades, including proper training and immediate disposal in sharps containers, in its guidance on proper handling and immediate disposal of contaminated microblades. State and local body-art rules may add requirements, so complete the applicable training before skin-penetrating work involving people.
A practice surface can help you review form and controlled repetition. It cannot establish safe depth, healing, pigment retention, or client comfort. Choose your practice surface and other permanent makeup supplies for the skill you are reviewing, not as proof that you are ready to work on clients.
Train Hand Control Before Increasing Speed or Exploring Depth
Build a controlled hand path before increasing speed. Start with simple forms, review the visible result, and treat depth as a service-specific variable taught through qualified instruction rather than something a synthetic surface can validate.
Repeat Lines, Curves, and Spacing
Support your working hand and repeat one path at a consistent pace. Progress from isolated lines to curves, spaced patterns, and then simple service-specific designs. After each stage, review direction, width, spacing, and stopping control before adding complexity.
- Repeat isolated lines while keeping the design reference stable.
- Add curves and spaced patterns without changing several conditions at once.
- Introduce a simple brow, lip, or eyeliner form that matches the service you selected.
- Label or photograph comparable attempts so you can see whether the same error keeps returning.
If fatigue changes your path, spacing, or pressure control, stop the comparison and review the sample. Continuing while control is deteriorating produces less useful feedback.
Change One Control Variable at a Time
Hold the path or design as steady as practical while changing one trained variable. Your practice log can use four short fields:
- Variable changed: the one adjustment made.
- Sample held constant: the form, reference, or drill used for comparison.
- Visible result: the change in path, spacing, border, saturation, or stability.
- Next controlled adjustment: the single change to test next.
Do not respond to an unclear result by randomly adding pressure, speed, passes, or machine changes. That makes it difficult to identify the cause and can encourage harder or deeper practice instead of better diagnosis. Follow the settings and depth instruction provided for your specific service and training. No universal PMU machine setting applies to every artist, tool, surface, or service.
Correct the Highest-Impact Practice Error Before Repeating the Drill
When a practice result looks uneven, make the correction loop smaller instead of making the session more aggressive. Inspect the sample, name one visible error, isolate one likely variable, repeat the drill, and compare the new result with the original.
- Inspect before changing anything. Identify whether the main issue is drifting paths, uneven spacing, oversaturation, asymmetry, inconsistent borders, or loss of stability.
- Name one likely contributor. Consider the trained variable most closely connected to that visible error, such as hand support, angle, pace, or stopping control.
- Repeat a shorter drill. Keep the design and setup as consistent as practical while testing only that one adjustment.
- Compare the samples. Keep the original and new attempt together so the change is visible rather than dependent on memory.
- Document the next move. If the result improves, continue with another comparable repetition. If it does not, avoid adding more variables.
Escalate a persistent problem. Seek qualified hands-on feedback when the same material error continues, and keep practice on a nonliving medium until your training permits the next step.
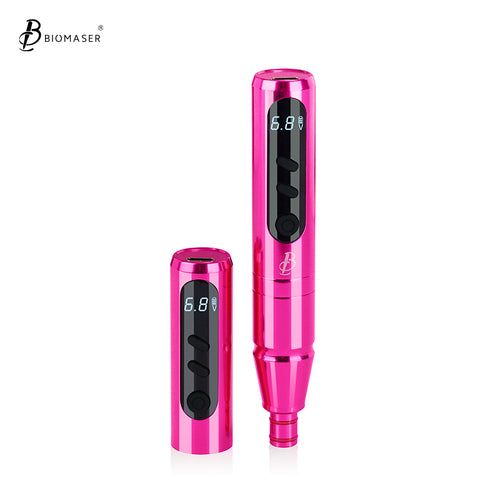
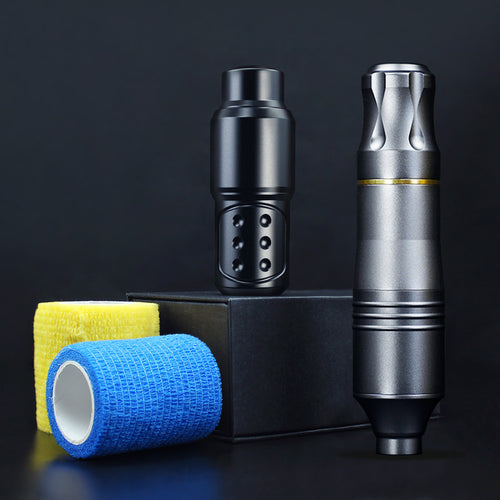
This loop also helps you decide whether a different PMU pen or other permanent makeup supplies would actually solve a problem. If the error has not been isolated, changing equipment usually gives you less information, not a clearer answer. For additional brow-focused practice vocabulary, review these microblading practice tips, while keeping the same service-specific and training-based boundaries.
Use Comparable Samples and Supervised Steps to Judge Client Readiness
Move toward paid work only when representative samples for the exact service and workflow are repeatable, required training or supervision is complete, and current state and local rules permit the work. Professional competency frameworks emphasize documented education, technical application, and qualified assessment rather than confidence or a universal session count, as outlined in documented service-specific training and competency.
Use this readiness sequence:
- Compare representative samples. Review the same intended service, design type, tool category, surface, and workflow. Look for repeatable paths, spacing, borders, placement, and stopping control.
- Review the whole workflow. Include consultation, records, consent, mapping, setup, sanitation, equipment handling, and aftercare communication, not just machine strokes. Professional PMU training curricula often separate these areas into individual learning domains. Biomaser’s PMU training guidance also emphasizes structured preparation, documentation, workflow practice, and client communication as part of building consistent professional procedures.
- Complete permitted supervised steps. If your training or jurisdiction requires model procedures, complete them under the required supervision and keep the relevant records.
- Confirm the rules for your location. State and local authorities may set different requirements for licensing, establishments, sanitation, bloodborne-pathogen training, consent, supervision, or scope of practice.
- Stay within demonstrated scope. If one material element remains inconsistent, delay paid work and make that gap the next practice goal.
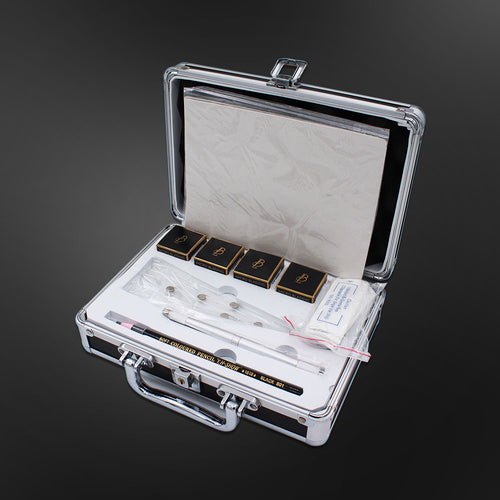
Comparable samples can show whether your form and workflow are becoming more consistent. They cannot, by themselves, prove safe living-skin application, healing outcomes, pigment retention, or client comfort. Treat a microblading practice kit or silicone practice surface as one training aid within a broader path of education, qualified feedback, permitted supervised work, and local compliance.
The practical decision is simple: keep practicing the exact service until the visible technique and complete workflow are repeatable, then advance only within your training and local requirements. Your next session should target the one documented control gap that still changes the result.
Common Questions About Improving Your PMU Practice
Q1: What Is the Clearest Sign That My PMU Technique Is Improving?
The clearest sign is repeatability across comparable samples. You should see fewer recurring control errors, explain each adjustment in your notes, and maintain the improvement when the service and setup remain comparable.
Q2: Can Practice Skin Tell Me Whether I Am Ready to Work on Clients?
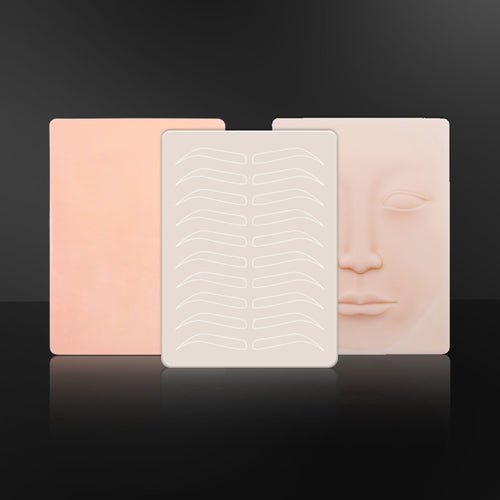
Practice skin can help you review form, spacing, and controlled repetition. It cannot establish living-skin behavior, healing, pigment retention, or client comfort, so readiness also requires service-specific training, qualified feedback, permitted supervised steps, and applicable local requirements.

3D practice skin permanent makeup Tattoo Class A silicone
Q3: What Should I Change First When My PMU Machine Strokes Look Uneven?
Name the visible error first, hold the design and setup as constant as practical, change one likely variable, and repeat a short drill. If the same error remains, seek qualified hands-on feedback instead of randomly adding pressure, speed, or passes.
Q4: Should I Practice Speed or Depth First With a PMU Pen?
Build a controlled hand path and stable pressure before increasing speed. Treat depth as service-specific and follow qualified training and applicable manufacturer instructions rather than inferring a safe depth from a synthetic result.
Q5: How Should Brows, Lips, and Eyeliner Change My Practice Routine?
Choose the service before the drill. Brows emphasize direction and spacing, lips emphasize border control and even passes, and eyeliner emphasizes angle, narrow-area placement, and stopping control. Review each service with its own comparable samples rather than applying one motion or setup to all three.
