










How do I apply brow makeup without making it look harsh or heavy?


For softer-looking brow makeup, compare a small amount of color with your existing brow hairs, brush them into place, and fill only the sparse areas with light, short strokes. Keep the inner ends lighter, brush through the color, and check both brows at ordinary viewing distance before adding more. The aim is to give gaps enough definition to blend with the surrounding hairs without turning the whole brow into a solid shape.
Apply color gradually, starting with the gaps
-
Compare a small amount of shade. Try a few light strokes of a candidate shade in a sparse area and compare them with the surrounding hairs. Judge both the color and how strongly it stands out: a shade you like may still look heavier than intended when applied densely. For a softer finish, choose the option that gives you the definition you want with a light application, rather than following a fixed rule about matching your hair color.
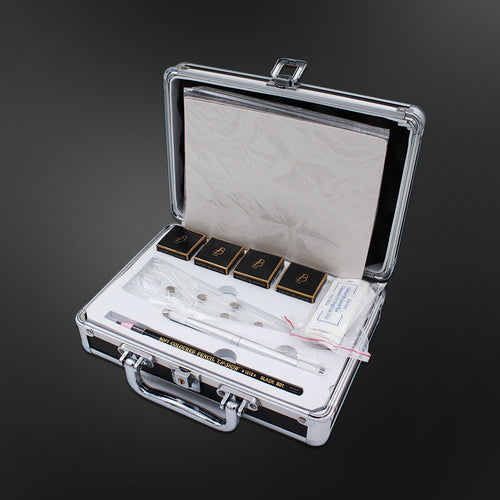
The Biomaser Eyebrow Pencil Set offers cosmetic drawing and filling pencils in shades including light coffee, brown coffee, gray, and dark coffee, giving you options to compare against your existing brows.
-
Brush hairs into the shape you want to wear. Use a clean brow brush or spoolie—the small spiral brush used for brows—to arrange the hairs. Follow their natural direction, adjusting them into your preferred shape. Look at the spaces that remain after brushing: some areas may already have enough coverage once the hairs are in place. Use those visible gaps as your placement guide instead of redrawing the entire brow.
-
Fill sparse areas with short, light strokes. Follow the direction of nearby hairs, lifting the pencil between strokes rather than repeatedly shading back and forth. Start with barely enough pressure to leave a visible mark, then pause to assess it. Firmer pressure and repeated passes can make the same area appear darker and more solid. If the surrounding hairs already provide definition, leave that area alone.

-
Keep the inner ends soft and the edges broken up. At the ends nearest your nose, use fewer, lighter strokes and leave some space between them. A densely filled vertical edge can give the brow a square starting point. Along the upper and lower edges, place individual strokes where definition is needed rather than joining them into a continuous hard outline. You can still define an arch or tail; keep checking whether that definition fits the rest of the brow.

-
Brush through, step back, and decide whether to stop. Gently brush in the direction of the hairs to soften concentrated marks. Then look at both brows in normal light at ordinary viewing distance, rather than judging only from a close-up mirror. If the brows look balanced and the gaps no longer draw your attention, stop. If one small area still looks sparse, add a few strokes there and check again. Adding color everywhere to correct one gap can make the whole result heavier.
Soften darkness or sharp edges without starting over
If an area looks too dark: First brush through it gently with a clean spoolie. If it still looks too dense, lift a little color from that specific patch with a cotton swab lightly moistened with makeup remover suitable for the eye area. Follow the remover’s directions and keep it out of your eyes. Reassess before applying any more color.
If the inner end looks square: Brush the inner hairs gently upward and outward, then use targeted removal to break up the solid vertical edge. Leave a little space between any strokes you reapply so the brow begins more softly.
If an outline looks hard: Gently brush across the visible line to diffuse it. If the line remains prominent, use the cotton swab and suitable remover along that edge to lift the excess. Once the area is dry, replace only any definition you still want with a few light strokes.

After each correction, check the whole brow again. You may only need to remove one dark patch or sharp edge; filling the softened area back to its previous intensity would undo the adjustment.
FAQs
How do I choose a brow shade that looks soft?
Apply a few light strokes in a sparse area and compare the color with the surrounding brow hairs. Choose a shade that gives you the definition you want without standing out too strongly.
Where should I apply brow makeup to avoid a heavy look?
Brush your brow hairs into your preferred shape first, then use short, light strokes in the gaps that remain. Follow the direction of nearby hairs and leave areas that already have enough definition alone.
How can I keep the inner ends of my brows from looking blocky?
Use fewer, lighter strokes at the ends nearest your nose, leaving some space between the marks. Avoid creating a solid vertical edge, and brush through gently to soften the result.
How can I fix brow makeup that looks too dark or sharply outlined?
Gently brush through the dark area or across the hard edge with a clean spoolie. If it still looks heavy, lift a little color with a cotton swab lightly moistened with makeup remover suitable for the eye area, following its directions and keeping it out of your eyes. Once the area is dry, add a few light strokes only where you still want definition.
How do I know when to stop adding brow makeup?
Check both brows in normal light at ordinary viewing distance after brushing through the color. Stop when they look balanced and the gaps no longer draw your attention; if a small area still looks sparse, add a few strokes there and check again.
