


How to Treat Common Tattoo Machine Vibrations and Noises
For tattoo artists, a smooth, quiet running machine is essential for quality work. However, vibrations and bothersome noises are common issues that can disrupt focus. Diagnosing the causes and applying fixes keeps your equipment running optimally. Both beginner and experienced artists should learn proper machine troubleshooting.
What Causes Tattoo Machine Vibrations?
Vibrations during operation often stem from internal components being out of balance. Here are some of the main culprits:
- Unbalanced Motor - The electromagnetic coils that drive the needle may have fallen out of alignment. This imbalance creates strong vibrations.
- Damaged Coils - Over time, the coils can become bent or loose. This alters the magnetic field, causing vibrations.
- Loose Grip Screw - If the grip screw attaching the tube is not tightened properly, the moving needle will cause vibrations.
- Worn Rubber Bands - These bands hold internal components in place. When they become loose or break, it leads to abnormal vibrations.
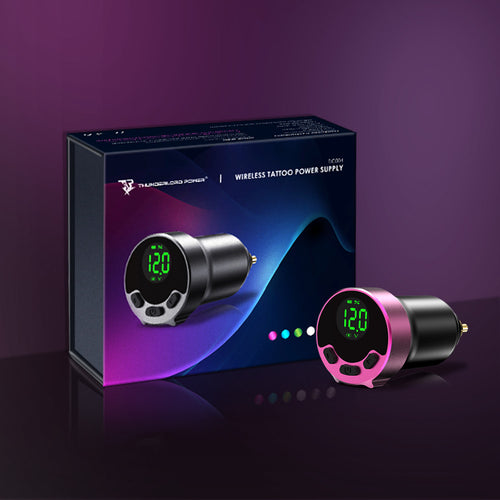
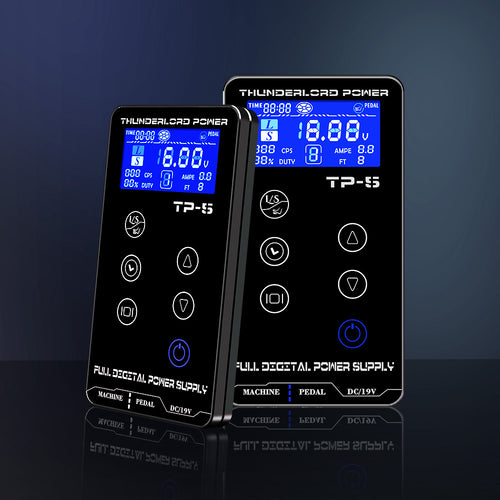
- Bad Power Supply - Issues with inconsistent power output will make the motor unstable and vibrate.
What Causes Tattoo Machine Noises?
Along with vibrations, artists have to deal with annoying noises that disrupt workflow. Some causes include:
- Dry Gears and Parts - Internal gears, bearings, and moving metal components can squeak and grind when not properly lubricated.
- Loose Screws - Over time, screws can become loose. This allows parts to grate or buzz as they move against each other.
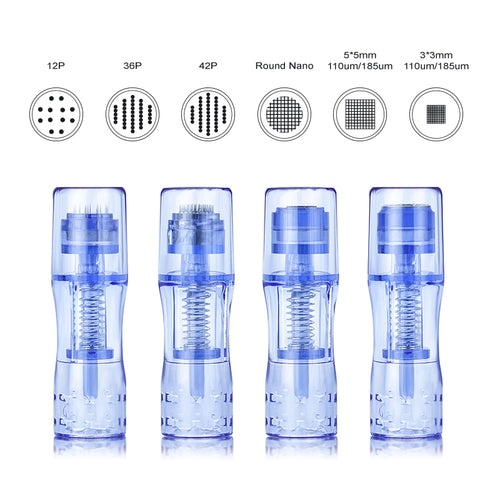
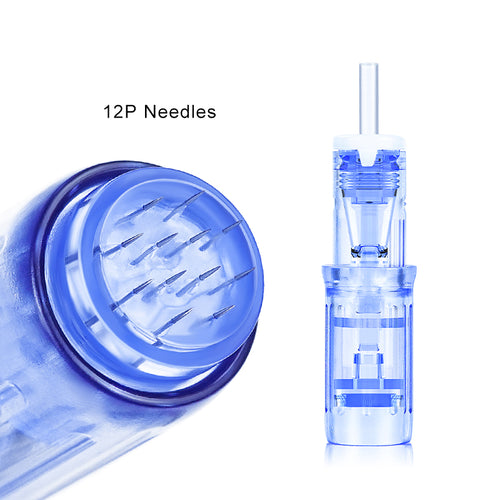
- Damaged Needles - Bent or dull needles will not run smoothly, creating buzzing and grinding.
- Worn Rubber Bands - Loose or broken bands will make metal components clank together loudly.
- Grommets Need Lubrication - The grommets securing the coils also need greasing, or they will emit squeaking noises.
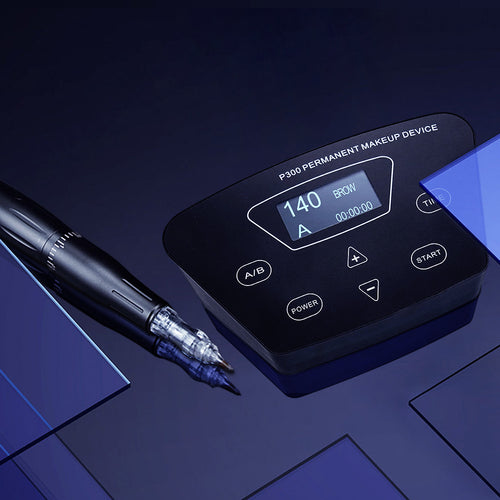
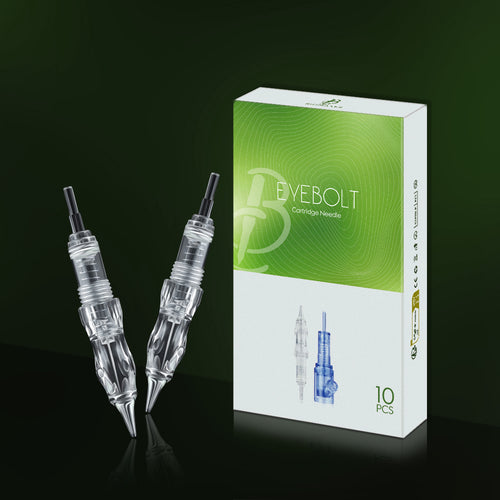
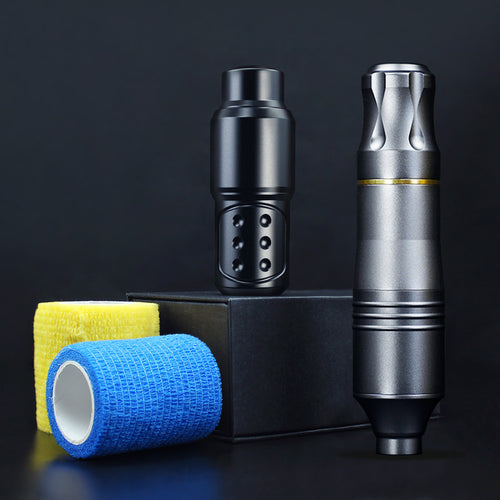
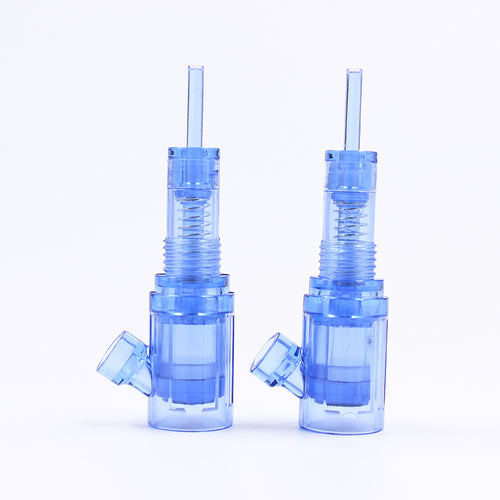
3mm stroke Tattoo Machine Double head Tattoo permanent makeup CTGE004
Quick Fixes for Vibrations and Noises
For basic external issues, some quick fixes may resolve the problems:
- Tighten All Screws - Go through and tighten any loose screws on the machine components.
- Add Lubricant - Put a drop of tattoo machine oil on any gears, bearings, grommets, or needles.
- Replace Rubber Bands - Old, worn bands should be swapped out for new, tight-fitting ones.
- Adjust Grip Screw - Make sure the tube is tightened properly to prevent vibrations.
- Check Power Supply - Try a different cord or outlet. Faulty power can damage motors.
Inspecting Inside the Tattoo Machine
If you've tried all the quick fixes, but your machine is still buzzing and vibrating, it's probably time to open it up and take a look inside. Don't worry - with some care and patience, you can diagnose and treat any internal issues.
Should You Crack It Open?
Only break open your machine if noises and vibrations continue after you've tried basic external tweaks. Taking it apart gives you access to the guts, but you gotta be delicate so you don't make things worse. If you're new to tattooing, you'd better leave this to a pro.
Opening it Up Step-By-Step
Alright, it's time to peek inside your misbehaving machine. Make sure that sucker is unplugged first! Then:
- Remove the needles, tubes, grips - all of it. This gives you a clean workspace.
- Use a tiny jeweler's screwdriver to loosen the main screw. Carefully pry apart the two halves. Go slowly to avoid snapping anything.
- Check out those coils. See any bent or loose ones? How about the gears and bearings - notice wear and tear?
- Replace any obviously damaged bits with new parts. You may need to reposition components or add lubricant too.
- When it's all fixed up, gently put the two sides back together. Tighten the main screw nicely and snugly.
- Before inking the skin, test it out and make sure the buzzing and shaking are gone for good!
With some patience and TLC, you can get inside your misbehaving machine, fix the problem, and get back to laying down sweet tats in no time. Just take it slow and be gentle in there!
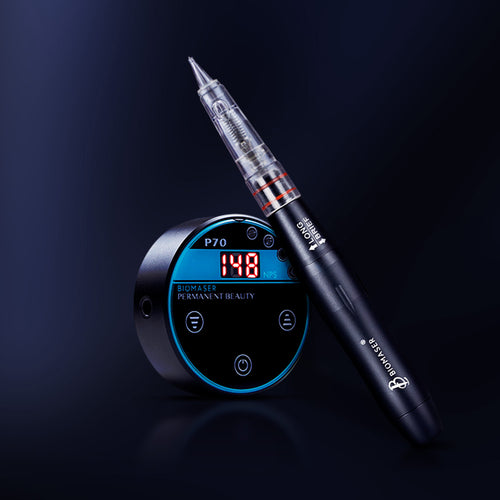
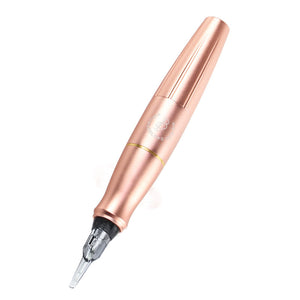
Biomaser Plenilune U1 Pro Wireless Tattoo & PMU Machine With Adjustable Stroke
Preventing Future Problems
Diligent maintenance is key to avoiding recurring issues with vibrations, noises, and other problems. Here are some best practices artists should follow:
1. Lubricate Moving Parts Frequently
- Use a high-quality tattoo machine oil to lubricate gears, bearings, grommets, and other internal moving parts. This prevents squeaking and grinding noises.
- Add just a drop or two of oil at a time. Too much can leak out and make a mess.
- Lubricate every few weeks or after long tattoo sessions.
2. Tighten All Screws Regularly
- Over time, vibration can loosen screws on the machine frame, coils, and clamps.
- Go through periodically and tighten any loose screws using a small jeweler's screwdriver.
- Check that the grip screw keeping the tube in place is tightened properly.
3. Use Quality Needles and Bands
- Replace rubber bands every few months to prevent breakage and slippage from worn bands.
- Invest in needles from reputable suppliers to prevent issues with bending and buzzing.
4. Careful Transport of Equipment
- Avoid setting down or dropping the machine hard. Impacts can misalign coils.
- Wrap the machine in padding or foam when traveling to prevent damage to delicate components.
5. Handle Gently to Avoid Bending
- Be careful not to bump or drop the machine, which can bend needles.
- Store properly in a protective case when not in use.
- Improper handling is a common cause of damaged components.
Conclusion
Tattoo machine vibrations and noises are common but can be fixed. For minor external issues, quick solutions like tightening screws and lubricating may work. Internal damage requires carefully opening up the machine to diagnose and replace parts. With proper maintenance and care, tattoo artists can keep their machines running smoothly for years.