




Lighting Temperature and CRI Values That Reveal True Pigment Color

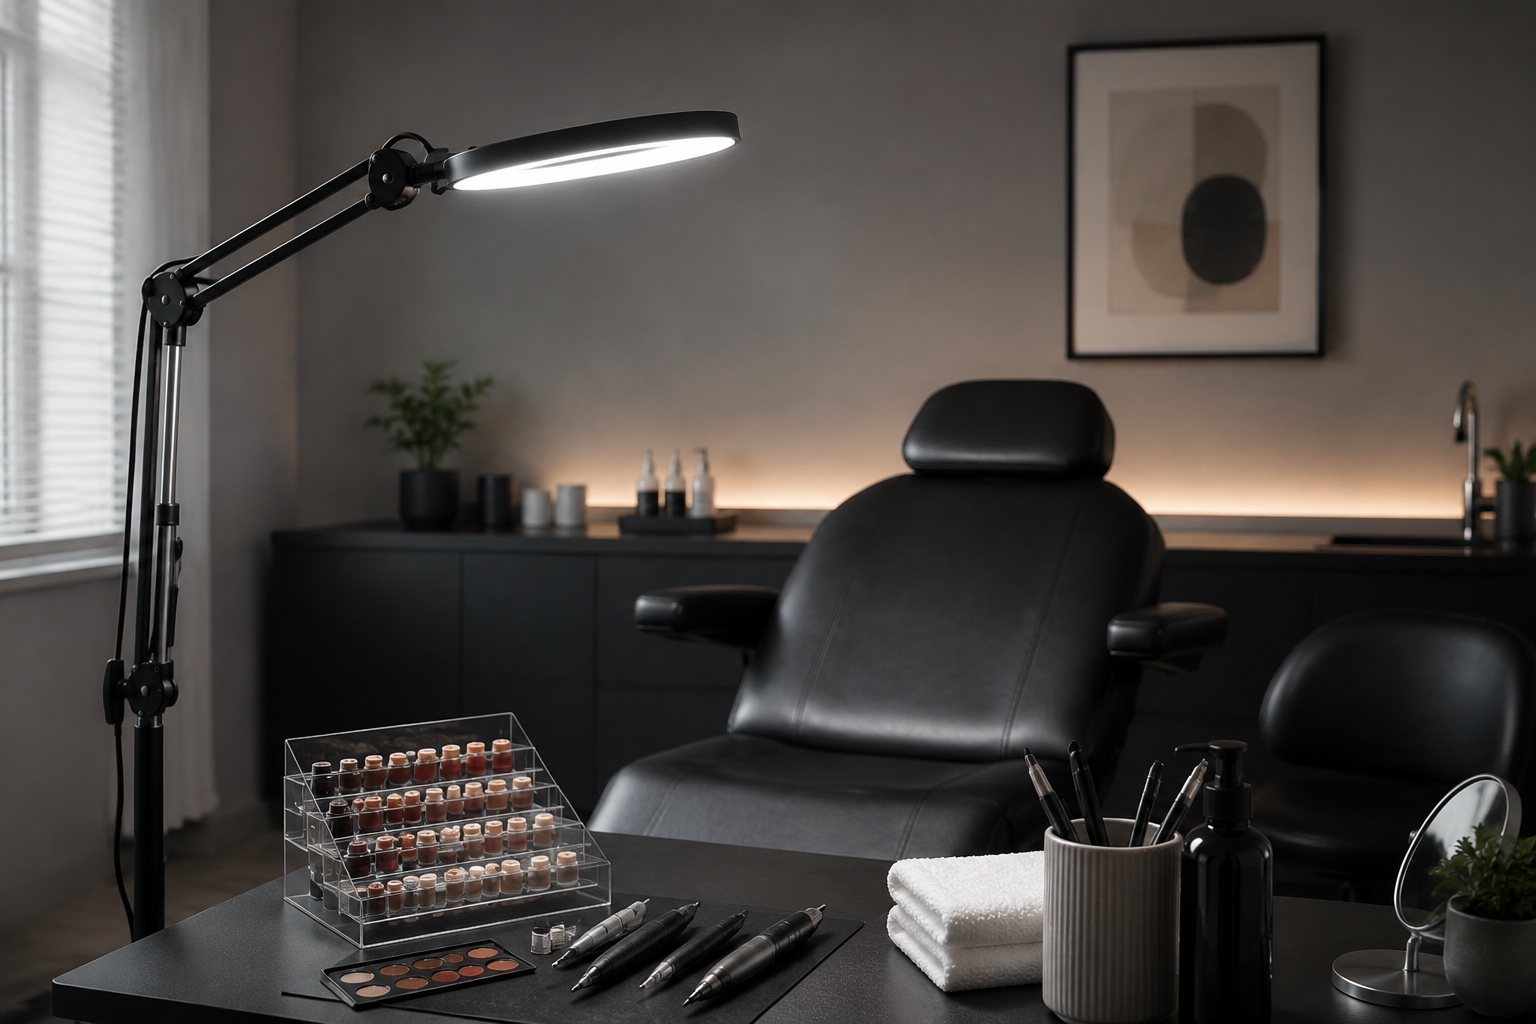
For PMU consultations, pigment selection, and treatment documentation, begin by testing a consistent 5000--6000 K lighting scene and shortlist fixtures described as high CRI---commonly above 90. Then approve the setup only after checking the actual room, your pigment range, skin observation workflow, and camera results.
There is no single Kelvin setting that guarantees "true" pigment color for every client, skin tone, pigment formulation, healed result, or viewing environment. Lighting is one controlled studio variable among skin physiology, implantation technique, healing, aftercare, and the light in which the client later sees their result.
Choose a Working CCT Range, Not a Universal "True Color" Setting

Correlated color temperature, or CCT, describes the apparent color of the light source in kelvins. It does not describe how well that source renders the colors of skin, pigment cups, or neutralizers.
Lower-CCT lighting is generally perceived as warmer or more yellowish, while lighting above 5000 K is generally perceived as cooler or more bluish. That visual cast can influence how you interpret undertones and pigment mixtures, even before you consider the fixture's color-rendering quality.
| CCT Option | Practical PMU Interpretation |
|---|---|
| 4000 K | A comparatively warmer-looking option. Test carefully if it is used for both consultation and color selection. |
| 5000 K | A useful daylight-related reference point to include in comparisons. |
| 5500--6000 K | Another daylight and electronic-flash-related reference range; a practical starting point for a controlled studio scene. |
| 6500 K | Associated with overcast daylight and many "daylight" LED descriptions. It may be useful for comparison, but it is not automatically more accurate. |
The operational goal is consistency, not chasing the coolest-looking lamp. If your consultation, procedure, and photo area use materially different color temperatures, you may be making color decisions in one visual environment and documenting them in another.
Choose one reference scene for the treatment area, then test it under normal working conditions. A 5000--6000 K range is a sensible starting point because it sits among commonly cited daylight-related references, but retain another CCT only if your controlled comparison supports it.
Read CRI, R9, and TM-30 as a Set of Questions
A fixture's "CRI" label is usually its Ra value: an averaged color-rendering score based on standardized color samples. It is useful, but an average can conceal weaker performance on an individual color.
For close PMU color work, a high-CRI listing---commonly above 90---can be a reasonable shortlist criterion. It should not be treated as proof that a lamp will reveal every red, orange, brown, neutralizer, or skin undertone exactly as expected.
What to Ask Before Buying
Ra or CRI: Confirm whether the listed CRI number is specifically Ra. This gives you a broad rendering reference, not a complete pigment-assessment answer.
R9: Ask whether the manufacturer reports R9. R9 is a supplemental metric related to saturated red, and it is often omitted from standard CRI listings. That makes it particularly relevant to review when your work depends on assessing lip tones, warm modifiers, red-based pigments, or redness in the skin.
TM-30: If a TM-30 report is available, use it as additional color-rendering context when comparing fixtures with similar CRI claims. TM-30 was developed in response to recognized limitations of CRI.
Do not invent a pass/fail R9 or TM-30 number for PMU work. The better decision is to request the documented data, compare candidate fixtures, and then test the finalists in your own workflow.
A listing that provides only "daylight," "studio light," or "CRI 95" without clearer model-specific documentation deserves more scrutiny before it becomes your pigment-matching reference light.
Build One Controlled PMU Lighting Scene

A well-specified lamp can still perform poorly in a room that is inconsistent. Use the same controlled scene for consultations, close visual checks, pigment assessment, and standard portfolio captures whenever possible.
Start with two functional layers:
- Ambient lighting that lets the room feel workable and supports safe movement.
- Adjustable task lighting aimed at the client's treatment position for close observation.
Lighting geometry affects whether facial areas appear evenly illuminated or fall into shadow. Position and adjust the task light so you can inspect the intended work area without allowing your hands, machine, or head position to create persistent obstructive shadows.
That placement work is separate from color rendering. A light can be bright, comfortable, or evenly placed and still be insufficiently documented for pigment assessment.
Control the Variables Around the Client
Keep the consultation and procedure zone as stable as possible:
- Avoid materially different CCT sources illuminating the same work area.
- Decide how window light will be handled, then use the same approach for every assessment and photo session.
- Keep mirrors, colored décor, and surrounding surfaces from becoming uncontrolled variables in the immediate viewing area.
- Use neutral, matte reference materials when comparing candidate fixtures.
- Evaluate glare, shadowing, brightness, and flicker separately from Ra, R9, and TM-30 data.
Flicker, electrical installation, cleaning compatibility, infection-control processes, and local inspection requirements are separate decisions. Verify applicable body-art, health, building, workplace, and electrical requirements with the relevant local authority rather than assuming a lighting product is suitable for compliance.
Test the Lamp Before You Trust It

A specification sheet should get a fixture onto your shortlist. Your studio test should determine whether it stays.
Use a repeatable comparison before relying on a new lamp for pigment selection or client-facing documentation.
A Practical Approval Test
- Record the fixture details. Note the exact model, CCT, listed Ra, whether R9 is reported, and whether TM-30 information is available.
- Set the room to its intended operating condition. Turn on the usual overhead and task lights. Handle window light in the way you plan to handle it during consultations.
- Use a fixed client position. Observe the same facial areas from the same working angle under each candidate fixture.
- Compare representative materials. Use your normal pigment cups or non-client test materials alongside neutral reference materials or a color target.
- Check for evenness. Move through the procedure position and confirm that your normal posture does not create a misleading shadow across the area you need to assess.
- Check the camera workflow. Capture a standardized image with the same lighting scene, position, white-balance choice, exposure approach, distance, and background.
- Check mobile and video behavior. Review the light through the devices you actually use for documentation, without treating a camera result as a substitute for in-person assessment.
- Repeat on another day. A setup is more useful when it can be recreated, not merely when it looks good once.
If two fixtures both claim CRI 95 but produce noticeably different results in your comparison, do not assume the labels are interchangeable. Review the available R9 and TM-30 information, then prioritize the fixture that produces the more consistent, documented studio workflow.
Make Photos Comparable Rather Than Flattering
Portfolio and consultation photographs should support consistent records, not create a warmer, cooler, brighter, or more saturated impression than the studio assessment.
A 6500 K display white point is associated with the commonly used sRGB image standard. That does not mean a phone camera, capture light, editing workflow, or client display is color accurate. A display setting cannot validate the conditions under which the image was taken.
For comparable records, document:
- The lighting scene and fixture configuration
- Subject position and framing
- Camera or phone used
- White-balance mode or setting
- Exposure approach
- Background and distance
- Any edit applied after capture
Avoid comparing two images as pigment-color evidence when the lighting, white balance, exposure, background, or editing process changed between sessions. A flattering image may still be a poor consultation record.
During client discussions, state the limitation plainly: pigment appearance can vary with lighting, skin condition, healing, and the client's viewing environment. Controlled lighting improves the consistency of your assessment and documentation; it does not predict healed color with certainty.
Studio Lighting Audit Checklist
Before you rely on a lighting setup for PMU color decisions, confirm that you can check each item below:
- [ ] One consistent reference light has been selected for the treatment and consultation area.
- [ ] The actual fixture model's CCT and Ra data have been recorded.
- [ ] R9 has been requested or reviewed where available.
- [ ] TM-30 documentation has been reviewed as added context where available.
- [ ] Candidate fixtures have been compared using your normal pigment and skin-observation workflow.
- [ ] Window light, overhead light, and task light are managed as one controlled scene.
- [ ] Mixed light and surrounding surface-color variables have been minimized.
- [ ] Shadows, glare, brightness, and flicker have been assessed separately from color-rendering metrics.
- [ ] Photo settings and capture position are documented for repeatable records.
- [ ] Consultation language explains that lighting control does not guarantee healed pigment appearance.
Once the room is standardized, build the same discipline into pigment selection and client communication. For the next step, review BIOMASER's guidance on choosing PMU pigments for skin tone alongside your documented lighting workflow.
