


Top 10 Microblading Tips Every Artist Should Know
Have you ever wondered how to get perfect, natural-looking eyebrows? Microblading is the secret! It's a beauty technique where we draw tiny lines on your eyebrows, making them look fuller and beautifully shaped. But, doing microblading the right way isn't a piece of cake. It needs skill, knowledge, and a few insider tricks. Whether you're just starting out or looking to sharpen your skills, we've got you covered. In this article, we'll share the top 10 tips and tricks that every artist needs to know.
1. Understand Skin Types and Conditions

Before you even pick up your microblading tool, it's crucial to know the canvas you're working on - the skin. Just like an artist selects the right paper for their masterpiece, a skilled artist needs to understand the client's skin type and any conditions that might affect the microblading process.
- Different Skin Types: There are generally four skin types: oily, dry, mixed, and sensitive. Each has its own characteristics. For instance, oily skin might make the pigment fade quicker, while sensitive skin might be more prone to swelling or redness.
- Skin Conditions: Be on the lookout for conditions like eczema, psoriasis, or severe acne around the eyebrows. These can impact how the skin heals and accepts the pigment.
Tips for Tailoring Techniques:
- For Oily Skin: Use pigments that are known to retain color better on oily skins. You might also want to make your strokes a little deeper.
- For Dry and Sensitive Skin: Gentle is the keyword. Use less pressure and opt for pigments that are less likely to cause reactions.
- Know When to Say No: If a client has certain skin conditions, it might be best to advise against microblading until their condition improves.
Always conduct a thorough consultation with your clients about their skin type and any concerns they may have. This not only helps in achieving the best results but also builds trust between you and your clients.
2. Perfect Your Pre-drawing Routine

Imagine building a house without a blueprint; it's bound to go wrong. Similarly, jumping into microblading without planning the shape is a no-go. The pre-draw is your roadmap to flawless brows, ensuring you and your client are on the same page before the microblading begins.
Techniques for Symmetrical Brows:
- Use the Right Tools: A good brow pencil and calipers are essential. Start by marking key points like the start, arch, and end of the brows.
- Measure Twice, Draw Once: Take the time to measure the brows properly. This helps in getting them as symmetrical as possible.
- Consultation is Key: Have an in-depth chat with your client about the look they're going for. Show them the outline before proceeding.
Selecting the Right Arch:
- Face Shape Matters: Tailor the brow shape to complement your client's face structure. For example, an oval face might suit soft angled brows, while a heart-shaped face can carry more dramatic arches well.
- Natural Brow Bone: Follow the natural curve of the brow bone. It guides you to where the arch should peak naturally.
Client Preferences:
- Visual Examples Help: Use photos to help clients visualize potential shapes and agree on what they like best.
- Clear Communication: Make sure both you and your client clearly understand what shape is being aimed for and manage expectations from the start.
It's all about precision, patience, and clear communication. Get this step right, and you're halfway to delivering brows that your client will adore.
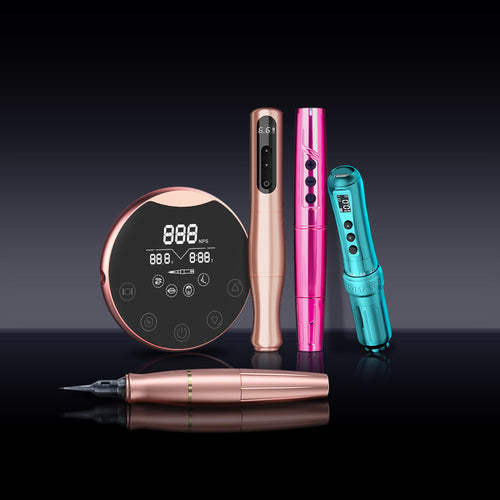
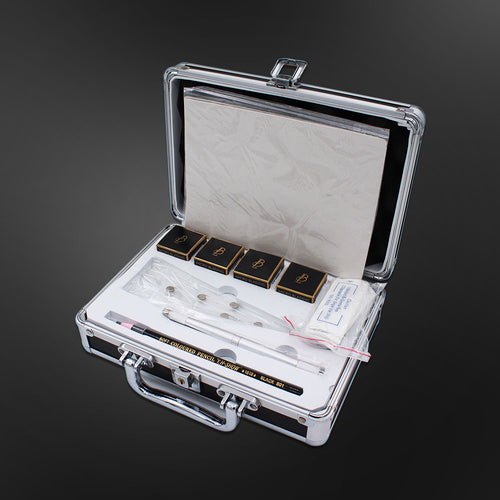
3. Choose Quality Pigments and Tools

The right tools and pigments are to a artist what paints and brushes are to a painter – absolutely essential. Your choice can make a world of difference in the quality and longevity of your microblading results.
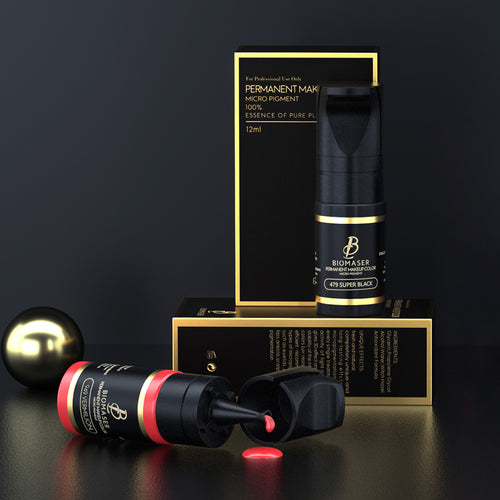
- High-Quality Pigments: Select pigments that are not only vibrant but stable. They should maintain their color over time without fading into unwanted tones.
- Brands Matter: Research and invest in brands with proven track records for safety and longevity. Reading reviews and participating in professional forums can help you make informed choices.
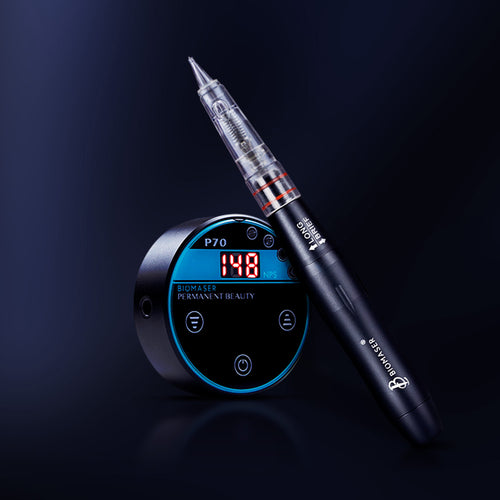
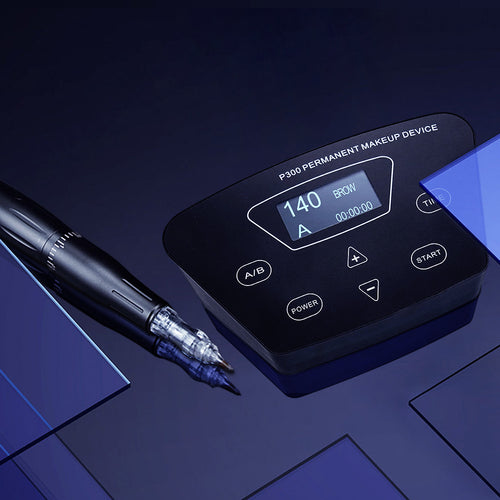
- Precision Tools: Your blades and needles should be of top quality to ensure clean and crisp strokes.
- Comfortable Grips: Remember, the more comfortable you are with your tool, the more control you'll have. This means better results for your clients.
- Keep It Sharp: Always use fresh needles or blades for each client to provide the best results and prevent cross-contamination.
- Sterilization Is Non-Negotiable: Follow strict sterilization protocols for any reusable components of your microblading tools.
Don't cut corners on quality-investing in the best supplies means you're investing in your art and your clients' satisfaction.
4. Master Color Theory

Understanding color theory is essential for every artist. It's not just about choosing a pigment that looks nice in the bottle; it's about how that color will interact with your client's unique skin tone and natural brow color.
- Basics of Color Theory: Familiarize yourself with the color wheel, including primary, secondary, and tertiary colors. Understanding complementary and analogous colors can help you anticipate how pigments might blend with natural skin tones.
- Skin Undertones: Identify whether your client has warm, cool, or neutral undertones. This knowledge guides you in selecting a pigment that will look natural once healed.
- Natural Brow Color: Aim for a shade that complements the client's existing brow hair. Mixing pigments may sometimes be necessary to achieve the perfect match.
- Mixing Techniques: Don't be afraid to mix different pigments to create a custom shade that perfectly suits your client's needs.
- Patch Testing: Conduct a patch test with the selected pigment to ensure there are no adverse reactions and that the healed color matches expectations.
A thoughtful approach to color selection will make your work stand out in the crowded field of microblading.
5. Prioritize Hygiene and Safety
In microblading, where you're creating tiny incisions in the skin, cleanliness isn't just about professionalism-it's about safety. Keeping your workspace and tools sterile is critical to preventing infections and ensuring the well-being of your clients.
- Sterile Work Environment: Your microblading space should be as clean as a medical facility. This includes having a proper disposal system for used needles and other sharps.
- Use Autoclaves: An autoclave uses steam and pressure to sterilize tools, which is one of the most effective methods for killing all forms of microbial life.
- Single-Use Items: Opt for single-use, disposable items wherever possible. This not only ensures sterility but also provides peace of mind for you and your clients.
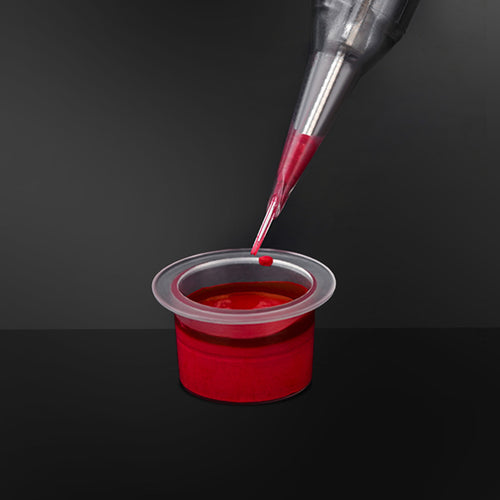
- Never Double Dip: When applying pigment to the skin, ensure that you never double-dip your microblading tool into the pigment pot. Use disposable pigment rings or separate containers for each client.
- Use Barrier Methods: Cover your work area with a barrier film, and always wear gloves. Change your gloves anytime you need to touch something that isn't sterilized.
It's crucial to stay up-to-date with the latest health guidelines and adjust your protocols accordingly. An immaculate studio is a sign of a professional who cares, and clients will trust and respect you for it.
6. Depth and Pressure Techniques
Achieving the perfect depth and applying the right amount of pressure are skills that set the best artists apart from the rest. The pigment needs to be deposited at an optimal depth in the skin for color retention and to prevent scarring or blurring.
Understanding Skin Layers:
The epidermis is the outer layer of the skin, and just below it is the dermis. The ideal depth for microblading is in the upper dermis. Too shallow, and the strokes won't last; too deep, and you risk scarring.
Perfecting Pressure:
- Consistency is Key: Apply consistent pressure throughout each stroke to ensure even color application and healing.
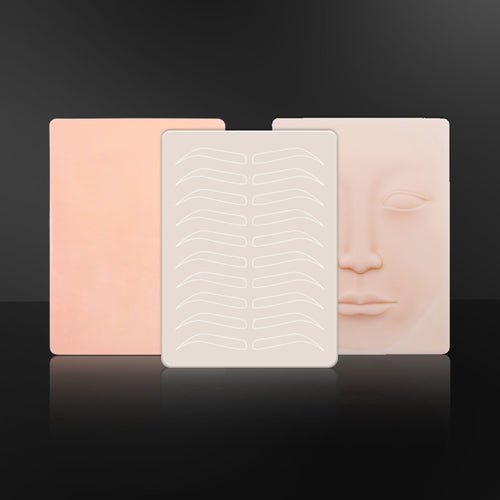
- Practice Makes Perfect: Use practice skins to refine your technique. Pay attention to how different angles and pressures affect the stroke depth and appearance.
Tips for Precision:
- Start Light: Begin with lighter pressure to gauge how the skin reacts, then adjust accordingly.
- Watch and Learn: Observe seasoned professionals through workshops or online tutorials to learn nuanced techniques.
- Feedback Loops: Ask for feedback from clients about their healing process to understand if adjustments are needed in your technique.
Mastering depth and pressure takes time and practice, but it's essential for creating natural-looking, durable brows. By focusing on the quality of each stroke and being mindful of the skin's reaction, you'll improve your outcomes and client satisfaction.
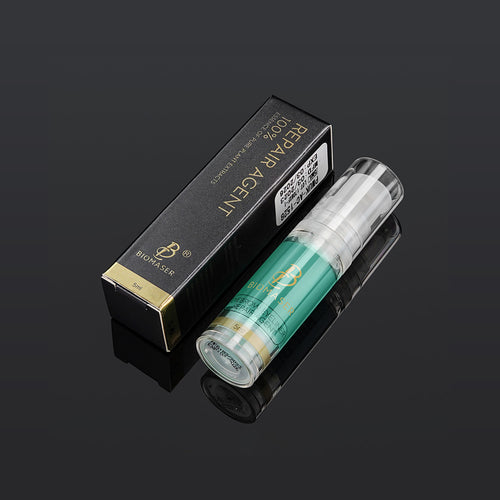
7. Aftercare Advice
Post-treatment care is just as important as the procedure itself. Proper aftercare ensures the best healing process and longevity of the microblading results. Educating your clients on how to take care of their brows after the session is key.
Comprehensive Aftercare Guide:
- Immediate Aftercare: Instruct clients to avoid getting their brows wet for at least the first 24 hours. They should also steer clear of sweating, steam rooms, and swimming pools.
- Cleaning and Moisturizing: Teach them how to gently clean the brow area and apply aftercare ointment if provided. This helps in the recovery process and keeps scabs from forming.
Do's and Don'ts Post-Microblading:
- Do's: Keep the brow area clean and dry, use a fresh pillowcase, and protect the brows from direct sunlight with a hat or sunscreen once healed.
- Don'ts: Avoid makeup around the brow area, picking or scratching at the brows, and any anti-aging creams or harsh cleansers.
Long-Term Care:
- Touch-Ups: Encourage clients to schedule touch-ups according to the timeline you provide. Normally, this might be 4-6 weeks after the initial session and then annually.
- Sun Protection: Remind them that sun exposure can fade pigments faster, so using SPF on the brows can help maintain the color.
A good aftercare routine minimizes the risk of infection and pigment fading, ensuring that the results are as stunning as the day they walked out of your studio.
8. Keep Learning and Stay Updated
Microblading is an ever-evolving art form, with new techniques and trends emerging regularly. To thrive as a artist, you should commit to lifelong learning and stay abreast of industry advancements.
Importance of Continuous Education:
- Stay Informed: New regulations, improved methods, and innovative products are frequent in this field. Keep your knowledge current by reading industry-related publications and attending seminars.
- Expand Your Skills: Consider learning complementary skills such as ombre brows, powder brows, or even advanced techniques like microshading.
Staying Connected with the Community:
- Networking: Join professional groups, online forums, and social media platforms dedicated to microblading. Sharing experiences and advice with peers can be invaluable.
- Workshops and Webinars: Regularly participate in workshops and webinars to refine your technique and learn from masters in the field.
Leveraging Technology:
- Digital Resources: Utilize online resources, from tutorial videos to e-books, which can serve as ongoing education tools at your convenience.
- Social Media: Follow leading artists on social media for inspiration and tips. Instagram, especially, is a goldmine for visual insights into the latest trends and techniques.
Your commitment to excellence is a promise to your clients that they're receiving the best care and service possible.
9. Building a Portfolio and Client Base
Creating an impressive portfolio and growing your client base are essential steps in establishing and expanding your microblading business. Your portfolio showcases your skill level and style, while a strong client base ensures steady business growth.
Crafting an Impressive Portfolio:
- Showcase Diversity: Include a wide range of before-and-after photos to demonstrate your ability to work with different brow shapes, colors, and skin types.
- Quality Over Quantity: Choose high-resolution images that clearly show the detail and precision of your work. It's better to have fewer, exceptional photos than many mediocre ones.
Strategies for Attracting New Clients:
- Social Media Presence: Utilize platforms like Instagram and Facebook to share your work. Regular posts, engaging content, and interaction with followers can attract potential clients.
- Word of Mouth: Encourage satisfied clients to refer friends and family by offering them incentives, such as discounts on future services or touch-ups.
- Collaborations: Partner with local beauty salons, spas, and influencers who can introduce their clients or followers to your services.
Online Reviews and Testimonials:
- Encourage Feedback: Ask your clients to leave reviews on your website, social media, or Google My Business listing. Positive reviews build trust with prospective clients.
- Respond to Reviews: Engage with both positive and negative reviews professionally. This demonstrates your commitment to customer satisfaction and helps manage your online reputation.
Building a solid portfolio and client base requires effort and consistency, but the payoff is well worth it. By showcasing your best work and leveraging various marketing strategies, you'll attract more clients and establish yourself as a go-to microblading specialist.
10. Managing Client Expectations
One of the most crucial aspects of a successful microblading business is managing client expectations from their initial consultation through to the final result. Clear communication and setting realistic goals are key to ensuring client satisfaction.
Initial Consultation:
- Honest Dialogue: Have an open discussion about what can realistically be achieved with microblading based on their skin type, lifestyle, and brow condition.
- Visual Aids: Use your portfolio or digital tools to illustrate potential outcomes. This can help clients visualize the results before making any decisions.
Setting Realistic Goals:
- Educate Clients: Explain the limitations of microblading, such as how individual skin types may affect pigment retention or the healing process.
- Manage Over-Expectations: Gently steer clients away from demanding unrealistic results or shapes that don't complement their natural features.
Follow-Up Communication:
- Clear Aftercare Instructions: Provide written and verbal aftercare instructions and explain how aftercare affects the longevity of their brows.
- Open Door for Concerns: Let clients know they can reach out with questions or concerns post-procedure, reinforcing your commitment to their satisfaction.
Managing expectations isn't just about preventing disappointment; it's also about building trust and a reputation for honesty and integrity in your practice. By being transparent and communicative, you create a positive experience that encourages clients to return and recommend your services to others.
Grow Your Microblading Skills Step by Step
By following these top 10 tips and tricks, you can elevate your craft, deliver exceptional results, and build a thriving business. From understanding skin types and perfecting your pre-drawing routine to prioritizing hygiene and managing client expectations, each step is crucial to your success. As you grow and refine your skills, remember to stay connected with the community, embrace new techniques, and always put your clients first. With passion, perseverance, and a focus on excellence, you can become a sought-after microblading artist, transforming brows and lives one stroke at a time. So, take these insights to heart, apply them to your practice, and watch your microblading journey flourish.