






Brow Mapping for PMU: How to Create Symmetrical Brows

Key Takeaways
PMU brow mapping builds a personalized outline using your client's facial structure. By placing string, rulers, and pencils at key reference points, you create visual balance rather than forced, artificial symmetry. Always map sitting upright, account for natural facial asymmetry, and get client approval before implanting pigment.
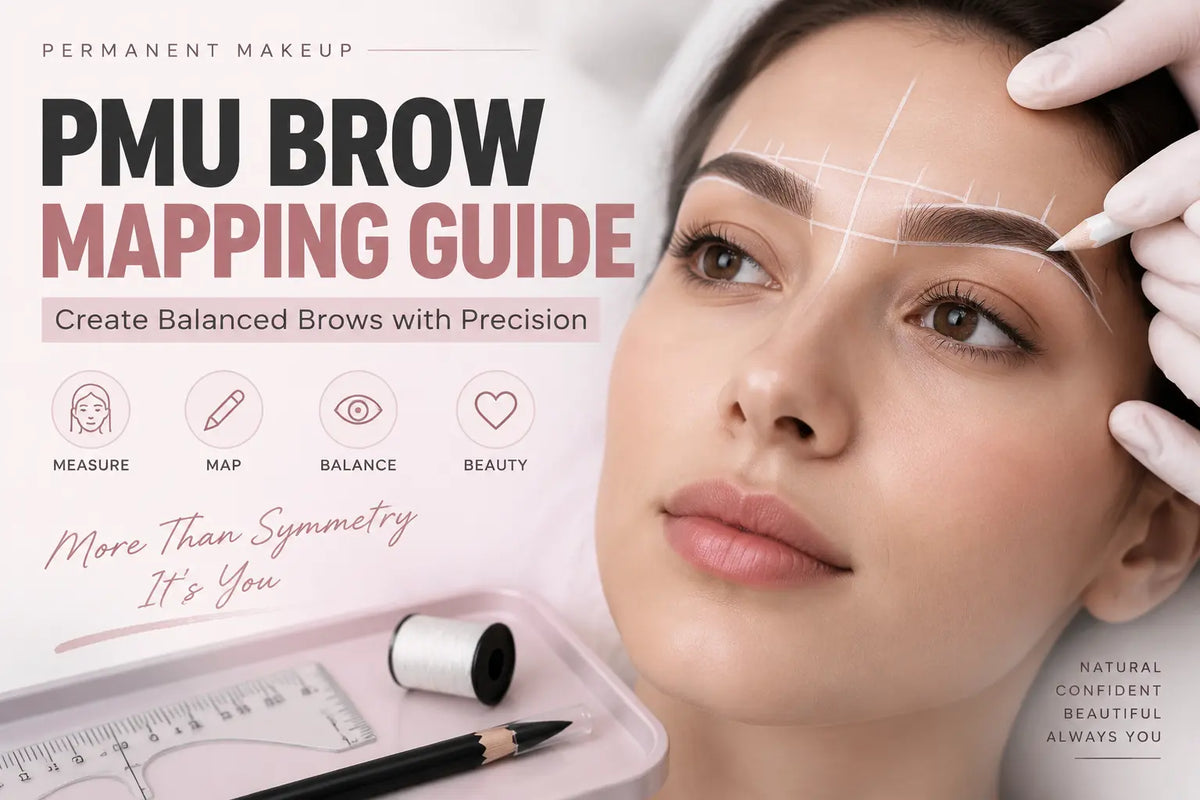
Brow mapping is the precise process of measuring and drawing an eyebrow outline before permanent makeup treatment starts. This technique gives artists a clear blueprint to establish brow shape, proportions, and balance. Before any pigment enters the skin, mapping shows exactly where the brows should sit. The ultimate goal is creating balanced, natural-looking brows that complement unique bone structure. The following sections cover basic tools, step-by-step mapping methods, and ways to handle natural facial asymmetry.
Why PMU Brow Mapping Is Essential for Every Artist
Brow mapping provides a reliable guide before any permanent makeup treatment starts.
Create a Clear Blueprint
Mapping turns an empty canvas into a structured plan. Drawing exact reference points directly on the skin gives you clear visual boundaries. You can work with confidence because every stroke stays inside the pre-approved area.
Improve Symmetry and Consistency
Using measured reference lines keeps your work consistent across different clients. Human eyes easily spot tiny visual differences. A measured framework keeps left and right sides balanced, which prevents uneven healed results.
Adapt to Different Facial Structures
Every client brings a unique bone structure and hair pattern. Mapping allows you to adjust classic brow shapes to fit individual traits. You can modify arch heights, tail lengths, and brow thickness to enhance unique features.
Support Machine, Powder, and Nano Brows
Machine methods deposit pigment quickly into the skin. Once color enters the dermis, making major shape changes becomes difficult. A clear outline keeps machine movements controlled, whether creating soft powder brows or crisp nano strokes.
Prevent Unbalanced Results
Skipping a detailed map often leads to crooked arches or drooping tails. Drawing and checking your lines beforehand prevents these mistakes. You catch errors with a removable pencil long before opening any pigment bottles.
Assess the Client's Natural Brow and Facial Structure First
Taking time to analyze your client's face before drawing any lines saves valuable time later. Careful observation ensures your final design works with their natural biology.
Identify Natural Brow Shape and Hair Growth
Examine existing brow hair carefully before cleaning or trimming. Take note of sparse patches, old over-plucking damage, and areas where hair grows in unusual directions. Working with natural growth patterns yields softer, more seamless healed results than forcing a completely foreign shape.
Evaluate Facial and Brow Asymmetry
Look closely at overall facial symmetry. Compare the height of each brow bone, arch position, and overall brow length. Bone structures rarely match perfectly on both sides, which explains why one brow naturally sits higher. Accept these differences instead of trying to force identical shapes onto unequal features.
Consider the Client's Preferences
Talk openly with your client about their daily makeup routine and personal style. Ask whether they prefer full, thick brows, sharp high arches, or long delicate tails. Align their personal choices with their natural features, then show them the proposed outline before starting any machine work.
Note: Natural facial asymmetry is an important consideration: PMU educators generally recommend aiming for visual balance rather than forcing perfectly identical brows.
What Tools Do You Need for Brow Mapping?
Using proper tools makes measuring faster and keeps your drawn lines sharp throughout the mapping process. Having the right microblading supplies on hand ensures clean reference points.
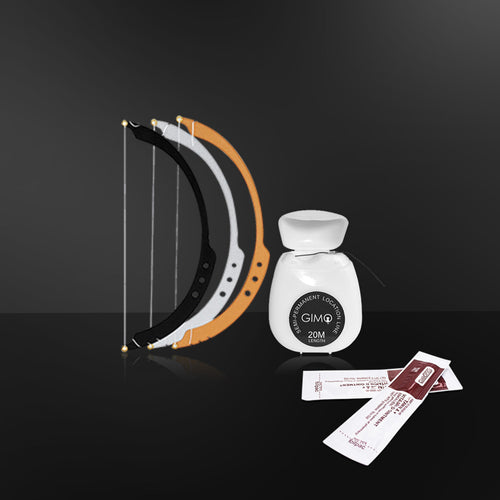
Mapping String
Pre-inked or plain mapping string helps you snap long, straight reference lines across the face fast. It is extremely useful for checking left-to-right alignment across the forehead, bridge of the nose, and lower brow borders.
Brow Mapping Pencil or Marker
A sharp brow mapping pencil or permanent makeup pencil creates crisp outline edges. Select a visible color that contrasts clearly with the client's natural hair. Keeping these guidelines clean prevents confusion between drawn marks and natural brow hairs.
Brow Ruler or Caliper
A flexible brow mapping ruler or rigid brow mapping caliper measures physical distances between key points. These measurement tools allow you to compare overall length, arch distance, and brow body width. They offer great assistance for beginning artists building spatial confidence.
Mapping Compass or Symmetry Tools
A golden ratio mapping compass helps calculate balanced proportions based on individual facial dimensions. Use these symmetry tools as helpful visual aids, but do not rely on raw numbers alone to make final stylistic choices.
Step-by-Step Guide to Executing Precise Brow Mapping Techniques
Following a standardized routine prevents missed steps and keeps your mapping accurate. Work through each phase methodically to build a balanced design.
Step 1: Position the Client Upright
Keep your client sitting completely upright in your chair during the entire mapping process. Ensure their head sits centered without tilting forward or back. Mapping a lying or reclined client causes gravity to pull the skin backward, which creates crooked lines once they sit up.
Step 2: Find the Center of the Face
Establish a reliable centerline down the middle of the forehead and nose bridge. Use multiple facial landmarks like the center of the forehead, the space between the eyes, and the cupid's bow. Never rely solely on the tip of the nose, as nostril cartilage often leans to one side.
Step 3: Mark the Brow Start
Find the inner starting point for each brow. Align your mapping string vertically from the inner edge of the nostril or the inner corner of the eye straight up to the brow bone. Adjust these points slightly wider or narrower to flatter the client's nose bridge width.
Step 4: Determine the Brow Arch
Locate the highest point of the brow arch. Angle your reference line from the edge of the nose past the outer border of the iris while the client looks straight ahead. Match arch height to the brow bone structure rather than forcing high arches onto flat bone shapes.
Step 5: Determine the Brow Tail
Set the end point for each brow tail. Run a straight reference line from the outer corner of the nostril past the outer corner of the eye. Check that the tail ends higher than the brow start line to prevent making the eyes look droopy or tired.
Step 6: Connect the Reference Points
Use your microblading pencil to connect the marked start, arch, and tail points along top and bottom borders. Draw smooth, straight lines that merge into clean curve transitions. Build a balanced frame that encompasses appropriate natural hair while defining new edges.

12 pcs Eyebrow Pencil Drawing Eyebrow Pen Peel Off Makeup Cosmetic permanent makeup micro blading tattoo
Step 7: Compare Both Brows
Step back two to three feet to evaluate both brows together within the entire face. Check starting height, arch peak height, tail placement, and overall thickness. Use horizontal string lines across the forehead to spot height variations between the two sides.
How to Create Symmetrical Brows Without Ignoring Facial Asymmetry
Real human faces are rarely symmetrical. Successful mapping balances mathematical measurements with visual harmony to fit real features.
Understand That Brows Are Not Naturally Identical
Brows function as sisters, not identical twins. Differences in skull shape, muscle movement, and socket depth mean brows sit differently on each side. Forcing mathematical equality on unequal bone surfaces usually creates an unnatural visual result.
Prioritize Facial Balance Over Perfect Measurement
Strict ruler measurements do not always deliver the best aesthetic outcome. If a client's left eye socket sits higher than the right, making measurements identical leaves one brow looking completely misplaced. Focus on overall harmony across the face rather than exact ruler numbers.
Know When to Compromise Between the Two Brows
When one brow sits higher due to active forehead muscles, split the difference between both sides. Lower the higher map slightly and raise the lower map slightly. Evaluate the shape while the client talks, smiles, and relaxes their face to ensure the design moves naturally.
How to Check Your Brow Map Before PMU Treatment
Double-checking your work from multiple viewpoints catches small errors before you start applying permanent pigment. A quick review process prevents long-term mistakes.
Check the Brows From Different Angles
Examine your mapped outline from three distinct vantage points:
- Front view: Stand directly in front of your seated client at eye level.
- Slightly angled view: Look down from behind their shoulders to check symmetry along the brow plane.
- Overall facial view: Step back several feet to check how the brows fit the full face.
Compare the Key Measurements
Verify key measurements systematically across both sides:
| Measurement Point | Left Side Check | Right Side Check | Ideal Goal |
|---|---|---|---|
| Brow Start | Distance from center | Distance from center | Equal spacing from facial midline |
| Arch Peak | Height from eye level | Height from eye level | Parallel top line across forehead |
| Brow Tail | Outer corner angle | Outer corner angle | End point above lower start line |
| Thickness | Body width in mm | Body width in mm | Uniform width from start to arch |
Take a Photo to Check the Mapping
Photograph your client sitting upright using a phone or tablet camera straight-on. Flipping the photo horizontally or viewing it on a screen flattens three-dimensional depth. This quick trick highlights hidden asymmetry that your eyes might miss in person.
Ask the Client to Review the Shape
Hand your client a handheld mirror to review the drawn outline. Confirm that the thickness, arch placement, and tail length match their expectations. Get explicit verbal approval on the map before opening your PMU equipment or applying topical numbing cream.
How to Adjust Brow Mapping for Different Clients
Every person who enters your studio requires a customized mapping approach. Adjusting your workflow for different skin types and age groups ensures predictable healed results.
Sparse or Over-Plucked Brows
Clients with minimal natural hair offer few existing markers. Depend on bone structure, orbital rims, and facial centerlines instead of remaining hairs. Avoid drawing tiny, thin shapes simply because their natural hair was over-plucked years ago.
Uneven or Naturally Asymmetrical Brows
Work with extreme natural height differences by creating visual illusions. Soften arch peaks or adjust lower border lines slightly to pull brows closer to a shared horizontal plane. Set realistic symmetry expectations with your client before starting work.
Mature Skin
Aging skin loses elasticity, which causes the brow area to shift downward. Always map mature clients sitting completely upright without pulling or stretching the skin tight. Keep arches softer and tails slightly higher to create a subtle lifting effect.
Different Face Shapes and Brow Preferences
Tailor your design choices to match individual face shapes:
- Round faces: Benefit from slightly higher arches to elongate the face.
- Long faces: Pair best with flatter, horizontal brows that add visual width.
- Square faces: Look softest with rounded, gently curved arches.
Creating Balanced PMU Brows With Confidence
Successful PMU mapping combines precise measurements, facial analysis, clear client communication, and professional judgment. Drawing a balanced outline requires adapting rules to fit individual human features rather than forcing stiff templates onto unique faces. Measure carefully, evaluate your work from multiple angles, communicate clearly with your client, and aim for visual facial harmony every time.

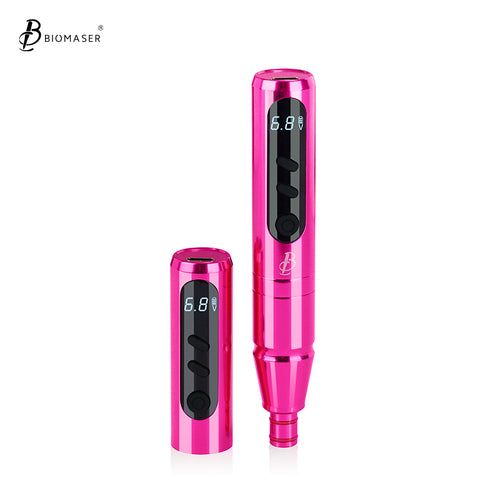
Biomaser P90 PRO Wireless PMU Pen - Long-Lasting, Silent & Portable for Brows/Lips/Eyeliner
FAQs About Eyebrow Mapping
Q1: How do you map eyebrows for PMU?
First, sit the client upright and find the facial centerline. Mark the start of each brow, locate the arch peak, and find the tail end using facial landmarks. Connect these points with a sharp mapping pencil, check for visual symmetry, and get client approval before starting treatment.
Q2: Should PMU eyebrows be perfectly symmetrical?
No. Human faces are naturally asymmetrical due to bone structure, muscle movement, and eye placement. PMU brows should be visually balanced and harmonious with the face rather than forced into perfectly identical mathematical measurements.
Q3: What tools are used for PMU brow mapping?
Common brow mapping tools include pre-inked mapping string, sharp microblading pencils, flexible stick-on rulers, digital calipers, and golden ratio compasses. Artists select specific tools based on personal preference and mapping speed.
