


False Saturation vs True Retention: Implant Depth and Pigment Density Diagnostics in Lip PMU
30-Second Summary
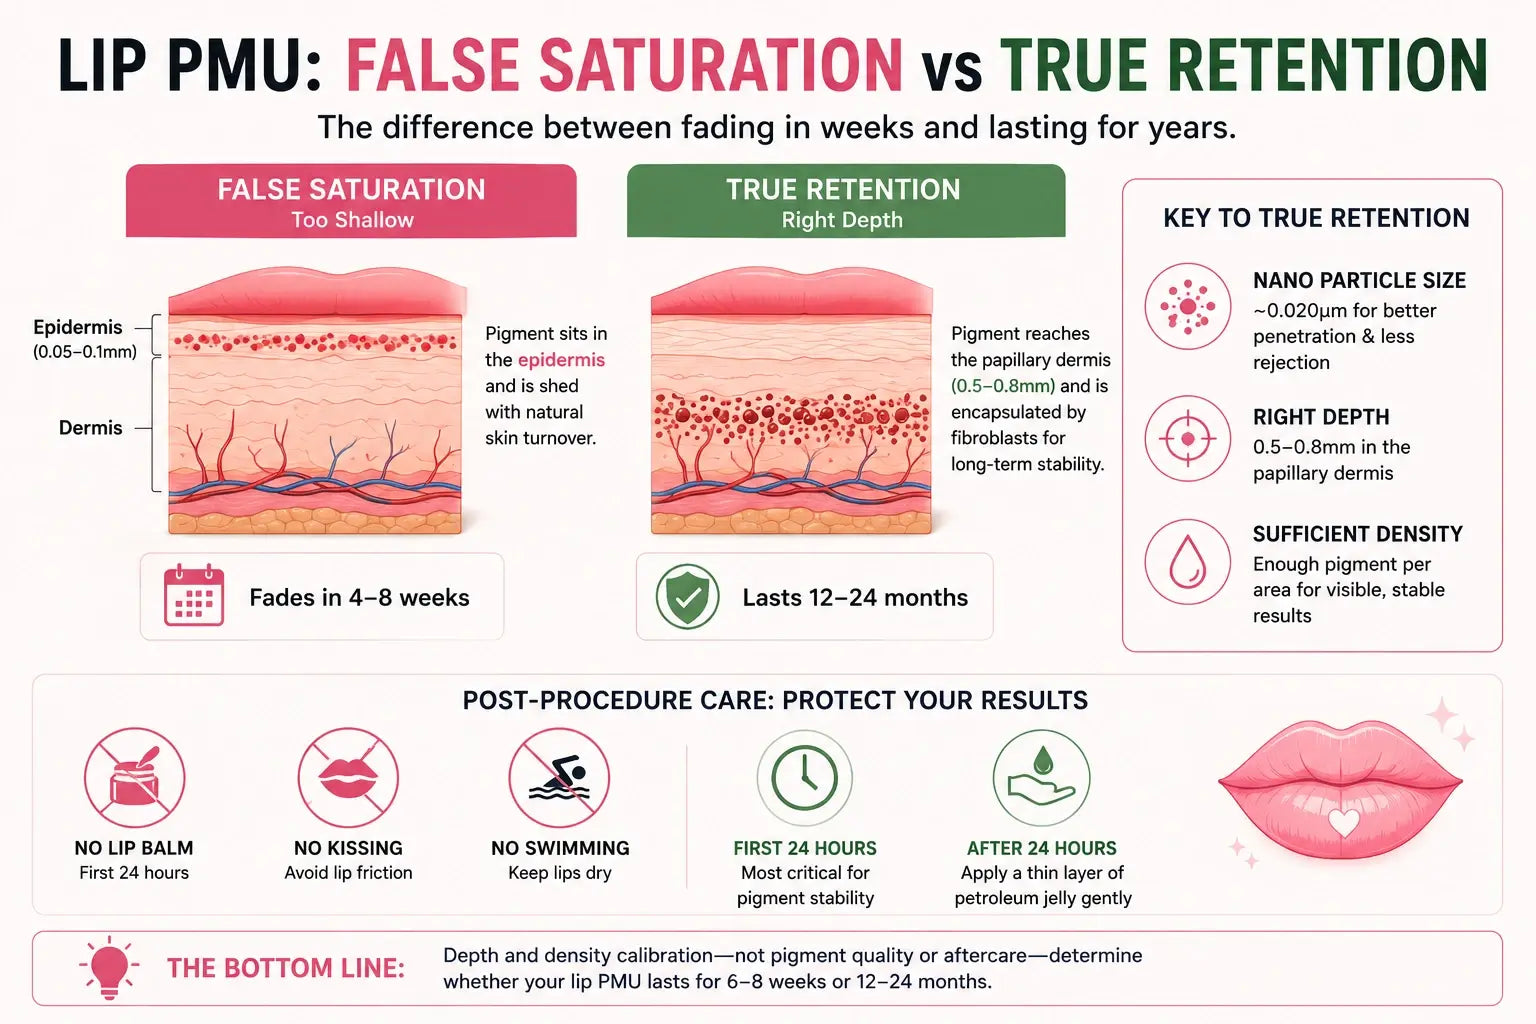
Most lip PMU fading is false saturation — not a client care problem, not a pigment quality problem, but a depth and density calibration problem. When pigment is implanted too shallow, it sits in the epidermal layer and sheds with normal skin turnover within 4–8 weeks, giving the appearance of fading when in fact the pigment was never in the right layer to begin with. True retention requires pigment to reach the papillary dermis (0.5–0.8mm depth) where fibroblast cells encapsulate it for long-term stability. This guide explains how to diagnose and prevent false saturation in every lip PMU procedure.
Introduction
The scenario is frustratingly common: a lip PMU procedure completes with the artist and client both admiring a beautiful, natural-looking result — soft pink tones, seamless gradient, perfect saturation. Four weeks later, the client sends a photo: the color is almost entirely gone, and she wants to know what happened.
The most common assumption is that the pigment was poor quality or the client didn't follow aftercare instructions. In reality, neither is usually the cause. The real cause is almost always one of two things: the pigment was implanted too shallow (in the epidermal layer, where it has a 28-day natural shedding cycle), or the pigment density per puncture was too low to achieve stable integration in the dermis even if the depth was technically correct.
This is the false saturation problem. It's not visible at the time of the procedure — the superficial pigment sits on the skin surface and looks just as good as correctly implanted pigment. But it has no mechanism for long-term retention. Understanding the difference between false saturation and true retention — and knowing how to diagnose and prevent both — is the difference between lip work that looks great for 12–24 months and lip work that looks great for 6–8 weeks.
The Fundamental Distinction: Where Pigment Goes Determines Whether It Stays
The Skin Layer Anatomy of the Lip
The lip's skin structure is significantly different from the rest of the face. The epidermal layer is only 0.05–0.1mm thick — barely any depth at all. The dermal layer beneath it extends to 0.5–2.0mm, with the papillary dermis (the ideal retention zone) occupying the upper 0.5–1.0mm.
Here's the critical implication: if your implantation depth is at or above 0.1mm, you're placing pigment in the epidermal layer, which has a complete turnover cycle of approximately 28 days. Every cell in that layer is shed and replaced during this cycle — including any pigment particles contained within those cells. This is the mechanism of false saturation. The pigment isn't fading; it's being shed along with the skin cells that contain it.
If your implantation depth is in the 0.5–0.8mm papillary dermis range, the pigment particles get surrounded by fibroblast cells, which creates a stable integration structure that maintains its position and color for 12–24 months (with natural slow metabolism over that time). This is true retention.
The depth window for lip work is extremely narrow — roughly 0.4mm of usable depth between the top of the papillary dermis and the top of the vascular layer below it. Getting this right requires controlling both your machine parameters and your hand technique.
False Saturation: Characteristics and Causes
False saturation has a consistent set of characteristics that you can learn to recognize:
- Looks excellent immediately post-procedure: This is the key diagnostic clue. If the result looks great at the time of treatment but fades significantly within weeks, it's almost certainly false saturation.
- Healed result shows a subtle gradient that looks intentional: This is actually the gradient of the epidermal layer's natural turnover pattern — superficial pigment fades first at the edges where cell turnover is most active, while slightly deeper pigment in the center lasts slightly longer.
- Color loss is uniform across the lip: Unlike true retention problems (which often show patchiness or uneven fading), false saturation produces uniform lightening because it's a layer-level phenomenon, not a site-specific one.
True Retention: What Has to Be True
For true retention to occur, three conditions must be met simultaneously:
- Particle size must be in the nano-scale range (approximately 0.020μm): This is the size threshold below which the immune system treats pigment particles as acceptable rather than foreign, and below which capillary absorption is minimized. Larger particles are more aggressively metabolized.
- Implantation depth must be in the papillary dermis (0.5–0.8mm): Shallower than 0.5mm and you're in the epidermal shedding zone. Deeper than 0.8mm and you're approaching the vascular layer, where hemoglobin interaction causes red-shifting and where subcutaneous fat causes blue-grey effects.
- Pigment density per unit area must be sufficient: Even at the correct depth, if the concentration of pigment particles per unit of dermal tissue is too low, the visual saturation after healing will be minimal. The goal is a density that's high enough to be visibly present but controlled enough to avoid over-saturation, which causes thick scabbing and color distortion during healing.
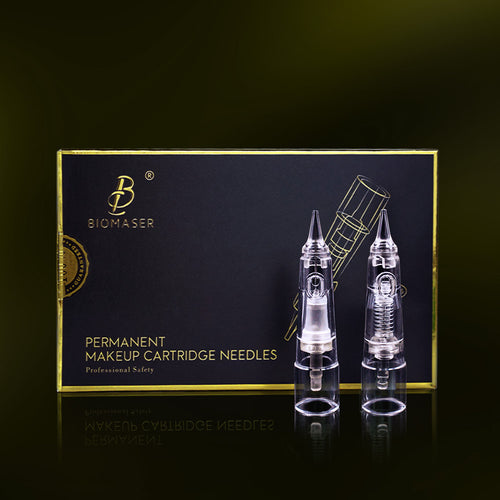
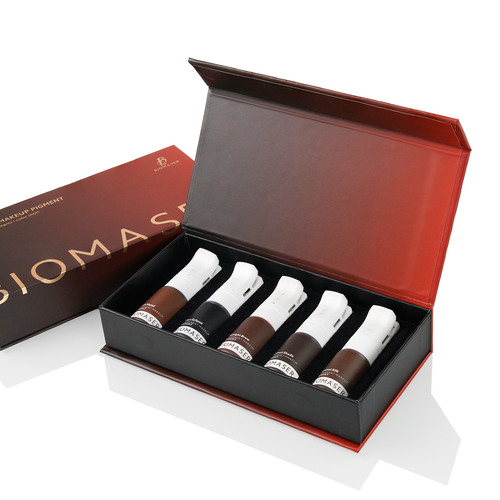
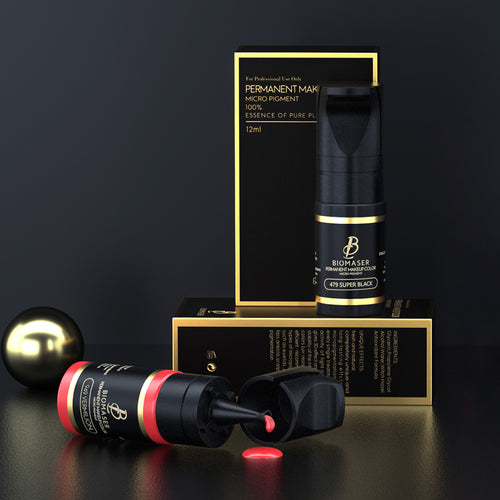
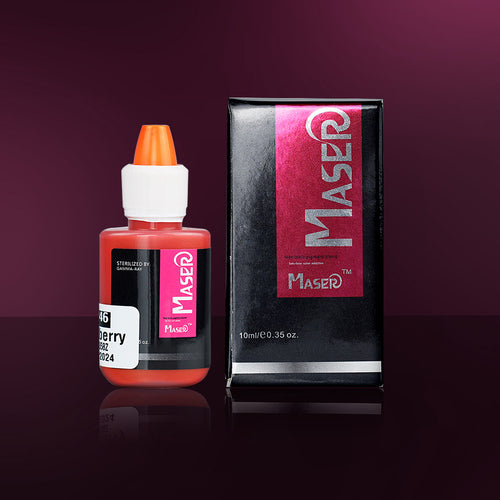
Pigment Selection for Lip Work: The Six Physical Forms and Their Performance Characteristics
Which Pigment Form Performs Best for Natural Lip Blush
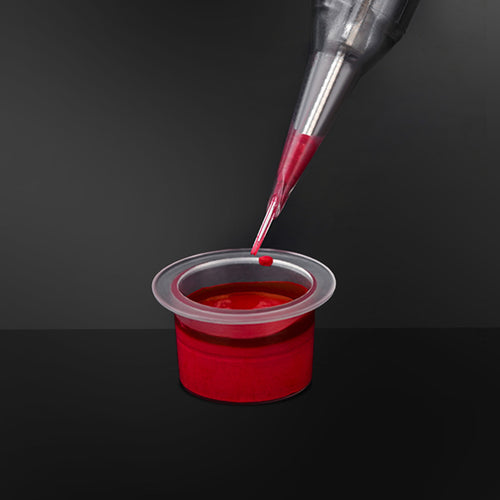
The physical form of a pigment directly determines how it behaves during lip implantation. The six standard forms — powder, cream, liquid, gel, oil-based, and water-based — have different viscosity profiles and particle concentrations that make them suitable for different applications.
For natural lip blush work (the "mother's lip" aesthetic that's currently dominant), gel and cream forms offer the best combination of properties:
- Gel-form pigments have moderate viscosity and a particle concentration that allows them to penetrate the papillary dermis efficiently without requiring excessive needle passes. Their consistency also means they don't run or pool during application, which helps maintain the precise gradient control that natural lip blush requires.
- Cream-form pigments provide slightly higher pigment loading and better adhesion to the lip tissue, making them suitable for building saturation in the lip body while still allowing gradient control toward the lip edge.
Oil-based pigments should be used with caution in lip work — their slippery consistency makes them harder to control precisely, and they can migrate from the intended implantation site more easily during the healing process.
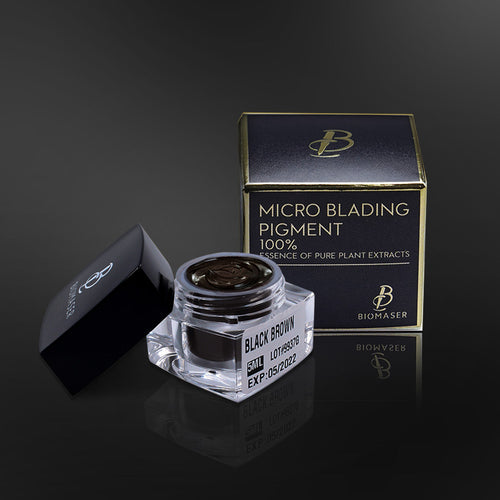
Why German-Engineered Plant-Based Pigments Change the Retention Math
The origin and processing of pigment raw materials has a direct effect on their biological compatibility. German-engineered plant-based pigments processed through nano-emulsification technology — achieving particle sizes in the 0.020μm range — demonstrate measurably different behavior in lip tissue compared to conventional mineral-based pigments:
- Deeper penetration: Nano-scale particles are small enough to follow the needle tract into the papillary dermis without requiring high pressure or excessive depth to force them there
- Reduced tissue trauma: Smaller particles require smaller gauge needles or lower penetration force, meaning smaller puncture channels and faster healing
- More natural fade profile: Plant-based pigment molecules have a simpler structure that metabolizes more gradually and predictably than complex mineral compounds, producing a more natural fade toward the client's natural lip color rather than leaving a visible "tattoo line"
These characteristics are not marketing language — they're the predictable physical behavior of smaller versus larger pigment particles in biological tissue, and they're why professional-grade lip pigments have progressively shifted toward nano-scale formulations over the past decade.
Why ISO 7 Cleanroom Production Standards Actually Matter to Your Client
The microbial and heavy metal testing standards that professional pigment manufacturers operate under are not bureaucratic overhead — they directly affect the safety profile of the product in the lip tissue. The lip is one of the highest-sensitivity areas in the body: it's vascular, it has thin barrier function, and it has high exposure to external contamination from food, drink, and kissing.
Pigment produced in ISO 7 (Class 10,000) cleanroom environments has documented contamination rates below the detectable threshold for the relevant test standards. This means the risk of an adverse reaction from pigment contamination — which can manifest as unexpected swelling, prolonged redness, or pigment rejection — is minimized to a level that's measurably lower than pigment from non-cleanroom production environments.
For lip work specifically, the contamination risk is higher than for any other PMU procedure, which makes the production standard of the pigment a more significant variable than it might be for brow work.
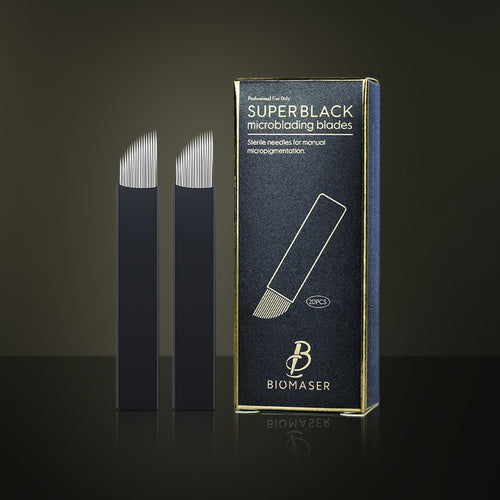
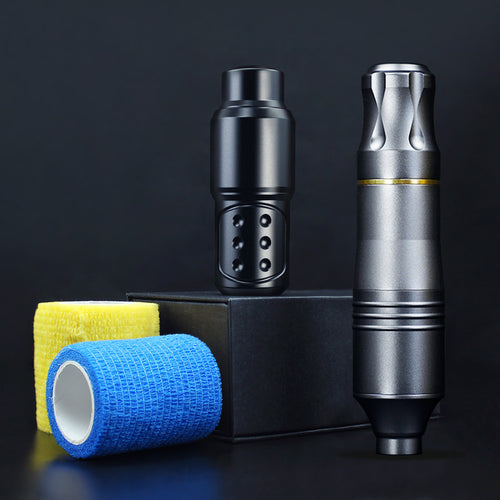
Needle Selection for Lip PMU: Matching Needle Geometry to Lip Tissue
Why Lip Tissue Demands Different Needle Specifications
The lip's tissue characteristics — thin, highly vascular, highly mobile, lacking sebaceous glands — create a specific set of demands for needle selection that differ meaningfully from brow or eye work:
- Fine gauge is non-negotiable: The thin skin and high mobility of lip tissue means that larger gauge needles create disproportionate trauma relative to the results they produce. Smaller gauge needles produce cleaner puncture channels that heal faster and with less inflammation.
- Structural rigidity matters: The lip tissue deforms under pressure during needle contact. If the needle shaft flexes under this deformation, the actual penetration depth becomes inconsistent across the lip surface — some areas receive more depth than others, which produces uneven retention.
- Even ink release is critical: In brow work, minor variations in ink release per puncture can be compensated by overlapping passes. In lip work, the gradient effect depends on having very consistent pigment release across the entire lip surface — uneven release shows up as visible saturation patches.
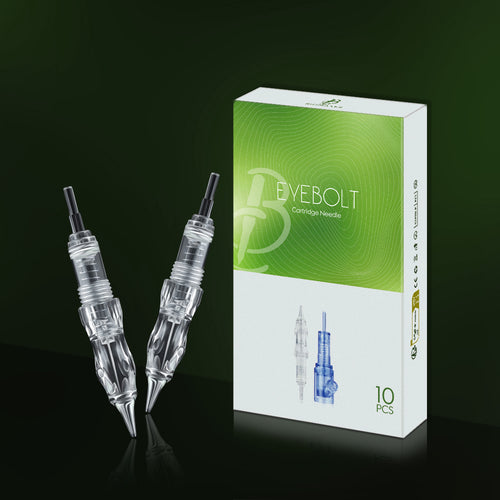
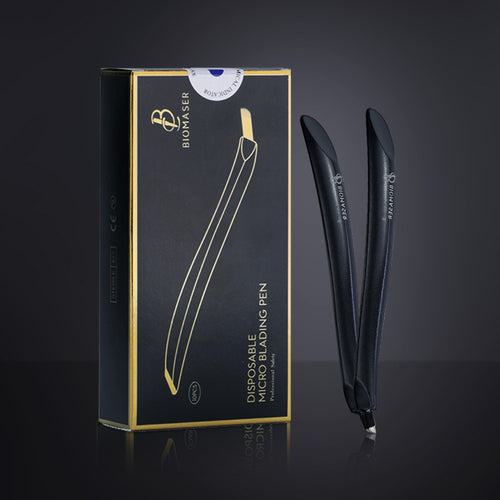
Precision Needle Design: Emerald-Cut Tips and What They Actually Do
Needle tip geometry matters most in lip work because the lip's surface is highly curved and mobile. A precision-ground needle with a stable geometric configuration — such as an emerald-cut style tip — maintains its penetration angle more consistently as it moves across the curved lip surface compared to a standard bevel-cut tip.
The practical effects of this geometric consistency in lip work include:
- More predictable penetration depth: The needle doesn't deflect as much when it encounters the curvature changes across the lip surface
- More uniform pigment release: The structural stability of the tip means each puncture releases pigment from a consistent position within the needle, rather than the release point shifting as the needle body flexes
- Reduced trauma per puncture: The clean geometric cut creates a cleaner puncture channel with less lateral tissue damage, which means faster healing and less post-procedure inflammation that can affect color results
The Pinky Pro needle series uses this type of precision geometry specifically to address the demands of high-precision work in the lip zone. This level of engineering detail in needle design isn't cosmetic — it has measurable effects on the consistency of retention outcomes in lip procedures.
Procedure Protocol: Controlling the Variables You Can Control
Pre-Procedure Diagnosis: Five Minutes That Change the Outcome
Before pigment is touched to the lip, an experienced artist will complete a brief diagnostic assessment:
- Lip skin thickness evaluation: Gently press the lip between fingers to assess the subcutaneous tissue firmness. Thicker lips generally retain pigment better but require more passes to achieve even saturation. Thinner lips require more careful depth control to avoid going too deep.
- Baseline lip color assessment: Identify whether the natural lip color tends toward purple (indicating slower circulation), red (indicating higher melanin activity), or pale (indicating lower pigment cell activity). These baseline conditions affect how the pigment will look after integration and whether the target color needs adjustment.
- History of previous lip procedures: Clients with previous lip PMU may have residual pigment in the dermis that will interact with new pigment placement. This affects both the target color selection and the expected retention behavior.
Technique Parameters for Natural Lip Blush
| Parameter | Recommended Range | Why It Matters |
|---|---|---|
| Implantation depth | 0.5–0.8mm | Papillary dermis zone — stable retention, no vascular layer interaction |
| Needle passes per area | 3–5 passes, 30–50% overlap | Builds saturation through accumulation without over-saturating any single pass |
| Puncture rate | Slow and even | Allows each deposit to fully integrate before the next — reduces lateral spread |
| Pigment saturation target | Light to medium saturation | Natural lip blush effect — too much pigment creates the "lipstick tattoo" look |
Post-Procedure Care: Protecting the Retention Window
The first 24 hours after lip PMU are the most consequential for retention stability. Immediately after the procedure, the pigment is still in a relatively unstable state in the dermis — it hasn't yet been fully encapsulated by fibroblast cells, and the initial inflammatory response can still physically displace pigment particles if the lip is subjected to mechanical stress or chemical exposure.
The critical no-list for the first 24 hours:
- No lip balm or ointment: Oil-based products on the lip surface create a barrier that can cause pigment to migrate out of the puncture sites before they've sealed
- No kissing or intense lip movement: Mechanical stress on the lip during the initial healing window can dislodge pigment from sites that haven't fully stabilized
- No swimming: Chlorinated water and pool chemicals are particularly aggressive toward pigment particles in the early post-procedure window
After the first 24 hours, a thin layer of medical-grade petroleum jelly can be applied to protect the lip surface, but should be gently dabbed on rather than rubbed across the treated area.
FAQ
How can I tell if a client's lip color has already been treated before and has residual pigment?
Examine the lip under good lighting from multiple angles. Residual pigment from previous procedures often shows as subtle color patches that don't match the natural lip color in specific areas — particularly along the lip line and in the corners of the mouth. The lip surface may also show very slight textural differences where scar tissue from previous needling has formed. When in doubt, a patch test or initial conservative treatment on a small area allows you to observe how the existing pigment layer and new pigment interact before committing to a full procedure.
The color looks great immediately but fades to almost nothing — is this always false saturation?
Almost always. When the immediate result looks excellent and then fades rapidly, the pigment was placed in or near the epidermal layer where it has no mechanism for long-term retention. The key diagnostic question is: did it fade uniformly (false saturation) or did it become patchy (other problems)? Uniform fade = false saturation. Patchy fade = other issues, possibly including uneven depth, inconsistent pigment release, or a skin response problem.
My client has a history of cold sores — does this affect lip PMU?
Yes — clients with a history of herpes simplex virus (cold sores) should be treated with appropriate antiviral protocol before lip PMU procedures, as the trauma of needling can trigger an outbreak that can compromise both the healing result and the client's comfort. The standard protocol is to have the client take a prophylactic antiviral medication (such as valacyclovir) starting the day before the procedure and continuing for several days after. An active cold sore outbreak at the time of the procedure is a contraindication — the procedure should be postponed until the outbreak has fully resolved.
How do I explain false saturation to a client without damaging her confidence in my work?
Use the watercolor analogy: "The result you saw immediately after was like a watercolor painting sitting on top of the paper — beautiful, but not absorbed into the paper fibers. What we need is for the color to be absorbed into the paper, which requires a different technique and sometimes a second session to achieve. This is a technical adaptation issue, not a quality issue, and the fix is very straightforward." Position the second session as a refinement rather than a correction — this maintains confidence and sets appropriate expectations for the touch-up.
How long should I wait before performing a false saturation correction procedure?
Wait at least 4–6 weeks for the lip to fully heal and the skin to complete one full turnover cycle before attempting correction. Attempting to correct false saturation in an incompletely healed lip typically results in the correction pigment being placed in the same superficial epidermal layer as the original, producing the same fading outcome. For the correction procedure itself, select a gel-form nano-scale pigment with strong penetration characteristics and use a finer gauge needle than the original procedure to ensure the pigment reaches the papillary dermis.
Key Takeaways
- False saturation occurs when pigment is implanted in the epidermal layer (less than 0.5mm depth) — it looks good immediately but has no mechanism for long-term retention, and sheds with the 28-day skin cell turnover cycle
- True retention requires three simultaneous conditions: nano-scale particle size, papillary dermis implantation depth (0.5–0.8mm), and sufficient pigment density per unit area
- The lip's skin is only 0.05–0.1mm thick at the epidermal layer — the usable retention depth window is approximately 0.4mm wide, making depth control the single most critical technical parameter
- Gel and cream-form pigments are best suited for natural lip blush work; nano-scale plant-based pigments provide better penetration, faster healing, and more natural fade profiles than mineral-based alternatives
- Needle geometry matters significantly in lip work: precision-ground tips with stable geometric configurations maintain consistent penetration depth across the curved, mobile lip surface
- Post-procedure care in the first 24 hours is critical — no oil-based products, no mechanical stress, no kissing — these are the behaviors that protect the fragile integration window before fibroblast encapsulation occurs