




How Needle Configuration Changes PMU Results: A Complete Guide
Key Takeaways
Needle configuration shapes every PMU result, from pigment saturation to skin healing. Choosing the right needle arrangement, diameter, and taper ensures precise lines, smooth shading, and fast healing with minimal tissue trauma. Matching needle types to client skin condition, machine settings, and technique prevents standard mistakes like pigment migration or uneven fading.
Choosing the right PMU needle configuration is just as important as mastering technique. Needle grouping, diameter, taper, and arrangement all influence pigment implantation, skin trauma, healed results, and client satisfaction. This guide explains how different needle configurations work, when to use them, and how to select the best option for various permanent makeup procedures.
What Does “Needle Configuration” Mean?
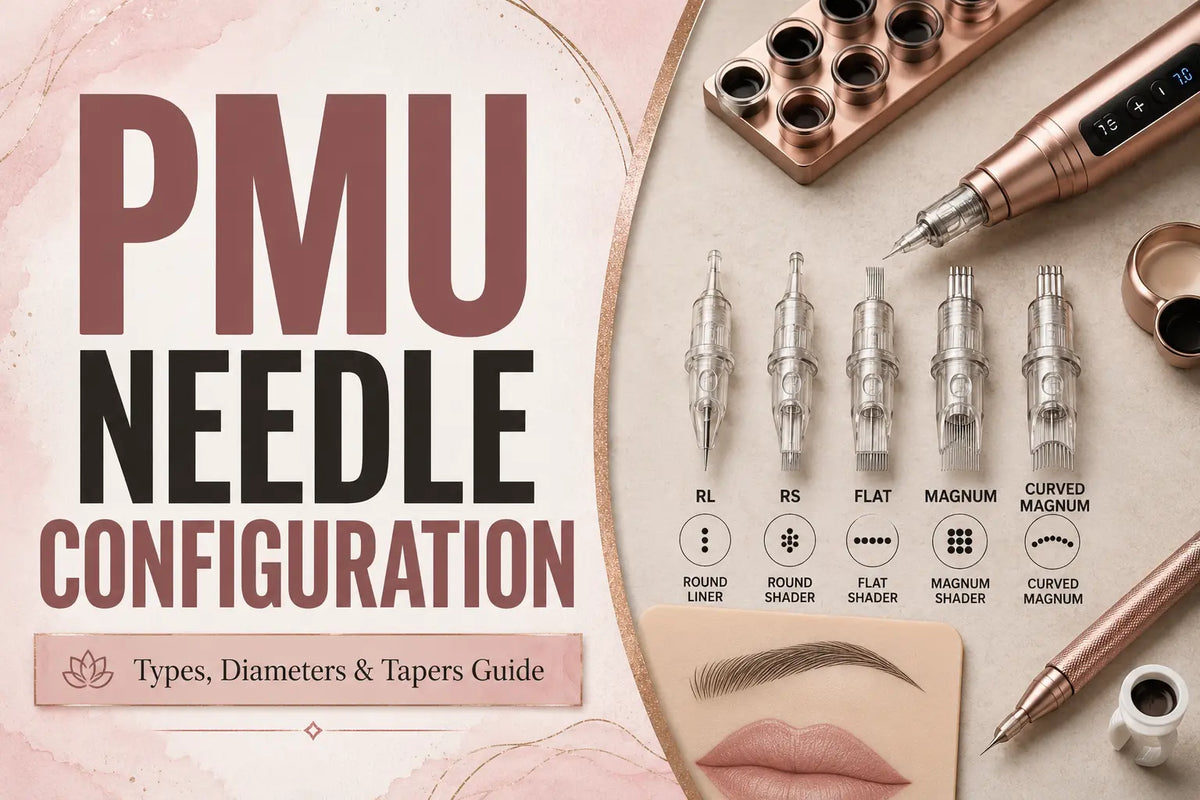
Needle configuration refers to how individual needle pins bind together inside a single housing.
Needle count means the exact number of pins present. Needle arrangement describes the geometric pattern of those pins—such as a circle, a flat line, or a stacked row.
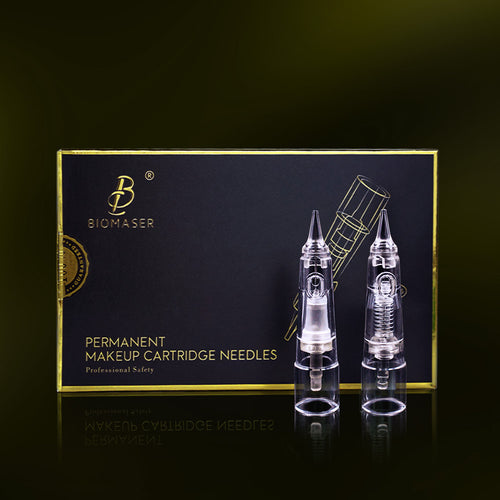
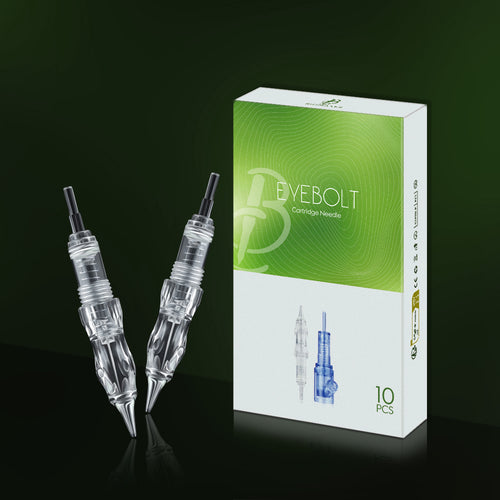
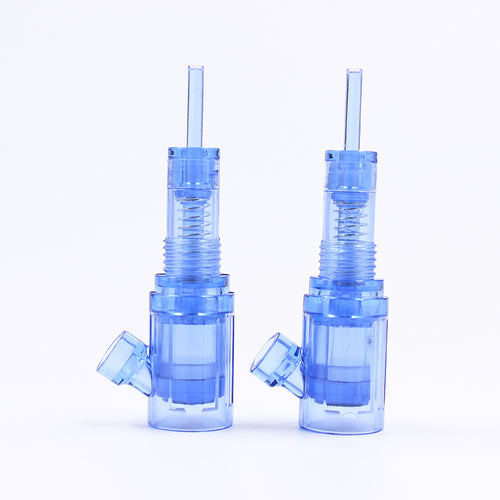
Modern PMU needle cartridges feature tiny stainless steel pins laser-welded to a needle hub, then over-molded into the cartridge housing. The internal tension band or spring controls the movement, keeping the stroke stable.
Why Needle Configuration Matters
- Pigment Implantation: The layout dictates how much ink deposits per passage.
- Precision and Coverage: Tight clusters create sharp lines, while spread-out pins create soft shading.
- Healing Quality: Correct pin layouts allow quick skin recovery with less scab formation.
- Skin Trauma: Concentrated points penetrate easily; broad configurations distribute force across wider surface areas.
- Color Retention: Proper ink placement ensures stable, long-lasting healed color.
Other Needle Characteristics That Affect Results
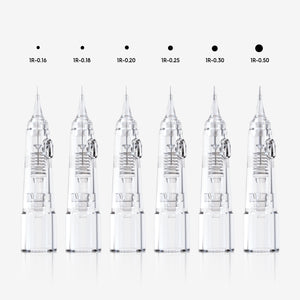
- Needle Diameter: Thinner pins make smaller insertion points; thicker pins leave larger pigment deposits.
- Needle Taper: The length of the needle point alters ink delivery speed and insertion depth.
- Needle Flexibility: Stiff pins offer high accuracy; flexible pins feel softer on delicate tissue.
- Safety Membrane: Many premium cartridges include an internal safety membrane to stop fluid backflow into the machine motor.

How Needle Configuration Changes PMU Results
The arrangement of your cartridge needles for PMU directly impacts how pigment looks once healed.
Pigment Implantation and Color Saturation
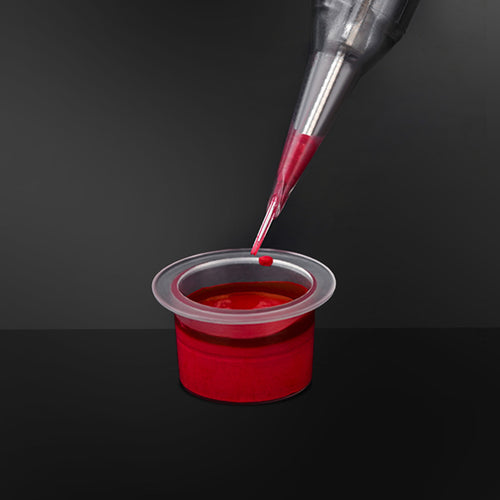
The spacing between needle points controls how fluid moves out of the tip reservoir. Tight pin clusters create high surface tension, holding small amounts of liquid for detailed work. Wider configurations allow fast liquid release for heavy saturation.
Densely packed pins place color close together, yielding dark, rich tones. Spread-out pin groupings leave spaces between dots, creating soft powder effects.
Precision vs. Coverage
Fine detail work requires minimal surface contact. Single pins or tight groupings focus power onto a tiny spot, yielding clean hair strokes or sharp eyeliner.
Large-area shading relies on wider needle spreads. These configurations cover more space per minute, reducing overall procedure time without creating harsh patches. Balancing speed and precision keeps lines crisp where needed while keeping shaded areas smooth.
Skin Trauma and Healing
Different layouts impact tissue in unique ways. Single pins pierce skin with low resistance, but repeated passes over the same spot cause pinpoint tearing. Wide needle groups distribute machine impact across a larger area, reducing deep puncture stress.
Excess trauma triggers heavy scabbing, which pulls pigment out during healing and leaves uneven patchiness behind.
Color Retention After Healing
Healed color stays true when pigment rests at the correct layer in the upper dermis. Shallow placement fades quickly during normal skin cell turnover, while deep placement leads to cool, bluish tones.
Beyond needle selection, retention depends on hand speed, stretch, machine stroke, and client health. Matching your technique to the chosen pin layout keeps healed results consistent.
Understanding the Main PMU Needle Configurations
Different needle types serve distinct functions in cosmetic tattooing. Matching your technique to the correct needle style leads to smooth application and clean results.
Round Liner (RL)
- Structure: Pins solder together in a tight, circular bundle pointing inward toward a center tip.
- Advantages: Delivers intense power to a single point, producing crisp detail, ultra-thin hair strokes, and clean outlines.
- Best Uses: Crisp hair strokes, nano brow details, upper eyeliner, and sharp lip contours using round liner cartridge needles for PMU.
- Limitations: Can cut tissue easily if hand movement slows down or press depth goes too deep.
Round Shader (RS)
- Structure: Pins form a loose circle; weld point sits farther back, so tips splay slightly, creating softer pixelation.
- Soft Shading Effects: Space between individual pins leaves tiny gaps, creating gentle pixelation and soft shadows.
- Typical Procedures: Powder brows, lip blush base color, soft shaded eyeliner, and brow pixelation.
Flat Needles (F)
- Straight-Line Configuration: Pins align side-by-side in a single straight row.
- Edge Definition: Delivers straight lines and sharp borders with uniform saturation across the row width.
- Suitable Techniques: Precise parametric eyebrows, scalp micropigmentation hair lines, geometric paramedical borders.
Magnum (M)
- Large Coverage: Pins sit in two stacked flat rows, staggered for even skin contact.
- Faster Pigment Packing: Covers broad sections quickly, reducing overall machine time on large areas.
- Professional Applications: Full lip coverage, solid fill work, and thick shading sections.
Curved Magnum (CM)
- Curved Design: Pins lay out in a stacked row with an arched edge, making the center pins hit deeper than the outer edges.
- Softer Pigment Distribution: The rounded profile prevents hard outer edges, blending color seamlessly into neighboring areas.
- Reduced Skin Trauma: The soft outer edge glides over skin contours without catching or slicing.
- Popular Uses in Modern PMU: Lip blush, soft powder brows, scar blending, and large gradient shading.
How to Choose the Right Needle Configuration for Different PMU Procedures
Selecting needle types based on the target area ensures clean work and comfortable client recovery. Here is how standard setups match everyday cosmetic treatments.
Nano Brows and Hair Stroke Brows
Single pins or tight three-pin liners deliver thin, clean hair strokes. Thin configurations maintain crisp stroke edges without blur.
Powder Brows and Ombre Brows
Round shaders or curved magnums work best for pixelated brows. These layouts deposit soft pigment fields without leaving sharp start-on points.
Eyeliner Procedures
Tight liners create intense, dark lash lines. Flat needles or small round liners help build straight winged extensions without color bleeding.
Lip Blush and Full Lip Color
Curved magnums and round shaders move smoothly across lip tissue. They deposit tone evenly across delicate skin without causing excess swelling.
Scalp Micropigmentation (SMP) and Areola Tattooing
SMP relies on small round liners to mimic tiny hair follicles. Areola reconstruction uses magnums and round shaders to build soft, natural-looking skin gradients.
Comparison Table
| PMU Procedure | Recommended Needle Configuration | Primary Goal |
|---|---|---|
| Nano Brows | 1RL / 3RL | Crisp hair strokes |
| Powder Brows | RS / CM | Soft shading |
| Ombre Brows | RS / CM | Smooth gradients |
| Eyeliner | RL / Flat | Sharp definition |
| Lip Blush | RS / CM / Magnum | Even color saturation |
| SMP | 1RL / 3RL / Pixel Needles | Realistic follicle dots |
| Areola Restoration | CM / Magnum / RS | Natural skin gradients |
Needle Diameter and Taper: Why They Matter Too
Pin size and tip shape alter how ink flows into tissue. Pairing configuration with the right cartridge needle sizes gives complete control over your work.
Choosing the Right Needle Diameter
- Fine Needles (0.18 mm–0.25 mm): Great for detailed work. Leaves tiny dots and crisp lines, ideal for thin, fragile skin.
- Standard Diameters (0.30 mm): The most common size. Balances ink flow speed with sharp detail for most brow and lip services.
- Larger Diameters (0.35 mm): Delivers maximum ink volume per pass. Works well for thick skin or fast color packing.
Understanding Needle Taper
- Short Taper: Creates a wide point that leaves larger pigment drops near the surface, speeding up color packing.
- Medium Taper: The middle-ground choice. Fits general shading and line work across varied skin surfaces.
- Long Taper: Features a long, thin tip that enters skin smoothly, leaving faint pixel dots ideal for soft shading.
Combining Configuration, Diameter, and Taper
Experienced artists alter needle specs based on skin condition. For example, a 0.25 mm long-taper 1RL creates faint brow pixels on delicate skin. A 0.30 mm medium-taper 7CM fills color into thick lip tissue quickly without extra passes.
Professional Tips for Choosing the Best PMU Needle Configuration
Applying structured hardware selection improves everyday client work. These practical steps help match tattoo needle cartridges to every service.
Match the Needle to the Desired Result
Start with the end result in mind. Pick single liners for crisp details, round shaders for pixelated softness, and magnums for rich saturation.
Consider the Client’s Skin Type
Evaluate skin elasticity, thickness, and hydration levels. Choose fine diameters with long tapers for delicate skin, and standard diameters for firm skin.
Adjust Needle Choice with Machine Settings
Balance stroke speed with needle size. Large needle clusters need slightly higher voltage to penetrate smoothly without snagging tissue.
Practice Different Configurations Before Client Work
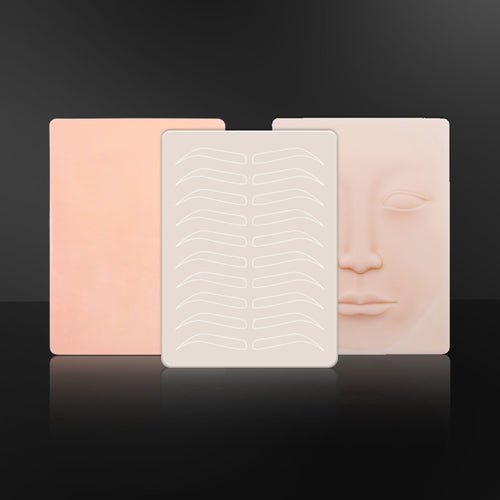
Test new PMU needles on practice pads first. Feel how different configurations respond to voltage changes and hand speeds before live treatments.
Keep Learning as Needle Technology Evolves
Cartridge designs improve constantly. Testing modern configurations helps upgrade your technique and improves overall client comfort.
Elevating Your Artistry with Smart PMU Needle Choices
Great PMU work happens when your tools match your vision. Blending the right pin setup, diameter, and taper with proper hand technique keeps client skin safe and calm. As you get comfortable matching needle types to individual skin needs, your color retention improves and your healed results speak for themselves.
FAQs About PMU Needle Configuration
Q1. What is the best PMU needle configuration for beginners?
5RS 0.25 mm LT for shading and 3RL 0.25 mm LT for lining are beginner-friendly choices. They offer simple control for shading and lining without damaging skin easily.
Q2. How does needle configuration affect pigment retention and healed results?
Needle configuration controls dot density and insertion depth. Balanced pin layouts place ink evenly at the correct depth, preventing harsh scabbing and pigment loss.
Q3. What’s the difference between Round Liner (RL) and Round Shader (RS) needles?
Round Liners create sharp lines, while Round Shaders create soft pixelation. Round Liners have tightly clustered tips for detailed strokes. Round Shaders have parallel tips set wider apart for gentle shading.
Q4. How do I choose the right PMU needle configuration for different skin types?
Use smaller diameters with long tapers on thin, mature, or sensitive skin. Choose standard diameters with medium tapers for oily or thick skin to ensure proper pigment penetration.
