




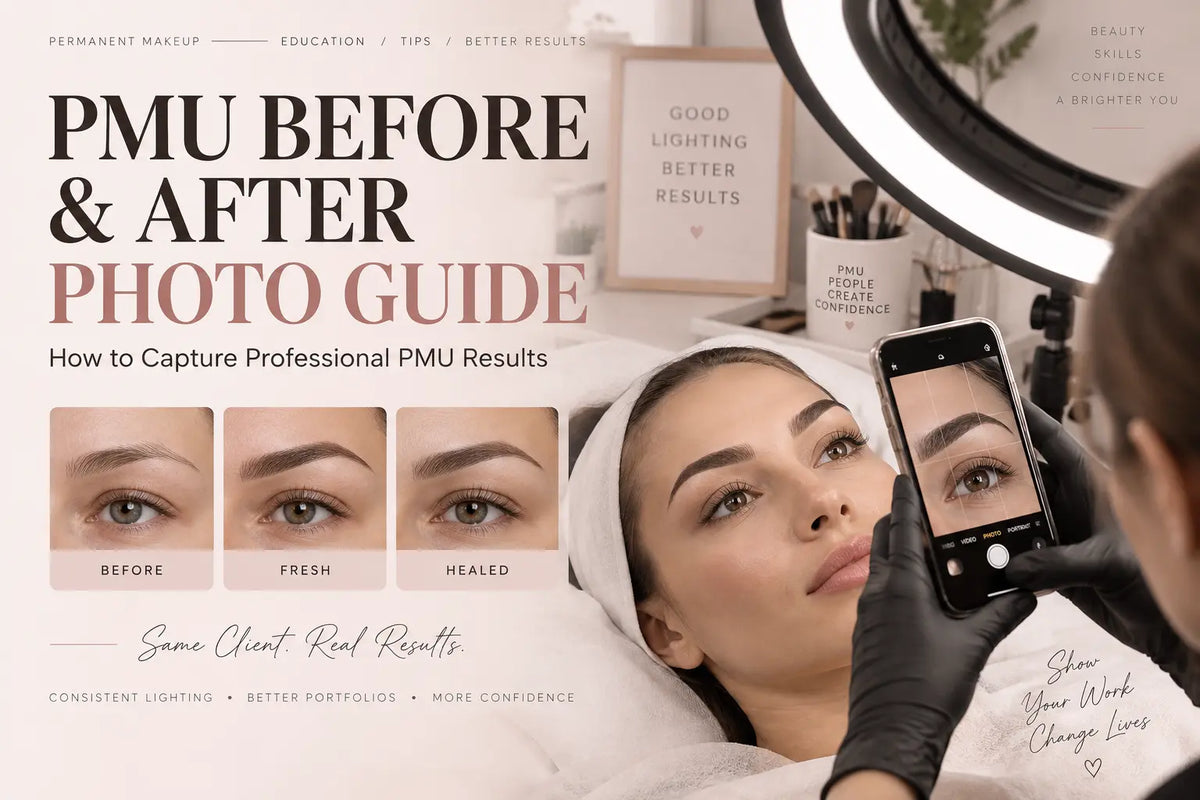
PMU Photography: How to Take Professional Before and After Photos
Key Takeaways
- Professional permanent makeup photos build client trust and highlight your technical precision.
- Consistency in lighting, camera angles, and framing matters far more than buying expensive camera gear.
- Documenting healed results alongside fresh PMU procedures gives prospective clients an accurate, realistic expectation of your work.
- A repeatable photo setup saves time, streamlines your workflow, and elevates your social media portfolio.
High-quality before-and-after photos are vital for permanent makeup artists. While your technical skill creates beautiful brows, lips, and eyeliner, your portfolio is what attracts new clients to your chair. Clear photos show prospective clients what you can do and give them confidence in your abilities.
To take professional pictures, you need to master a few basic elements: lighting, camera settings, client positioning, framing, editing, and timing.
Why Are Professional PMU Before and After Photos Important?
Consistently taking pictures is important for more than just filling up your photo gallery; it's also how you market your business and talk to clients.
- Photos build immediate trust with potential clients who want proof of your skill before booking. When prospective clients see clear, unedited details of your work, they feel safe putting their faces in your hands.
- High-quality images strengthen your online portfolio and social media pages, helping you stand out in a busy market.
- Pigment changes as the skin heals, so showing fully healed work gives clients a realistic view of what to expect.
While fresh PMU results show precision, documenting healed results shows true mastery.
Prepare Your Client Before Taking PMU Photos
Preparing your client properly before you pick up the camera saves time and guarantees that your before-and-after shots match perfectly.
Keep the Client's Face Clean and Free From Makeup
Remove all makeup around the brows, eyes, or lips before taking your first picture. Residual foundation or eyebrow pencil can alter skin tone and obscure natural features. Keep your prep routine identical for both the initial and final photos to ensure a fair comparison.
Position the Hair and Face Consistently
Tuck the client's hair neatly behind their ears or wrap it in a headband. Ensure no stray hairs cover the treatment area. Ask the client to sit upright and hold their head in a neutral position for every shot.
Get Client Consent Before Using Photos
Always discuss picture use with your client before starting the procedure. Clearly explain if the images will appear on your website, social media, or marketing materials. Have them sign a written consent form to keep your business protected.
Choose the Right Camera for PMU Photography
You don't have to spend a lot of money on fancy camera gear to get clear pictures for your business.
Can You Use a Smartphone for PMU Before and After Photos?
Yes, a modern smartphone is more than enough for most artists. Today's phones feature advanced camera systems that capture sharp details up close. Focus on image clarity, clean lighting, and steady hands rather than buying a costly camera setup.
Smartphone vs. Professional Camera for PMU Photography
Smartphones offer convenience, fast file sharing, and built-in editing features, making them ideal for daily use. A dedicated DSLR or mirrorless camera offers greater control over depth of field and sharpness, but it requires technical knowledge. Ultimately, proper lighting and setup matter far more than the device you use.
Set Up the Right Lighting for PMU Photos
Proper lighting reveals the true quality of your microblading or lip blush work, making it the most critical part of your setup.
Use Consistent, Even Lighting
Position your light source to illuminate the entire face evenly. Shadows can hide hair strokes, distort lip shapes, and alter skin appearance. Keep the light distance and brightness setting identical for both session photos.
Ring Light vs. Natural Light for PMU Photography
Ring lights provide steady, adjustable illumination that you can rely on at any hour. Natural sunlight changes throughout the day based on cloud cover and time, making before-and-after shots look inconsistent. A dedicated light source gives you total control.
Avoid Lighting That Changes Skin Tone or Pigment Color
Warm yellow lights or colored bulbs alter how pigment shades appear on camera. Use neutral daylight-balanced bulbs (around 5000K to 5600K) to keep skin tones true to life and depict pigment shades accurately.
Use the Same Angle and Position for Before and After Photos
Changing angles between shots distorts facial proportions, making it hard for clients to see the actual improvements in your work.
Take a Straight-On Front View
Have your client look directly into the camera lens with a neutral posture. Position your camera at eye level, keeping the distance between the lens and the client identical for every picture.
Add a 3/4 View to Show More Detail
A 3/4 angle captures the depth and arch of a brow or the fullness of a lip border. If you use this angle, match the client's head rotation carefully in both the before and after pictures.
Keep Facial Expressions Consistent
Ask your client to maintain a relaxed, neutral expression. Smiling or raising eyebrows pulls the skin, shifting the placement of brows and lips. Keep eye direction and mouth positions identical across both photos.
How to Frame PMU Before and After Photos
Framing your shots properly keeps the focus where it belongs: on your technical skill and precision.
Focus on the Treated Area
Crop your photo close enough to display stroke crispness and color saturation clearly. Leave just enough room to show surrounding facial features for context, but eliminate empty, unnecessary space.
Keep the Background Clean and Neutral
Cluttered rooms, visible permanent makeup supplies, or bright wall colors distract from your work. Use a plain white, gray, or black backdrop to keep the focus entirely on the client.

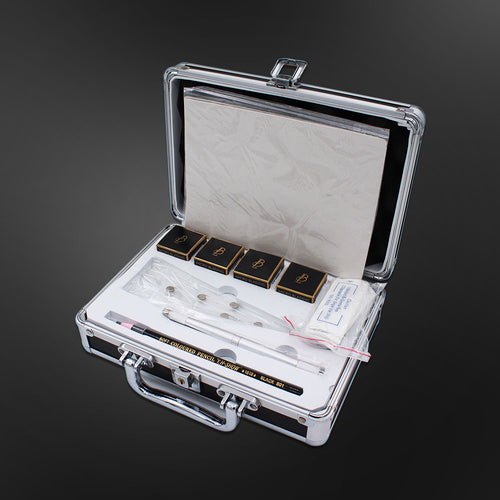
Biomaser Microblading permanent makeup kit with 5 semi cream pigment and 4 cream microblading pigment
Use the Same Composition for Every Client
Standardize your image framing for every procedure type. Creating a fixed template for brows, lips, and eyeliner builds a clean, cohesive look across your entire portfolio.
Take Before and After Photos at the Right Stages
Documenting your client at specific phases provides a complete narrative of their PMU experience.
| Stage | Goal | Key Detail to Capture |
|---|---|---|
| Before | Document natural state | Clean skin, no makeup, original brow/lip shape |
| Fresh | Show immediate result | Crisp strokes, rich color, precise outline |
| Healed | Show long-term outcome | True color retention, soft texture, natural integration |
Take the Before Photo Before the Procedure
Capture the client's face in its natural state before applying numbing cream, mapping lines, or pigment. This establishes an honest baseline for the transformation.
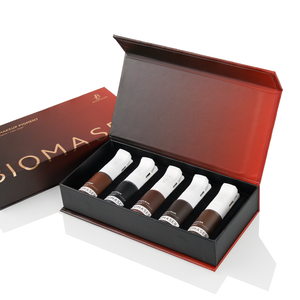
Biomaser Eyebrow & Eyeliner Pigment Collection
Document the Fresh PMU Result
Take photos immediately after finishing the procedure and cleaning the skin. Fresh photos showcase your line precision and immediate saturation, though you should remind clients that fresh results soften over time.
Photograph Healed PMU Results
Schedule a follow-up appointment four to six weeks later to take healed photos. Healed images prove color retention and long-term quality, giving new clients confidence in your services.
Keep Your PMU Before and After Photos Consistent
Consistency separates amateur pictures from a polished brand image. Pay close attention to these parameters:
- Same lighting intensity and color temperature
- Same camera or phone model
- Same distance from the client
- Same height and camera angle
- Same tight framing
- Same clean background
- Same neutral facial expression
- Same aspect ratio and image resolution
Create a Standard PMU Photography Checklist
Print a physical checklist to keep near your treatment room. Reviewing the same steps for every appointment ensures high quality, regardless of which procedure you perform.
Edit PMU Photos Without Misrepresenting the Results
Editing should only correct camera limitations, never alter the actual permanent makeup work you performed.
Make Basic Adjustments Only
Straighten crooked angles and crop out excess background space. Minor adjustments to brightness or contrast are fine if the camera captured the room darker than it actually was.
Avoid Heavy Filters and Skin Retouching
Do not use blurring tools or skin-smoothing filters on the treatment area. Smoothing the skin removes natural texture, making the permanent makeup look fake or overly edited.
Keep Before and After Editing Consistent
Apply identical edits to both images. Boosting contrast or brightness on the “after” picture while leaving the “before” picture dark creates a dishonest representation that harms your credibility.
Turn Your PMU Photos Into an Effective Instagram Portfolio
A structured grid layout transforms your social media page into a powerful booking tool.
Create Consistent Before and After Posts
Use side-by-side photo grids or swipeable carousel posts to present your work. Keeping your layout identical across all posts creates a clean, recognizable feed.
Show Different PMU Procedures and Skin Types
Feature a wide selection of brows, eyeliner, and lip work. Include clients of varying ages, skin tones, and undertones to show prospective clients that you can work with anyone.


Use Photos to Demonstrate Your Specialty
If you want to focus on nano brows or lip blush, dedicate most of your portfolio to those specific services. Tailor your photo gallery to attract your ideal client base.
Take Better PMU Photos With a Consistent Setup
Mastering photo capture requires practice and structure. Keep these core principles in mind:
- Rely on a clear smartphone camera or dedicated camera body.
- Use neutral, even lighting for every appointment.
- Keep client positioning, angles, and distances uniform.
- Document both fresh procedures and fully healed results.
- Edit minimally to preserve true skin texture and pigment colors.
- Always secure written consent before sharing client photos.
- Maintain a unified visual style across your public portfolio.
Establishing a reliable photography process takes your business to the next level. When your lighting, composition, and presentation stay uniform, your photos speak for themselves, building trust and attracting dedicated clients to your business.
FAQs About PMU Photography
Q1: What is the best lighting for PMU before and after photos?
Even, balanced lighting is best. A dimmable ring light or LED panel set to neutral daylight (5000K–5600K) eliminates unwanted shadows and keeps pigment shades accurate.
Q2: Can I take professional PMU photos with my phone?
Yes. Modern smartphones offer excellent clarity. Paired with strong lighting, proper distance, and clean framing, a phone produces incredible portfolio images.
Q3: Should PMU before and after photos show healed results?
Yes. Healed photos display true pigment retention and natural integration into the skin, offering potential clients an accurate view of long-term results.
Q4: How do I make my PMU before and after photos look consistent?
Use the exact same lighting, camera height, angle, distance, background, and neutral facial expression for every single shot you take.
